As I am doing some research on Chef Keller, I thought it will be interesting to also test make his favorite. After frying 4 batches, I remembered why I have not fried chicken for over 20 years. Irregardless, Chef Keller's tips he provides in his cookbook - Ad Hoc at Home helped making this fry chicken experience fun. On top of it, it is ... "not like mine"... embarrassingly - my family knows I like dry chicken, so if I prepare any chicken or turkey, they are normally dry. This is mostly because I don't like the word of "juicy" chicken or "tender" chicken, especially the chicken raised here in the State or today anywhere are not the same as the ones I've tasted in Asia - Japan, S. Viet-Nam, or Taiwan. But this fried chicken recipe's Brine has convinced me that when the chicken is prepared correctly as described in the recipe, it is "delicious"! and here, I don't mind describing these fried chicken as tender and moist because I know exactly what is in it from start to the end.
While I do have a copy of the Buttermilk Fried Chickens from the Ad Hoc at Home cookbook, I also found a complimentary copy posted at Amazon.com
Here it is: http://www.amazon.com/Ad-Hoc-Home-Thomas-Keller/dp/1579653774
This photo is Chef Keller's picture - I wished mine turned out like that color.
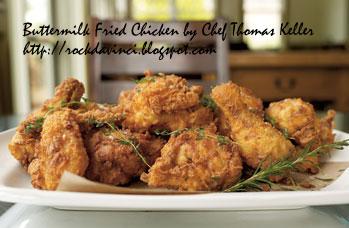
From Ad Hoc at Home: Buttermilk Fried Chicken
If there's a better fried chicken, I haven't tasted it. First, and critically, the chicken is brined for 12 hours in a herb-lemon brine, which seasons the meat and helps it stay juicy. The flour is seasoned with garlic and onion powders, paprika, cayenne, salt, and pepper. The chicken is dredged in the seasoned flour, dipped in buttermilk, and then dredged again in the flour. The crust becomes almost feathered and is very crisp. Fried chicken is a great American tradition that’s fallen out of favor. A taste of this, and you will want it back in your weekly routine. --Thomas Keller
Ingredients
(Serves 4-6)
- Two 2 1/2- to 3-pound chickens (see Note on Chicken Size)
- Chicken Brine (recipe follows), cold For Dredging and Frying
- Peanut or canola oil for deep-frying
- 1 quart buttermilk
- Kosher salt and freshly ground black pepper Coating
- 6 cups all-purpose flour
- 1/4 cup garlic powder
- 1/4 cup onion powder
- 1 tablespoon plus 1 teaspoon paprika
- 1 tablespoon plus 1 teaspoon cayenne
- 1 tablespoon plus 1 teaspoon kosher salt
- 1 teaspoon freshly ground black pepper
- Ground fleur de sel or fine sea salt
- Rosemary and thyme sprigs for garnish
Cut each chicken into 10 pieces: 2 legs, 2 thighs, 4 breast quarters, and 2 wings. Pour the brine into a container large enough to hold the chicken pieces, add in the chicken, and refrigerate for 12 hours (no longer, or the chicken may become too salty).
Remove the chicken from the brine (discard the brine) and rinse under cold water, removing any herbs or spices sticking to the skin.
Pat dry with paper towels, or let air-dry. Let rest at room temperature for 1-1/2 hours, or until it comes to room temperature.
If you have two large pots (about 6 inches deep) and a lot of oil, you can cook the dark and white meat at the same time; if not, cook the dark meat first, then turn up the heat and cook the white meat.
No matter what size pot you have, the oil should not come more than one-third of the way up the sides of the pot.
Fill the pot with at least 2 inches of peanut oil and heat to 320°F.
Set a cooling rack over a baking sheet. Line a second baking sheet with parchment paper.
Meanwhile, combine all the coating ingredients in a large bowl.
Transfer half the coating to a second large bowl.
Pour the buttermilk into a third bowl and season with salt and pepper.
Set up a dipping station: the chicken pieces, one bowl of coating, the bowl of buttermilk, the second bowl of coating, and the parchment-lined baking sheet.
Just before frying, dip the chicken thighs into the first bowl of coating, turning to coat and patting off the excess; dip them into the buttermilk, allowing the excess to run back into the bowl; then dip them into the second bowl of coating.
Transfer to the parchment-lined pan.
Carefully lower the thighs into the hot oil.
Adjust the heat as necessary to return the oil to the proper temperature.
Fry (thighs) for 2 minutes, then carefully move the chicken pieces around in the oil and continue to fry, monitoring the oil temperature and turning the pieces as necessary for even cooking, for 11 to 12 minutes, until the chicken is a deep golden brown, cooked through, and very crisp.
Meanwhile, coat the chicken drumsticks and transfer to the parchment-lined baking sheet.
Transfer the cooked thighs to the cooling rack skin-side-up and let rest while you fry the remaining chicken. (Putting the pieces skin-side-up will allow excess fat to drain, whereas leaving them skin-side-down could trap some of the fat.)
Make sure that the oil is at the correct temperature, and cook the chicken drumsticks.
When the drumsticks are done, lean them meat-side-up against the thighs to drain, then sprinkle the chicken with fine sea salt.
Turn up the heat and heat the oil to 340°F.
Meanwhile, coat the chicken breasts and wings.
Carefully lower the chicken breasts into the hot oil and fry for 7 minutes, or until golden brown, cooked through, and crisp.
Transfer to the rack, sprinkle with salt, and turn skin side up.
Cook the wings for 6 minutes, or until golden brown and cooked through.
Transfer the wings to the rack and turn off the heat.
Arrange the chicken on a serving platter.
Add the herb sprigs to the oil (which will still be hot) and let them cook and crisp for a few seconds, then arrange them over the chicken.
Note on Chicken Size: You may need to go to a farmers' market to get these small chickens. Grocery store chickens often run 3 to 4 pounds. They can, of course, be used in this recipe but if chickens in the 2-1/2- to 3-pound range are available to you, they're worth seeking out. They’re a little easier to cook properly at the temperatures we recommend here and, most important, pieces this size result in the optimal meat-to-crust proportion, which is such an important part of the pleasure of fried chicken.
Note: We let the chicken rest for 7 to 10 minutes after it comes out of the fryer so that it has a chance to cool down. If the chicken has rested for longer than 10 minutes, put the tray of chicken in a 400°F oven for a minute or two to ensure that the crust is crisp and the chicken is hot.
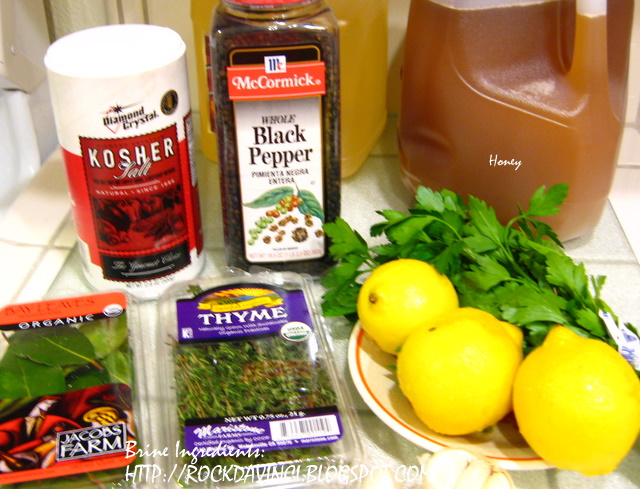
Chicken Brine
Makes 2 gallons
- 5 lemons, halved
- 24 bay leaves
- 1 bunch (4 ounces) flat-leaf parsley
- 1 bunch (1 ounce) thyme
- 1/2 cup clover honey
- 1 head garlic, halved through the equator
- 3/4 cup black peppercorns
- 2 cups (10 ounces) kosher salt, preferably Diamond Crystal
- 2 gallons water
Combine all the ingredients in a large pot, cover, and bring to a boil.
Boil for 1 minute, stirring to dissolve the salt.
Remove from the heat and cool completely, then chill before using.
The brine can be refrigerated for up to 3 days.
The followings are my photo journals of how mine turned out:


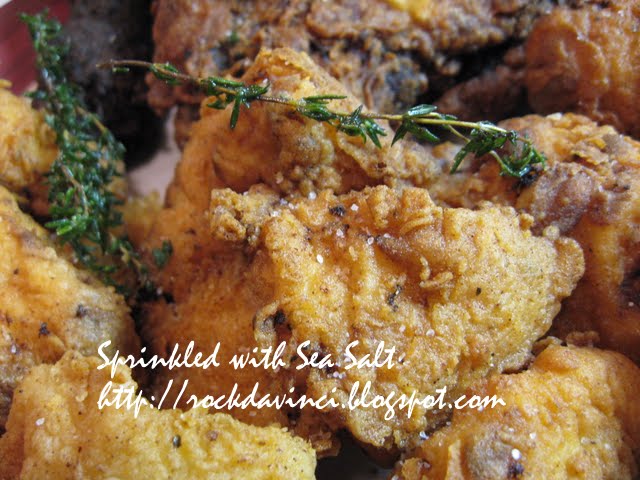


My fried chickens turned out with three different colors - likely my oil temperatures have fluctuated, and I didn't catch it. Then, also the flour sediment build up at the bottom of the pot did not allow the heat to come through and also added color to the crust. The peanut oil I used is fresh, but once those flour comes off the chicken as you dip it into the hot oil, it will burn at the bottom of the pot while your chicken is fried.
If the chicken piece is much heavier than the suggested weight, and if your chicken piece touches the bottom of the hot oil pot, then, that particular spot will brown much faster than the rest of the body. So - Be mindful of the suggestion Chef Keller he points out - find the chicken within the weight that he noted or cut into smaller pieces; deep 6 inch pot, if you have one would be better - I learned.
Watching the timing and temperatures are truly skills that I need some polishing on. Also using the right type of equipment. My stainless steel pot is not as heavy gauge as my son's and even though I am using peanut oil and using thermometer to monitor the temperature, the chickens turned out differently, even my iron skillet did not turn out the fried chicken the way I wanted (my first time frying chicken in this skillet - so I don't really know my skillet - my fault) ... also, watch for flour sediments collected at the bottom of the pot. If you have a skimmer, it is a great idea to skim out as much flour sediments from the bottom as possible. Or filter the oil into another clean pot, so the heat would come through strongly for the next batch...things like that.
So, will I make this fried chicken, again? Yes! the recipe is great - very tasty. If my son says, "Wow! it is great'. "Can you make Honey Lime chicken, too?" Then, it got to be good, and I would make it again,... but I think I will rather venture out and go eat it at the Ad Hoc restaurant in Yountville or at our school's Oak Cafe for this fried chicken. It's well worth the money spent and the enjoyable time without the clean-up to deal with. The oil splatter clean-up I believe is one of the second reasons why I have not fried chicken for the last twenty years. But this one is well worth the time it took to learn to cut the chickens, make the brine, wait 12 hours, test fry a couple - impressed with it myself, then, take the whole thing down to San Jose and prepared it for my family. And now I can enjoy and appreciate the prepared Buttermilk Fried Chickens I will be ordering once I get to the Ad Hoc restaurant.
Buttermilk Fried Chicken with Lime Honey Chili Dip:

No comments:
Post a Comment
Hey! what is Cooking in your kitchen?