This is just a pre-start to give a pat on my shoulder. Last year, my faithful Sunbeam Mixmaster quit on me. For no reason it stopped. The day before, it worked perfectly. The next day, it made no sound. I tried everything by plugging it off and on. Futile. I tried many times to throw it away but I got attached to it that even after it's dead, I kept it. I have three mixers that can do the work but this Sunbeam Mixmaster is quite special for me. First of all it is a very first mix that I got at the church's swap meet. I was sooooo thrilled. I have never been to a swap meet, and I just can't believe that I took home with me a mixer. The previous owner was a Chaplain's wife, and she had it since she got married, and it travelled with her from Monterey Bay, California, all they way to Ft. Knox Kentucky. Now it is in my care. I tried to buy the same brand. But the new model does not have the same feature as mine. One of the most handy feature is the swirling bowl while the mixer is going. And off side bowl feature that allow me to place a spatula into the bowl to scrape the bowl while the mixing is going. Can I do that with the Kitchen Aid? Well, in a way, kind of, but not, and I always have to stop the mixer and had to give the mixture a turn that is left at the bottom of the bowl. While, the Kitchen Aid mixer has a powerful motor, but this Mixmaster has 12 power setting. So, what I did finally yesterday was to take it apart. I know from my past experiences as a Avionics and PCB assembler and having watched my brother take apart a wind up alarm clock in the old days, also I had to repair my son's Fisher Price pull string toy to repair it, I know I can take this apart as well. It was not easy, as I cannot seem to see the entry point. But I know what man has put together, it can be taken apart.
After carefully examining the fixture, I know it's either the end or the head of the casing with the emblem that needs to come off first.

But first thing first. Take a good picture of the mixer and it's parts each step of the way, so that I can put it back by reviewing the photo taken backwards. Secondly, becareful not to use a full force when checking for opening with tools. Be gentle. Check visually to decide if it's screw-on type or Snap-on type. Thirdly, be aware that many parts used in the appliances are heavy duty 'plastic' parts and plastic moldings or tin.
I could not tell at the beginning if the silver "power on" handle located at the end of the mixer is a twist-on screw type. I tried to ply it open backward to see if it will unscrew. No, it did not budge or turn. So, I know it is not a screw-on type. Then I used the flat tip screw driver to try to ply off gently what seems to be an arm inserted into a opening. Bingo! it was a snap-on. After carefully removing the handle, the actual screws revealed itself. I am in business to find out what caused the mixer to stop.
After a careful examination and taking pictures of each part in their position, there doesn't seem to be a problem. The red wire for power is still soldered on. I thought it broke off after years of usage. I think the black is the ground wire. It's a bit exposed and bent. I can see tons of Flour and Cocoa powder build up in all parts.
I carefully used tooth brush and dust pan to start dusting off each parts. Cleaned with moist swabs. Before I had enough of the cleaning and checking I decided to plug the electric cord in. Wow! its working!
I had enough for the day, and I left the mixer open to dry well over night to make sure that there are no moisture or water left in any parts before putting the casing back.


 I can't believe the amount of flour and cocoa powder accumulated in there.


 Ply open gently just a bit and turn the handle of the mixer to the right.
 (Turning the mixer's handle to the right.)
 Turning the mixer's handle all the way, and you will feel it that it can be taken off now.
 Picture of internal parts of the handle and front casing that you took off.
 Front component. Clean this part carefully. Do not remove anything here.

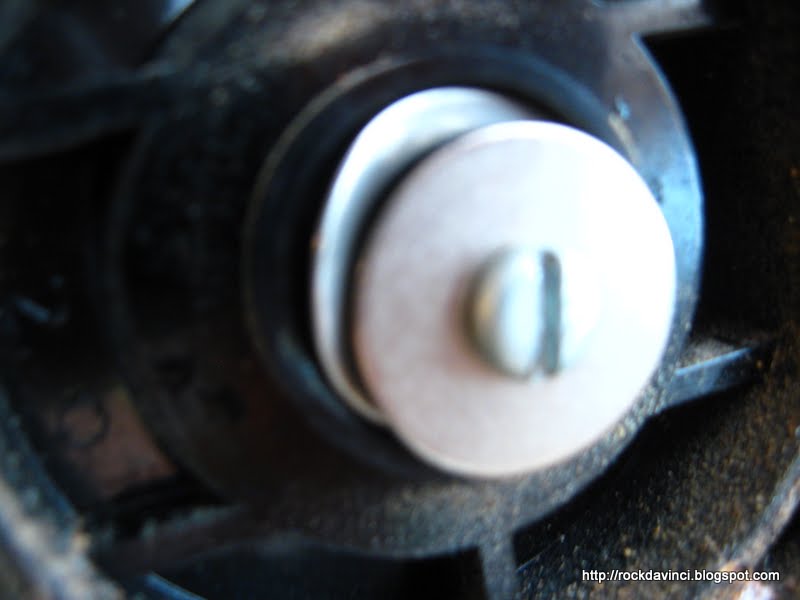
 To remove the entire casing cover, remove the two screws.
 Gently lift it up.

 Take a good picture of everything, so you can put them back later.
 Picture of suspected black power wire.... I think the black is the ground wire and red is power wire. Red is still attached on with a good solder. I straighten the black wire a bit to position the casing back over it a bit. Becareful not to cut the wire.

 After thorough cleaning of all the accumulated flour and cocoa powder.
 Remember not to turn anything to set it into out of synch position while you are cleaning.

 Clean dust off all around
 Make sure everything is clean to assure good part contact to allow power flow.
 Check the pictures you took and put it back together.

Why am I posting this on a Food Blog? because may be you have favorite mixer too that gone dead? maybe not? maybe you have three other models around home, so just throw the bad ones away? I was not convinced of it's sudden death. I wanted to know why it died. When you get attached to a good mixer that lasted 40+ some years, it's difficult to say good bye without making sure of it's cause of death. Death!? it's a machine, for crying out loud! But I feel better now that it's all cleaned and the cause of it's death was found - due to build up of flour and cocoa powder all around the electrical parts causing the short.
From now on for any mixer I use, I will premix the flour a bit with moist food to prevent fly-up. Take a 1/4 cup of moist mixture and premix the cocoa powder first before adding to the batter to mix further. I think all my mixers will be happier. Happy Mixing!
After carefully examining the fixture, I know it's either the end or the head of the casing with the emblem that needs to come off first.

But first thing first. Take a good picture of the mixer and it's parts each step of the way, so that I can put it back by reviewing the photo taken backwards. Secondly, becareful not to use a full force when checking for opening with tools. Be gentle. Check visually to decide if it's screw-on type or Snap-on type. Thirdly, be aware that many parts used in the appliances are heavy duty 'plastic' parts and plastic moldings or tin.
I could not tell at the beginning if the silver "power on" handle located at the end of the mixer is a twist-on screw type. I tried to ply it open backward to see if it will unscrew. No, it did not budge or turn. So, I know it is not a screw-on type. Then I used the flat tip screw driver to try to ply off gently what seems to be an arm inserted into a opening. Bingo! it was a snap-on. After carefully removing the handle, the actual screws revealed itself. I am in business to find out what caused the mixer to stop.
After a careful examination and taking pictures of each part in their position, there doesn't seem to be a problem. The red wire for power is still soldered on. I thought it broke off after years of usage. I think the black is the ground wire. It's a bit exposed and bent. I can see tons of Flour and Cocoa powder build up in all parts.
I carefully used tooth brush and dust pan to start dusting off each parts. Cleaned with moist swabs. Before I had enough of the cleaning and checking I decided to plug the electric cord in. Wow! its working!
I had enough for the day, and I left the mixer open to dry well over night to make sure that there are no moisture or water left in any parts before putting the casing back.


Why am I posting this on a Food Blog? because may be you have favorite mixer too that gone dead? maybe not? maybe you have three other models around home, so just throw the bad ones away? I was not convinced of it's sudden death. I wanted to know why it died. When you get attached to a good mixer that lasted 40+ some years, it's difficult to say good bye without making sure of it's cause of death. Death!? it's a machine, for crying out loud! But I feel better now that it's all cleaned and the cause of it's death was found - due to build up of flour and cocoa powder all around the electrical parts causing the short.
From now on for any mixer I use, I will premix the flour a bit with moist food to prevent fly-up. Take a 1/4 cup of moist mixture and premix the cocoa powder first before adding to the batter to mix further. I think all my mixers will be happier. Happy Mixing!
No comments:
Post a Comment
Hey! what is Cooking in your kitchen?