
Last year was my refrigerator's motherboard. I did not know that my refrigerator is equipped with a $340 motherboard. Then, the broken Garage door motor chain spoke. So, I assume the responsibility of a home ownership in making sure that they are in tip top shape. I have replaced a couple of electric circuit breakers at the box. About four light switches, too. And here is my adventure in gas oven igniter replacement. After 18 years, my gas oven would not fire up. It took many research on YouTube but most of the YouTube demo were 'after the fact' video recording. Can't exactly find the details on how they removed their igniter as every model seems to be configured slightly different. No details on how they replaced the wire plugs on the new Igniter to match the old ones. And how they removed the angled igniter to the main internal gas oven pipe. If it was not in the angled position, I could just screw it off without removing the internal gas oven pipe. But in my case, I have to remove it in order to remove the bad igniter and install the new ones. I had to figure out a few things on my own. Some experts on YouTube suggest to remove the lower back panel in order to get to it, etc.
Symptoms of my Gas oven: you hear the the gas releasing, but you don’t hear the flame ignition/combustion.
My personal Diagnosis: Igniter has gone bad.
Solution: Find and purchase the correct Igniter replacement parts and Replace it.
Prep Work
Take photos of parts as you remove.
Remove all racks and object to make the oven lighter.
1. Pull out the oven away from the wall to expose gas line and electric plug.
2. Unplug from electric outlet.
3. Shut down gas valve.
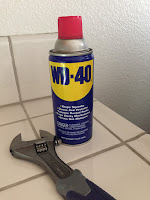
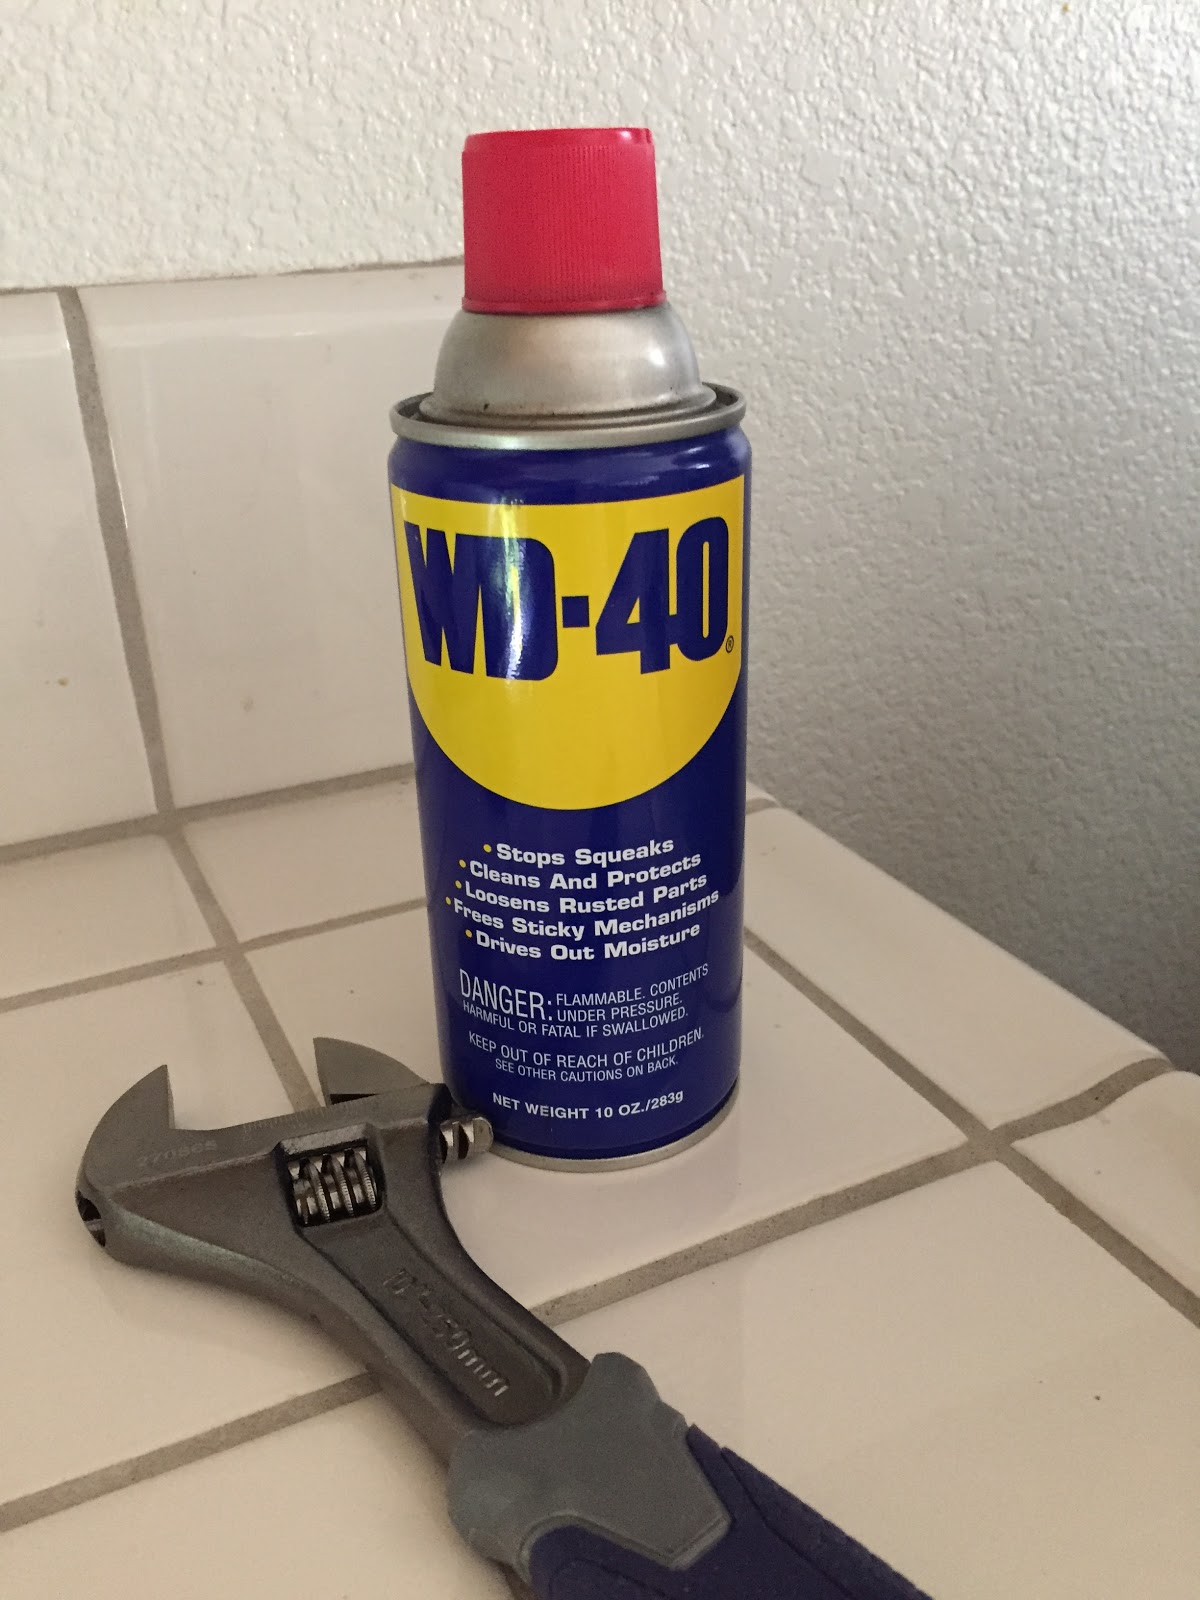
I had to spray WD-40 on gas valve in order to change to Shut Off position


Work:Symptoms of my Gas oven: you hear the the gas releasing, but you don’t hear the flame ignition/combustion.
My personal Diagnosis: Igniter has gone bad.
Solution: Find and purchase the correct Igniter replacement parts and Replace it.
Prep Work
Take photos of parts as you remove.
Remove all racks and object to make the oven lighter.
1. Pull out the oven away from the wall to expose gas line and electric plug.
2. Unplug from electric outlet.
3. Shut down gas valve.
I had to spray WD-40 on gas valve in order to change to Shut Off position


Remove all parts and take photos as reference.
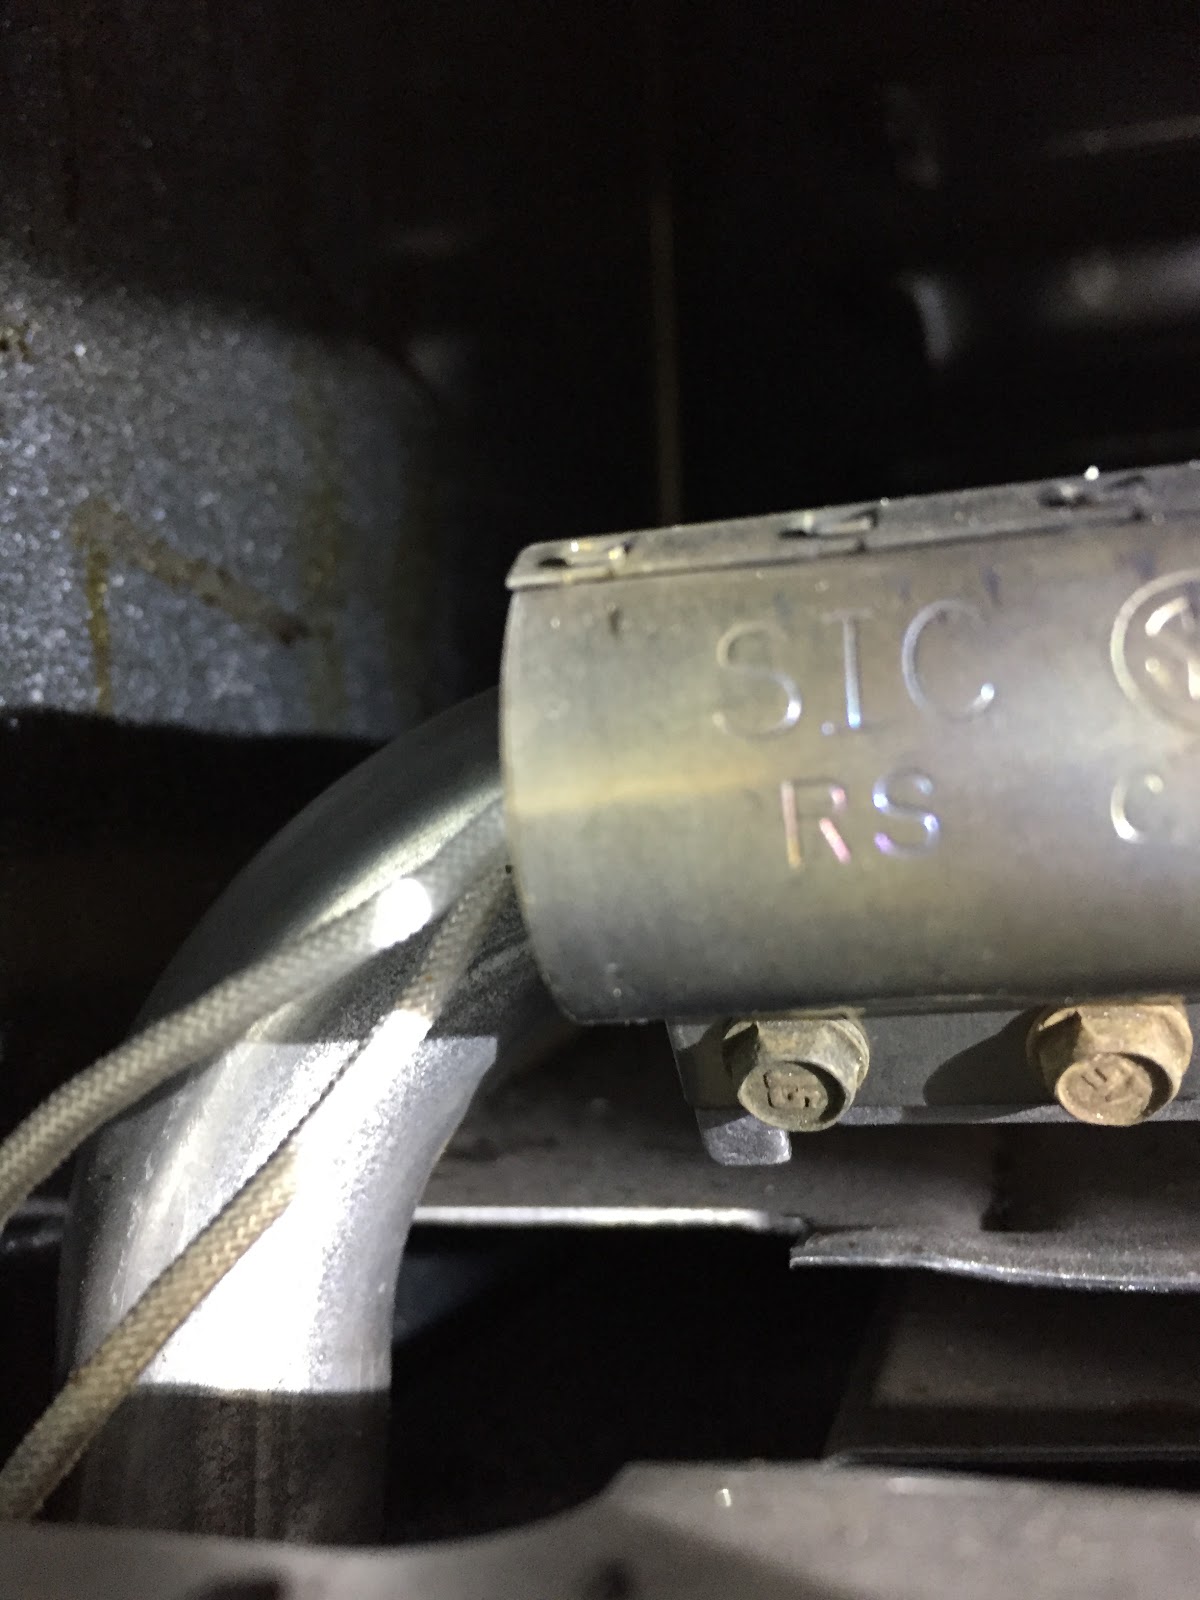
Locate the Igniter.


Unplug


I highly recommend to chat with DigiKey expert. https://www.digikey.com/?WT.srch=1&utm_adgroup=General&utm_source=gemini&utm_term=&utm_campaign=BR_Digi-Key_E&utm_medium=cpc&utm_content=7Yu7kx3F_pcrid_%5Bcreative%5D_pkw__pmt__pdv__slid___pgrid_%5Badgroupid%5D_ptaid_%5Btargetid%5D_


Not bad. Accepted.


Turn Gas Valve to Open position.


Now to the next new adventure - How to replace Kitchen garbage disposer. It's been two months now that my sink is in disfuncted. I will post it later the other joy of responsibility of home ownership story.


