Saturday, July 31, 2010

Multi-Grains Wheat Sourdough Loaves

This is a delicious bread loaded with good grains for your health.   I learned this in my class, and since then, have tried it twice at home.  The recipe is from Bo Friberg's "The Professional Pastry Chef, Fundamentals of Baking and Pastry."  You can purchase this book from the Amazon.com. 
Ingredients have all the grain goodness of rolled oats, sunflower seeds, cracked wheat, rye flour. The recipe is quite involved with 2 to 3 weeks preparation for the starter (luckily, I have and used my babied and cultured starter for this recipe.)  Then, there is overnight prep for the grains; 24 hours for the fermented dough; then, the dough on the day of. But it is well worth the wait.
I just had a couple of slices, and they are delicious.
(double click on images to enlarge the image and view other comments on the images.)

All ingredients are eventually mixed together.  As this recipe formula is a full 'commercial' weight and yield that 's more than my Artisan mixer could handle, I kneaded the whole dough mixture by hands.  Kneading time - 20 minutes.
 
They deflated quite a bit when I inverted them out of the proofing onto the baking sheet.  My kitchen was so warm from baking the crumbled peach crostada that I let it rise too much before the baking. They doubled in size instead of the preferred time-and-half. The next time, for home oven baking, I need to remember to do the final proofing and baking in the same pan.  I know some home bread bakers out there have already achieved the artisan bread baking with least difficulty when it comes to transferring to a baking sheet without causing the dough to deflate much. (I still got a lot to learn.)  Upside is that the bread still turned out light and tasty. Instead of gaining the height, it widened. Good color. Good texture.


Posted by PicasaTotal Yield: approx 1lb 8 oz - 6 loaves  Froze 4 loaves for later.

Chocolate Chip Cookies with Cranberries


I truly now understand why I have a difficulty in making the best Chocolate Chip Cookies. I can't do without some 'fruits' in my cookies. So, I decided to make Chocolate Chip Cookies with Cranberries. I think I like this recipe better than the other one because it is less 'cake' like.

Yield: 46 Bake at 375'F for 8 min.

Ingredients:
2/3 C butter
1/2 C sugar
1/2 C brown sugar
2 tsp vanilla
1 egg
1-1/2 C AP Flour
1/2 tsp baking soda
1/2 tsp salt
1/2 C Chips, Guittard Milk Chocolate
1 C dried cranberries

Whisk first 4 ingredients together - manually - by hand - 2 min - Add egg. Whisk 1 min.
Mix flour, baking soda, and salt together. Sift and add to the sugar mixture.
Fold.
Add Chips and cranberries.
Use 1 Tbsp Cookie Scoop and drop on Silpat sheet covered over cookie sheet.
Bake at 375'F for 8 min. lower rack in gas stove oven.
Posted by Picasa

Fresh Peach Ice-Cream, Lactose Free & Peach Crostada

This is the second year of this "PANTAO" peach. But I am convinced now that the seed I planted is not of the PANTAO peach I ate but the Chinese Crispy Honey Peach. They are wonderfully sweet and crispy. Birds only got to some of them, but not as bad as the Japanese Pears that ants and what not got to them before I did. I cropped at least 8 lb of peach. And it is just about 5'7" tall. This is a very good tree to grow.
The flesh is cripsy and it has a very red seed. As it becomes soft, the flesh turns pink to red.
I didn't have time to prepare them into dessert right away, so they all sat in the kitchen till today. Most of them got soft, and is perfect for baking and ice-cream.
I made Peach Crostada. But what a crumble. Because my kitchen became very warm today, the dough was not very cooperative, even after chilling. It did not go quite well like the other night when I prepared the Japanese Pear Crostada. I had to scoop the whole thing into a tin - crumbled. So, I call it the Crumbled fresh peach pie? crostada? if it's in a tin, I don't think it's crostada. Regardless, the taste of the sweet peach and tangy lemon turned out perfect for after the dinner dessert.
Here is the Peach Ice-Cream. Lactose free milk, heavy cream is not lactose free, but there is enough lactose free milk in it that it is just delicious without any side affect (to me).

Home Made Lactose Free Peach Ice-Cream
Yield: half gallon
3 C Lactose free milk
1 C heavy cream
2 organic eggs
6 oz cane sugar
1-3/4 oz Truvia
2 C peeled, chopped peaches
Juice from 1 Lemon to keep peach from browning
Scald milk and heavy cream together. Mix 2 eggs and cane sugar together.
Pour 3/4 of the hot scald milk mixture into sugar & egg mixture and whisk them together.
Return the milk sauce pan onto "Bain Marie".
Add the egg/sugar and milk mixture into the rest of the milk in the sauce pan over the 'Bain Marie'.
Bain Marie until the back of the spoon is coated and when a finger is ran across it, it clears the cream coating - "custard texture". Stir occassionally, about 30 min.
Remove from heat. Exchange the hot water in the sauce pan with ice & water. Chill the egg/milk mixture sauce pan in it.
Once it is cooled, transfer to refrigerator. Once it is chilled. It is ready to follow the instruction of your favorite ice-cream machine.
Add 2-1/2 C of milk/egg mixture into the tub (Cuisinart is mine). Mix 20 min. Add 1 C peaches. Churn - 30 min.
Make sure to check the machine and help by stiring the fruits around and off the stir blades.
When done. Transfer the ice-cream into a tub with cover. Prepare the other half.
Enjoy another summer dessert directly from your fruits garden!
Posted by Picasa

Organic Cha Soba with Shiitake, Cucumbers, and egg strips

Enjoy Saturday evening snack with this Organic Cha (Green Tea) Soba garnished with simmered Shiitake strips, cucumber strips, egg strips (fried pancake style), drizzled with tangy sweet rice vinegar, sesame oil, and Nanami Togarashi.


Ingredients:
1 package Organic CHA Soba
1/2 Cucumber cut into strips
1 beaten egg + 1/2 tsp sugar and pinch of salt - pan fried into flat sheet, cooled, cut into think strips
Shiitake - Dehydrated 'Whole' Shiitake -rehydrated in 2 C "boiling hot" water.  Keep covered for 15 min.
When cool to handle, slice each Shiitake into thin strips.

SOBA TSU-YU:  (Soba "Tsu-Yu" Sauce - served warm)
Return the cut rehydrated Shiitake into a saucepan with its soup.
Add 1/2 C MIRIN
Add 1/2 C Low Sodium Soy Sauce
2 Tbsp Sugar

Simmer to boil.  Remove from heat.  Cool to warm temp.  
Normally TSU-YU is served warm, but for hot summer, you can chill it and serve cold with the noodle as well.  You can use this TSU-YU or save it in a Mason jar for some other time.

Cook Cha Soba for 6 min.  Drain and strain under cool water.  Strain water out.
Arrange cooled noodle on a plate.  Arrange strip cucumbers, eggs, and Shiitake on top of noodle.  You have a choice to use the SOBA TSU-YU you made with Shiitake or serve with "sesame oil vinegar sauce" as follows.

Easy Japanese/Chinese Cold Noodle Sauce:
Serves: 1
3 Tbsp Rice Vinegar
1 tsp sugar or add less or more for sweetness
1/2 tsp sesame oil
sprinkles of NANAMI TOKARASHI (Japanese ground 'seven' chili pepper)
Instead of Rice Vinegar and adding sugar, you can also use the handy premixed SUSHI vinegar.  It turns out the same.  Be careful not to pour sesame oil.  A drop of sesame oil sometime is just perfect to give that wonderful aroma; otherwise, your dish becomes 'greasy' & that's part of the reason why they are sold in a small bottle.  A drop of sesame oil goes a long way.
If you like the soy sauce flavor:
Serves: 2 - 3
3 Tb Soy sauce (Low sodium)
6 Tb Rice Vinegar
2 tsp+ Sugar to taste
2 Tb Sesame Oil


Posted by Picasa

Wednesday, July 28, 2010

Lotus - Lavender Lady

Chocolate Chip Cookies Challenge

Chocolate chip cookies is one of the favorites for many.  My friends seem to know how to bake them, but not I.  Over the years, I only had one 'gwey' chocolate chip cookies that turned out with a wow.  But, I forgot to write down the ingredient measurements, and how.  So after twenty some years, it's start all over for the search for the best gwey chocolate chip cookies.  As a start, this year, I tried this recipe that was printed in the back of 25 lb All Purpose flour I bought.  The ingredients seems to be a bit different than the ones in the back of the chocolate chip package, so I decided to give it a try.
Well, the result of the taste is - very good.  Texture:  I would like to improve on it.
My friends tell me not to beat the eggs and butter like I do with my cakes with the mixer.  So, I basically beat and mixed everything manually with whisk and spatula.  Then, scooped the cookie dough with the 1 Tbsp cookie scoop.   Placed each one on top of the Silpat over the cookie sheet and baked at 350'F as recommended.  I also made sure to chill the dough before each handling because it is quite warm in my kitchen during the summer - 80 - 84'F.  I was also short in time, so I put the dough in the freezer for 2 min before each use.
My friends bake for 8 min.  I followed my recipe and baked for 12 min.  But they did not brown as theirs do.  They said to bake at 375'F the next time.   If you have a chocolate chip cookies recipe that is gwey or chewy, do please share with me.
I took my batch to the office and my friend brought her batch.  Well, it's like night and day difference.  Her's look nice and brown and soft.  Mine is pale and soft after 12 min.  or Brown and dry - after 17 min of baking to get them browned.  But taste wise, we like both.    Texture wise, my friends chocolate chip cookies win.

Makes 60 cookies when 1 Tbsp cookie scoop is used.

Ingredients:
 1 C brown sugar
3/4 C Zuca Cane Sugar
1 C softened butter
2 eggs
1 tsp vanilla

2-1/2 C All Purpose Flour
1 tsp baking soda
1 pk 12 oz chocolate chips
3/4 tsp salt

Beat eggs and sugar together.  Than, add butter and vanilla.   Mix well.   Preheat oven to 375'F
Mix flour, baking soda, and salt together.  Add to the beaten batter.  Fold the mixture and add Chocolate Chips.
Scoop the dough onto Silpat over cookie sheet or on the cookie sheet.
Bake for 8 min and or take out when the edge of the cookies brown.
Transfer to the cooling rack and cool.

Monday, July 26, 2010

Crispy Fresh Japanese Pear Pie

Nothing is better than a fresh homemade scratch pie.  But, who really wants to bake on a hot summer day.  But it's time to crop my Japanese  NIJU-IiSEIKI NASHI - "21st Century" Pears.  Sadly, out of 60 pears, only 1 was good enough to eat whole.  The rest got the dear ants and bird bites before they got ripe ... how did they know???  which one is the sweetest.... well, they got to them all - all are sweet.  They could have shared some with me.  Selfish bugs...  And as for some, for whatever reason, the sun burned them down.  They just dropped off the tree.  Since this pear tree is only 3 summers old, I am not expecting a lot.  The spring pear blossoms were a beautiful sight, though.   I gathered what's left on the tree and washed and peeled and sliced the best part.   It's still in the oven baking as I type this blog.  I hope it would turn out the way I imagine - I want it to be - tangy crispy pear pie.


Ingredients:
4 C Fresh home grown Japanese Pears peeled, cut into 1/2 inch strips or chunks
1/4 C - Squeeze 1 whole large lemon, including pulps and pour over cut pears to keep from browning
2 tsp cornstarch - mix into pear+lemon juice
2 Tbsp brown sugar


Pie crust:
4-1/2 oz butter, sliced
4-1/2 oz all purpose flour
1/2 Tbsp lemon zest - chopped finely
1-1/2 Tbsp to 2 Tbsp ice cold water

1 Tbsp dried cranberries - soak in hot water for 30 min, then, drained.
1 Tbsp maraschino cherries, strained, chopped
Egg wash - 1 beaten egg + 1 Tbsp water

Tools:  Rolling pin, silpat, pie tin, glass bowls, mixing bowl, large spoon, knife, measuring spoons & cups; teaspoon pastry brush.

Preparation:
Peel and cut Japanese pears into a glass bowl.  Cut lemon into halves.   Holding the lemon over the glass bowl with pears, use the teaspoon and wiggle it into the lemon and squeeze at the same time to extract juice.  Add cornstarch.  Toss and mix well.   (Do not add the brown sugar, yet).

In a large mixing bowl, combine flour and zest.  Add butter and mix them together with hand.  The butter and flour flakes should be mixed until the size of  nickel or dime is achieved.  About 1-1/2 min.  Add 1 Tbsp of cold water and mix with hand to incorporate.  Does it form a ball, yet?  Add a bit more.  Tonight, my kitchen is about 80 degree, butter softened quickly, so I did not add more than 1-1/2 Tbsp.  Quickly form it into a ball and place in freezer for 2 min. to rest.

Bring it out, and roll it out to a rough looking 6 inch shapeless sort, then, fold the side to the center and the other side to the center, then fold over into halves, then, fold into halves again.
Roll out with rolling pin over a silpat mat, without using any flour.  Roll into 8" round.
Freeze the dough for 1 to 2 min.

Pre-heat oven to 425'F.
Transfer to a baking pie tin.  I am using a 6" aluminum cheese cake pan.  If you would like, you can place the dough flat on a Silpat mat.
Toss the pear mixture well, then add to the pie dough.
Top with dried cranberries and maraschino cherries to add colors to the pie.
Form the pie dough edge any way you want.  I just folded them over like Crostada - open pie.
Apply egg wash with pastry brush.
Bake till the crust is golden and fruits are bubbly - about 1 hr 15 min.
If the fruits looks bubbly, but the dough looks pale, cover the open area with a piece of aluminum foil.  
Remove from the oven.
Cool completely.
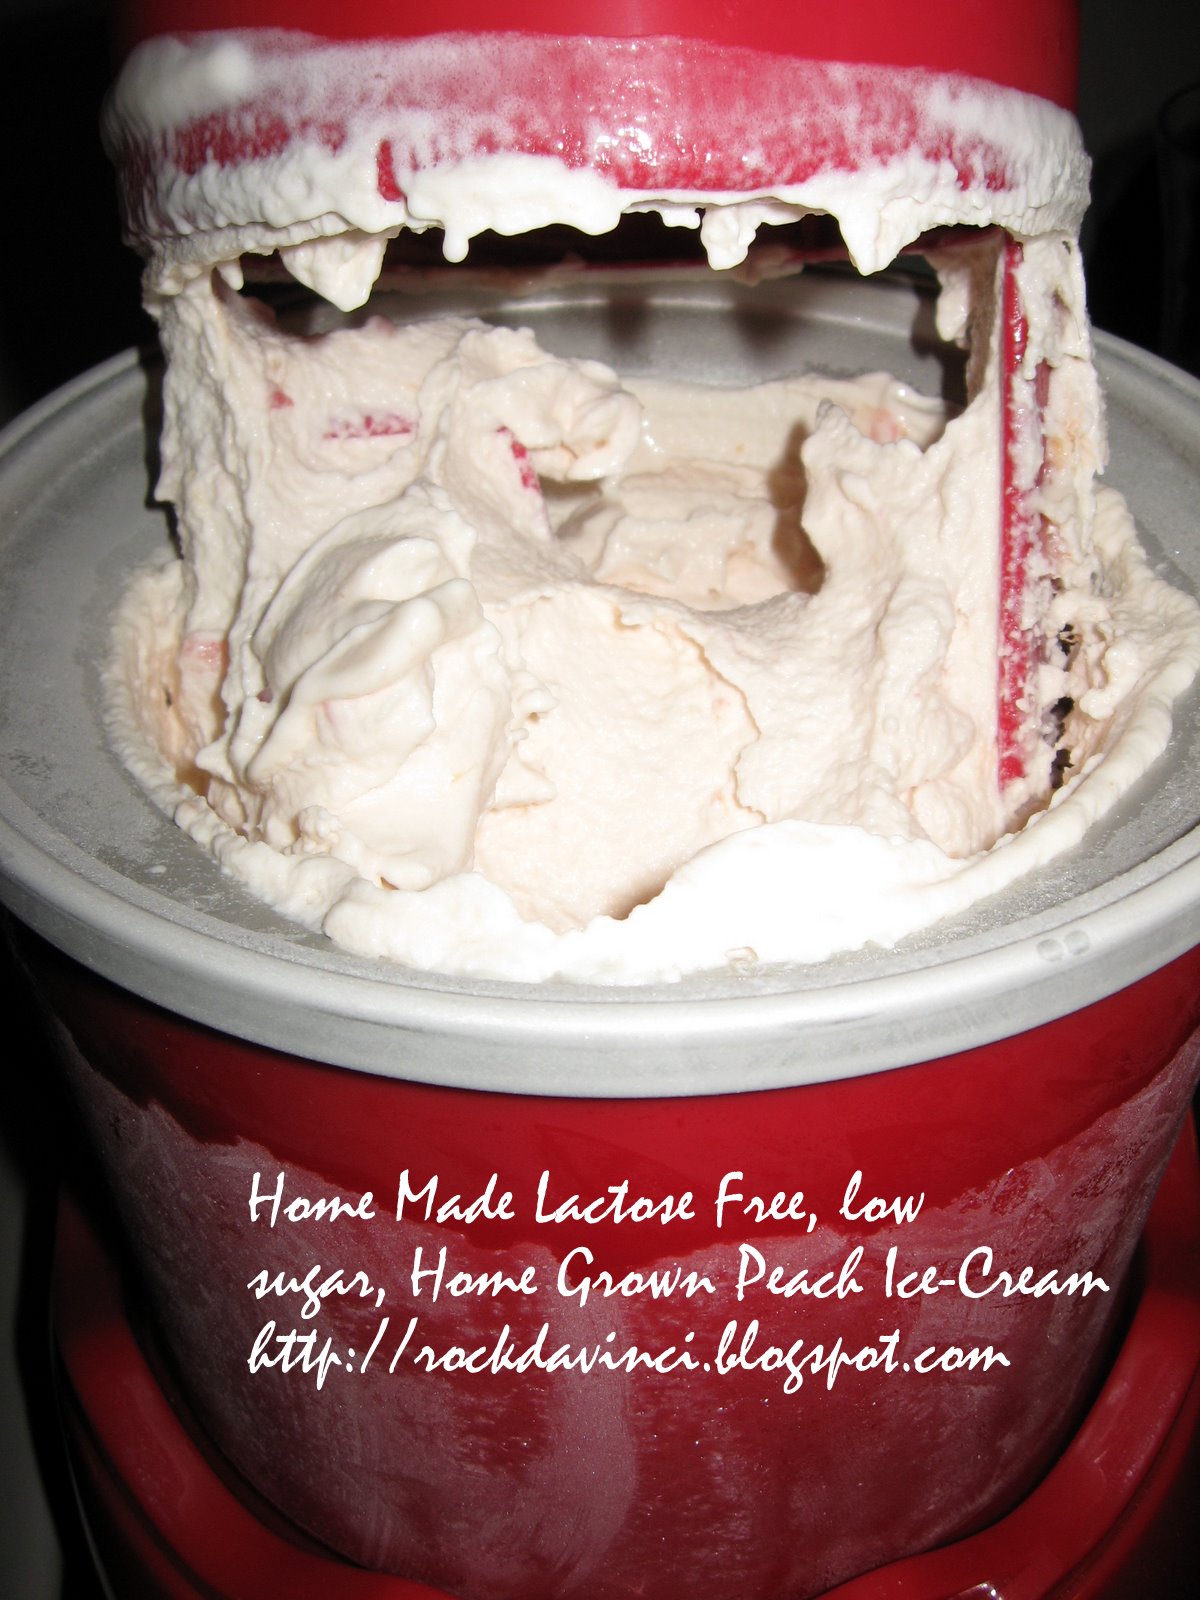
Serve with fresh whip cream or homemade ice-cream.

** So the pie is ready when the internal temperature reached 200 - 207'F.

I changed my recipe to read to use dried cranberries that have been soaked for 30 min, then, strained.  I forgot that in the open pie, when the dried cranberries or raisins are exposed to the heat, they tend to burn. The pie looks good.  It's cooling off right now. 

* By the way, it was Delicious - it was tangy like the way I wanted.  Crispiness... well, I maybe able to do that the next time if I didn't double pan to bake - put the pie tin on top of a baking sheet (double panned).  That took a bit long to bake to brown the pie dough, so the pears have the usual nice baked texture.  Not mushy, but softer than I wanted.  But perfect sweetness...; Pie crust was delicious as well.