Saturday, November 14, 2009

FUYU Bundt Cake


FUYU Persimmons are our favorites or any of the non-astringent crunchy type persimmons are.  The best one to bite into is the Giant FUYU KAKI.  Love the crunchy and sweet taste and interesting level of textures in one fruit.  And we love the beautiful orange color in the autumn.
I came across this recipe from http://www.sdfarmbureau.org/FUYU/recipe.html.
I find it interesting that FUYU persimmons are used rather than the cone shaped astringent type for baking. But I jump right into and tested it.  The bundt cake came out beautifully.  I think it tasted better on the 2nd day.
My variation to this recipe is that I used 4 tsp of lemon juice rather than 2.  (I didn't want to waste the extra two tsp of fresh lemon juice that I got from the lemon in my garden.)

Enjoy!


Persimmon Oatmeal Cookies


While researching about 'how to dry persimmons' on the net, I came across persimmon cookies recipe at this site.  I am not going to print it here as it is not my recipe.  But here is the site address:  http://www.seedtosupper.com/persimmons.html  and you can get much more interesting facts on persimmons than mine.
For this recipe, 1 cup of fully ripened persimmon pulp was used.  My taste test on this is that I don't really taste the persimmons in it.  I taste more of the oatmeal and spices than persimmons in it.
Perhaps, cutting down on the oatmeal entirely or measure down to 2/3 or 1/2 or 3/4 Cup would do.
Only testing would tell.  But it is a good recipe to start my adventure with baking with HACHIYA persimmons.

Modification in the recipe of mine included the following ingredients:
1 tsp Vanilla
3 Shakes of Chili Pepper Flakes
a Couple of shakes of Lemon Zest ... about 1/8 tsp but could have used 1 tsp of fresh lemon zest.

The Fall Jewel - Dried Persimmon Progress Report

I thought it may be interesting to note the progress at which the cone shaped astringent type persimmons were getting their dehydration -- in my garage.  I still have the concern with birds in the backyard and pollution in the air, so I have not built this dehydration tree using dowels that I got.  I need to do that, however, since I will be cropping a lot more persimmons today.
So Day 1 and and Day 2 images of persimmons show the varied degrees of moisture loss.
Outer fresh starting to look dry.
I decided to "massage" one of them as described in the process at some of the Japanese website regarding drying persimmon - HOSHIGAKI.
The experience is interesting enough to say, if you have not tried it - you should to understand what I am talking about.
At first, the persimmon felt like a unripe Avocado.  But as you start to gently squeeze a bit, you will feel the inner membrane move around.  Then, you gently massage a bit more without making any break on the outer fresh, and you are done.  According to some Japanese website related to drying persimmons, they do this daily.  Surely, the persimmon that I massage got orangish ripening look the next day more than the others.  So, I decided to massage everyone.  (with gloves, of course for the food service type.)
By 5th day, this morning, when I checked, the outer fresh is quite leathery.  They have lost 60% of the moisture.


3:30 pm 11/14/09 - Found out why the 'massaging' of hang drying persimmons are beneficial.
I just so happen to go through garage in the afternoon and found these persimmon's colors are different then in the morning around 9 am.  They look more orangish.  I think the massage has brought the moisture - the 'juice' to the surface.


Also, here is photos of whole and halved ripened astringent type persimmons that were dried in the dehydrator.  Tasted awesomely delicious.  I only got three left.  Others, I made Persimmon - FUYU Bundt Cake (FUYU non-astringent type) and Persimmon Cookies (astringent type).   I will post those later tonight.


Wednesday, November 11, 2009

The Fall Jewel - PERSIMMONS (DRIED KAKI)


After looking into how Astringent type Persimmons were prepared traditionally, I decided to try it myself.  It just so happen that my relative has a persimmon tree, but it is not the FUYU KAKI (persimmons) that we like, but the large cone shaped Astringent type persimmons.  They adorn the beautiful autumn's blue sky view at dusk.  I always wondered if anyone ever got hit on the head by one of those cone shaped persimmons that no one seems to care to enjoy it as much as other non-astringent type persimmons.  My mother remembered those persimmons and wanted to check right into how to dehydrate them.  It brings back the fond memory of 'HOSHIGAKI' (dried KAKI) we used to enjoy in Japan.  Why not make our own?  but how?  what are those 'white' powdery stuff that we always see covering the dried persimmon?  do we need to use sulfur?
Thank goodness to the Internet information access.  We soon got immersed with the How To's of drying the HACHIYA (astringent) type persimmon to one of favorites.  According to several websites, astringent type persimmons start to lose its 'tannin' content as it ripes -- as it ripes, it releases the CO2 and tannin disappears as well.  I do not know the exact chemistry on this, but I trusted it.  But I can't wait for 100's of this astringent type persimmons to ripen.  I don't think you will like to clean after the mushy blobs everywhere.  So, the alternatives as described by the experts were to dehydrate them.  Use dehydrator or sun and wind dry the whole persimmons.
As you can also find the similar information on the internet, in fact, much more detail than mine, I am going to share how I did mine.


DRIED PERSIMMONS - HOSHIGAKI
Equipment:
Dehydrator
Strings 12" long
long dowel or bamboo pole and something to prop them high up off the ground.
Sharp paring knife
Cutting Board

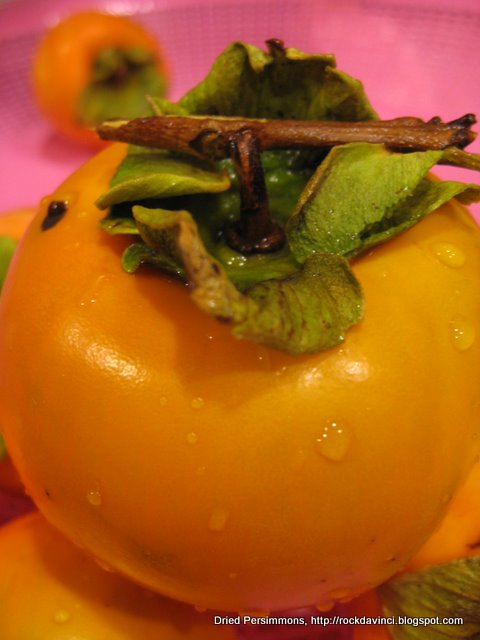
1.  Gather persimmons off the tree with stems on.
Persimmons should be somewhat orangish in color and firm.
If the persimmon skin is translucent looking, it is likely already starting to ripe and soft - do not use for drying, unless you want to try what I am trying.
The stem will be used to tie the string around it.  So, be sure not to pluck the persimmons off the tree, but either use garden scissors to cut at the stem or use fruit picker that would leave about 1/2 inch of stem.  The best is if you can managed to cut the stem into 'T' shape.

2.  Wash and rinse persimmons.


3.  Carefully remove the leaves around the stem.


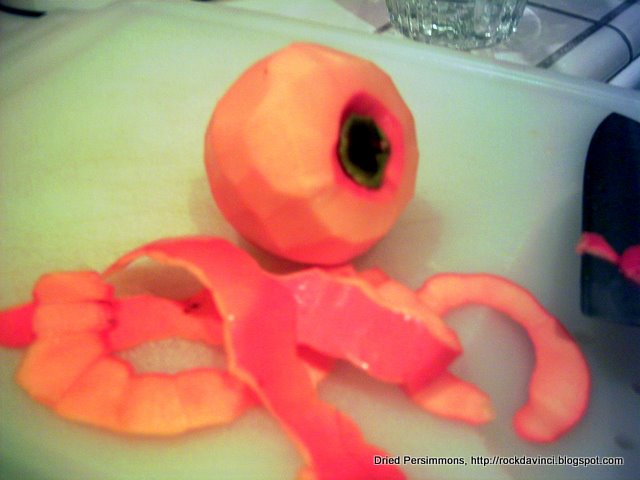
4.  Peel the skin - skin needs to be removed in order to complete the drying process and to allow CO2 to escape to cause 'tannin' to disappear.  & Afterall it is this 'tannin' that keeps people away from eating the astringent type persimmons vs. eating FUYU persimmons while it is still firm for that crunchiness.
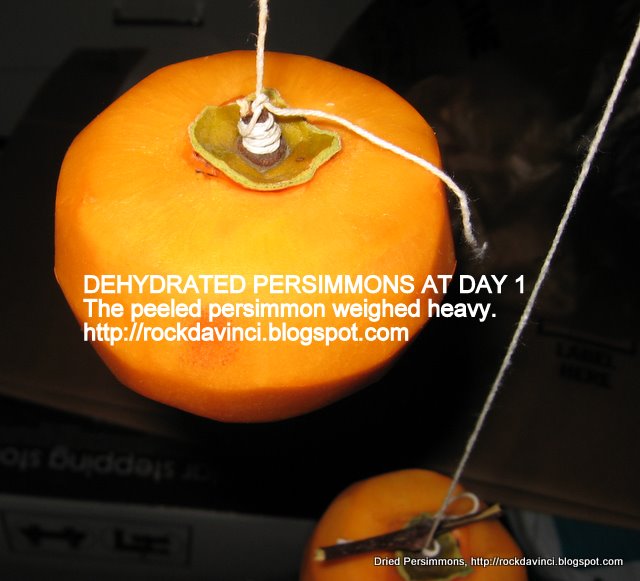
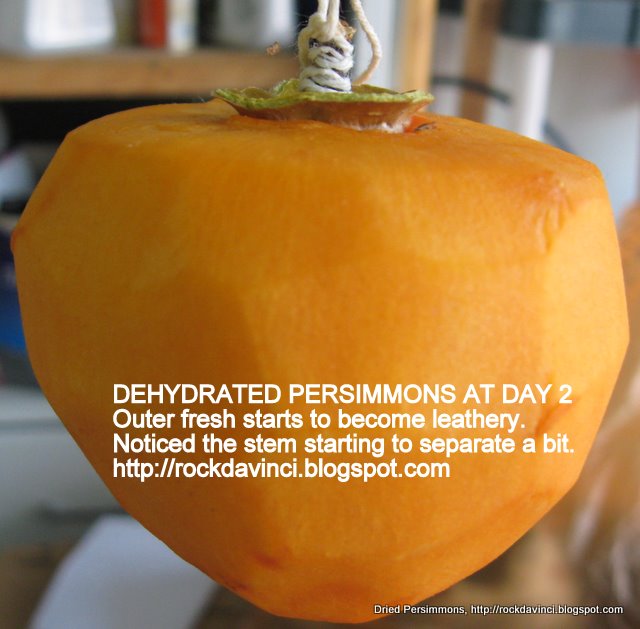
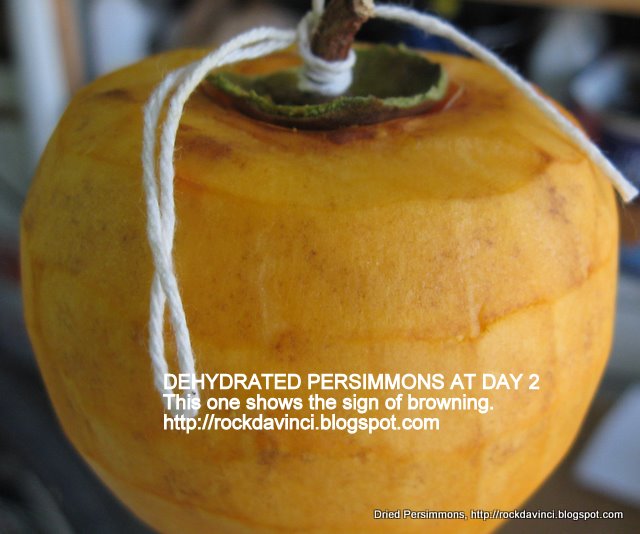
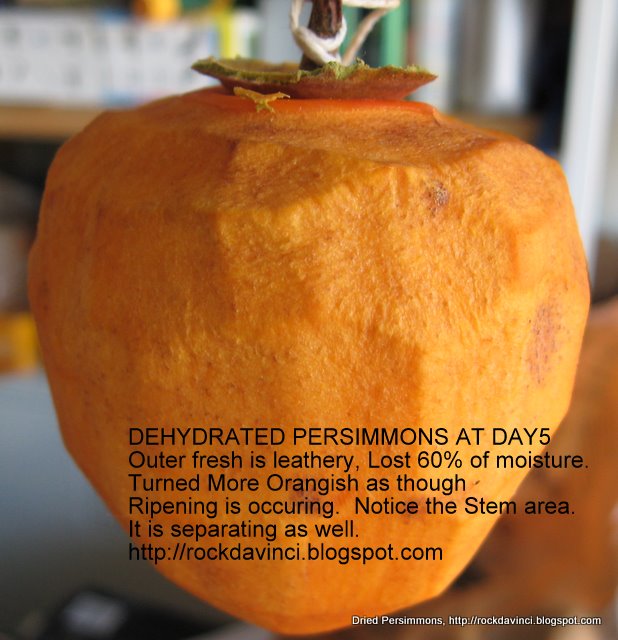
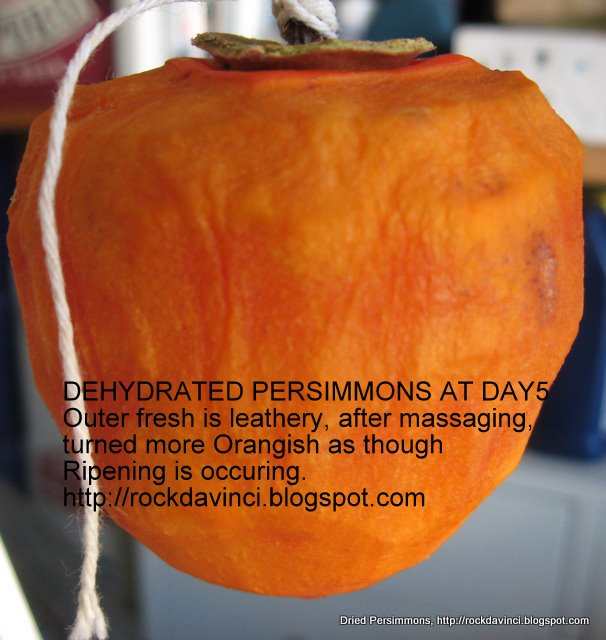
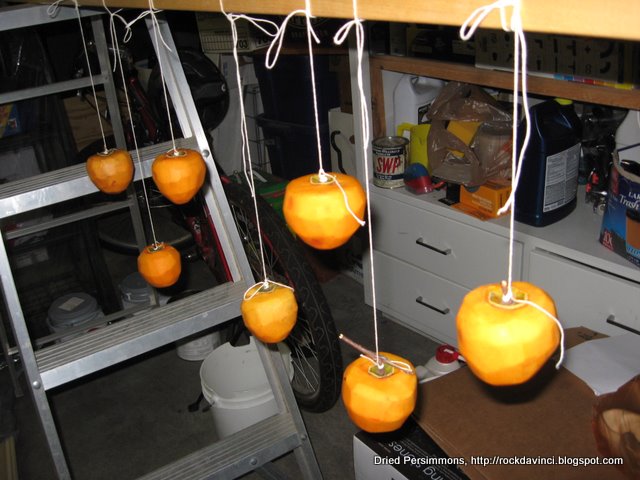
5.  Air dry method:  Tie the string to the stem.  Hang dry on the pole you prepared.  Old bicycle tire frame will be perfect also to hang persimmons off of.  Takes about 6 to 8 weeks, depending on the size of the KAKI.
I am drying mine in the garage. My concern with drying outdoor is with bugs and polluted air and maybe even insecticide that county office might spray to spoil my beautiful persimmons. Honestly, dehydrator is a better tool.  To test outdoor air dry - I am also building a drying rack using 2" dowel as the pole and use 4 of 1/2" dowels to drive through the holes I make on the 2".  Then set it in the garden umbrella's pole stand.  This will give me a chance to dry them outdoor and bring them into garage during the increment weather.
If you have a free mobile metal-bar coat/dress hanger on the wheel, you can use that to hang persimmons off of, too.
6.  Dehydrator method:  Slice each peeled persimmons to 1/2 to 3/4 inch thick.  This is personal preference.  I like thick cut dehydrated fruit over 'chip' like crunchy dried fruits.  Follow manufacturer's recommended temp and length of time.  I set mine to 105'F to 115'F & for 22 hours.

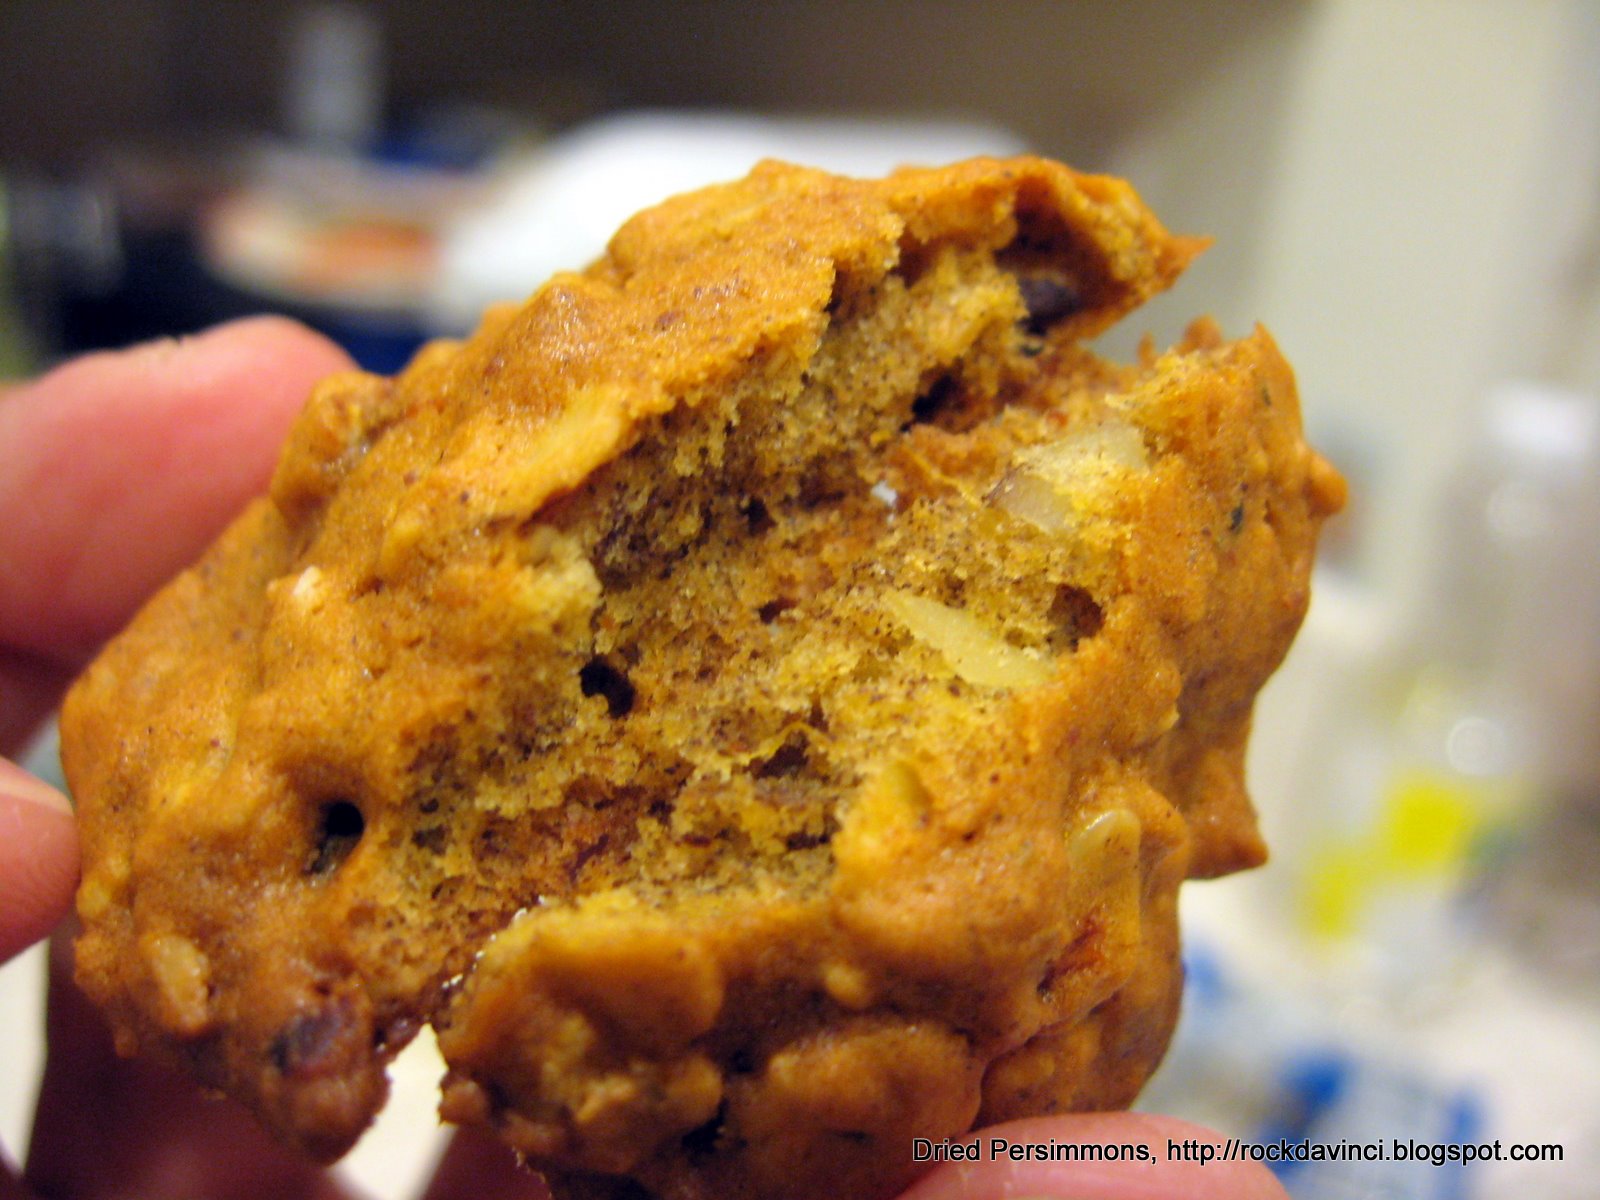
RESULTS:   Is it true that the 'tannin' disappeared when the peeled astringent type persimmons were dehydrated? 
Dehydrator Taste Test - After 18 hours of dehydration, I tasted the 1st slice on the rack - YES!  I was able to consume it without suffering the severe dry tongue reaction one can get from eating the astringent type persimmons; however, a trace of it is detected in the mouth afterwards.


Air Dry Taste Test - This is only the 2nd day of hang drying, so will update this 6 weeks from now.
Resources: 
http://www.sdfarmbureau.org/fuyu/dried_fruit.html

http://www.sdfarmbureau.org/fuyu/index.html

http://www.seedtosupper.com/persimmons.html

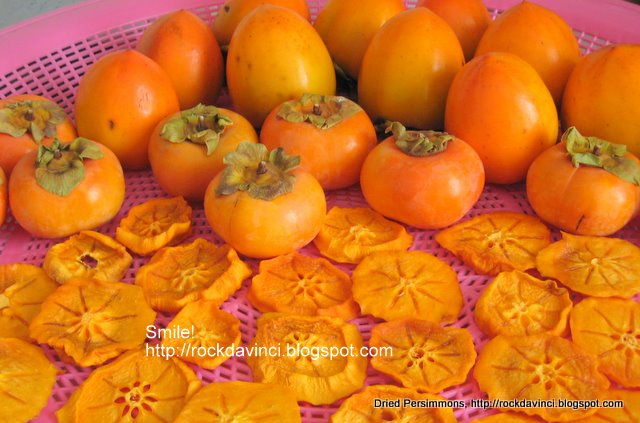
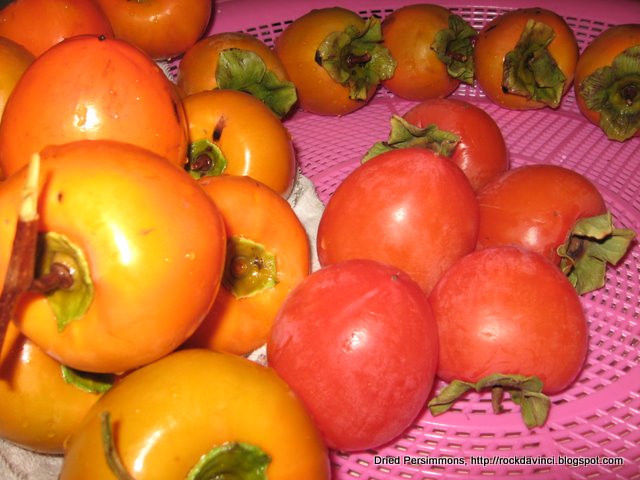
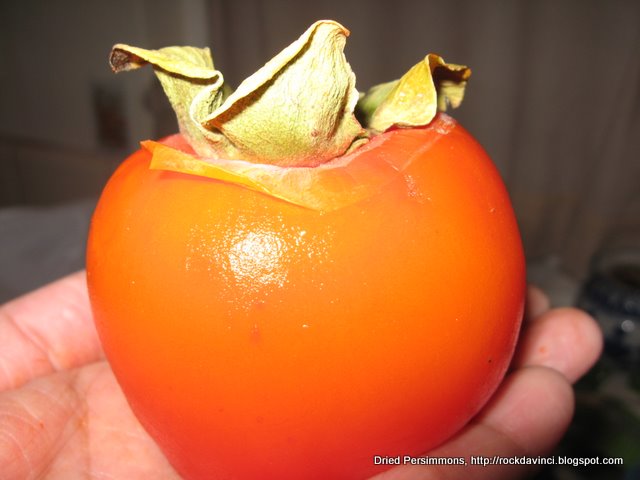
Can you tell which one is the ripened persimmons, and which one is still the young persimmons by looking at it?


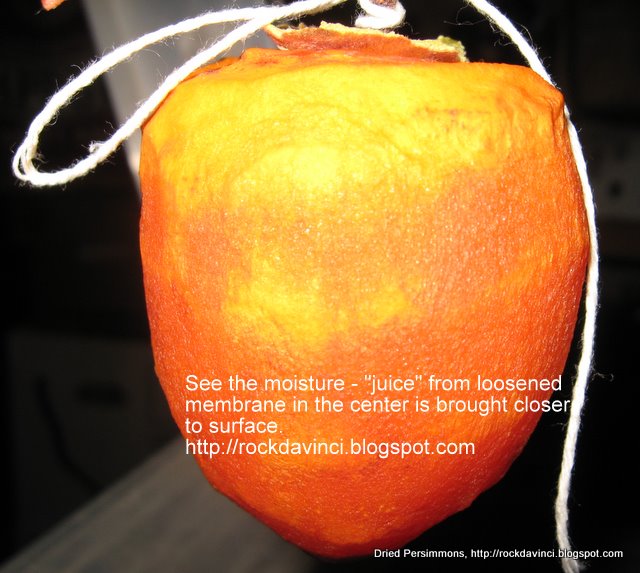
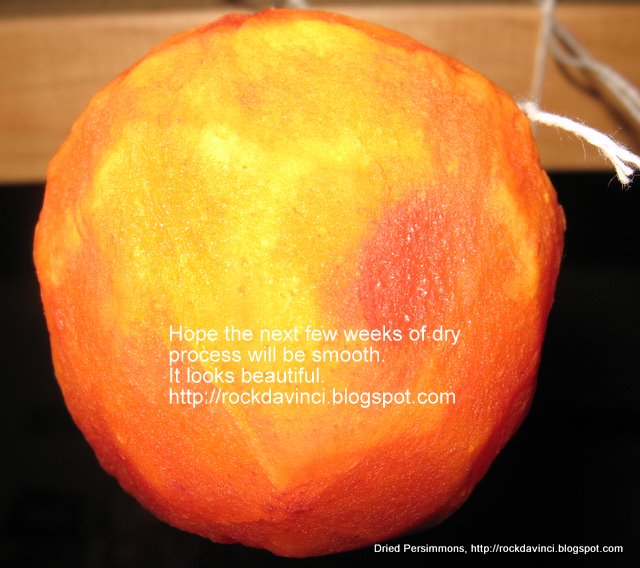
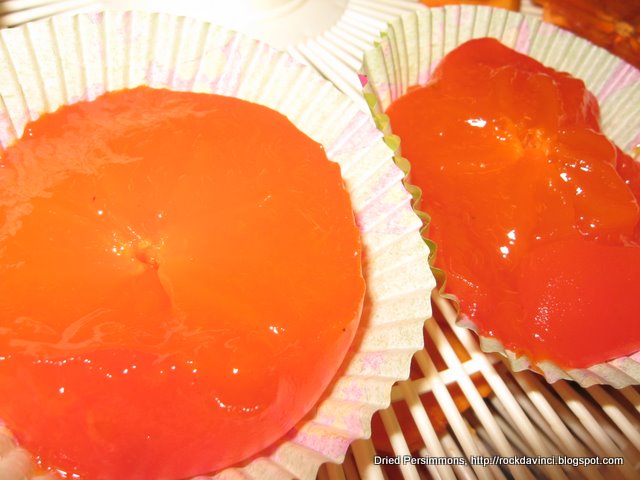
Fully ripened persimmons can be peeled like ... in summer when you get sun burnt and  your skin begin to peel.  If you gently pull back the peel the same way, the peeled persimmon would keep it's shape (see below).  A taut flesh is exposed and that keeps it from deforming. 

 I sliced the ripened persimmons into halves and place them in the paper cup cake cups.
Then, they were placed in the dehydrator for the full drying process.
Many ideas were posted at other websites to make fruit rolls, jam, smoothies, etc, with the ripened persimmons, but this is what I did tonight.


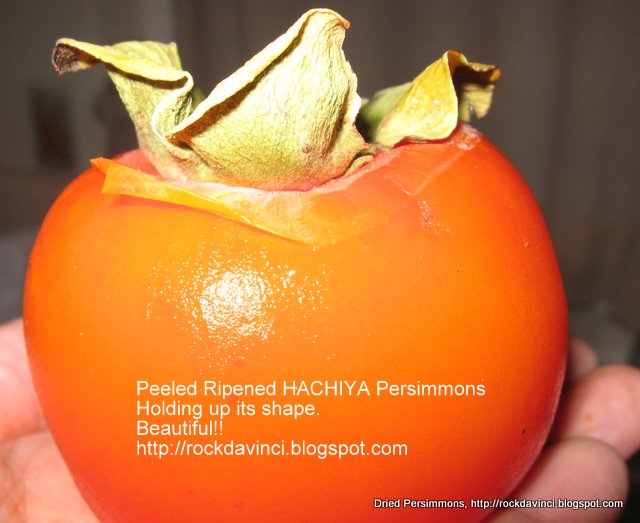
Ripened persimmons peeled and stands up firmly.


Monday, October 19, 2009

Japanese Cotton Soft Cream Cheesecake


About a month ago, I came across this Japanese Cream Cheesecake. It is cotton soft and delicious. It is fluffy and light.
The recipe can be found at its original site:
http://www.recipezaar.com/Japanese-Cheesecake-90032
By: Maeva Recipe #90032 | 1 hour | 5 min prep

This is how mine turned out. 

Please check this blog for the new testing of Japanese Cotton Soft Cream Cheesecake 2010 Aug that I made.  The texture turned out quite differently when the mixing method is changed.  I like the new one much better.  http://rockdavinci.blogspot.com/2010/08/japanese-cream-cheesecake.html

Friday, October 16, 2009

Thai Premium Tea vs Thai Tea

More information on the Thai Tea fan.
There is Thai Tea without food color.
Obviously there are community of Thai tea loving citizens discussing how to make the best Thai Tea at home and concern with the food color in some of the Thai tea brand.
Sribhud Thai iced tea at http://www.patsongroup.com/premiumtea.htm
and at Wirun - the website is still under construction. http://www.thaiteasuwirun.com/
Both vendors claim to sale "Premium Thai Tea" without color added.
Update:  So, I finally got this Premium Thai Iced Tea, 1lb/pack from www.mythaitea.com or www.sribhud.com.
The taste is wonderful.  When you perk/brew it for 7-10 minutes, the aroma of the Black Tea is quite strong, so is the taste.  When the condensed milk and milk are added, mixed, and poured over the glass of ice - the taste is wonderful.  & the best -part - no food color.


Thursday, October 15, 2009

Polly's Pep Oatmeal Cookies

I thought I should type some recipes tonight, so here is one that I invented.  This is a cookie recipe I came up last year.  It is an excellent addition to your gorp to take along to the hiking trip.  It will give your taste bud an awakening experience and tired body a zing! from the surprise chili pepper in this Oatmeal cookies or bars?  The consistency of this cookie is close to a bar cookie rather than the soft chewy oatmeal cookies.

Yield:  24
Preheat Ovent to 350'F          Bake at 350'F 7 to 10 min.
Tools:  Measuring spoons, measuring cups, spatula, medium size microwavable glass mixing bowl, Cookie Sheet, Silipat (if you have one), or parchment paper (silicone base), cooling rack, oven mittens. Anything else you can think of.  :-)

Ingredients:
1 C Old Fashion Oatmeals
1 Stick Butter
1/2 C Pure Cane Sugar
1/2 tsp Soda
1/2 tsp Baking Powder
3/4 C AP Flour
1/8 tsp Kosher Salt
Chili Pepper Flakes

Procedures:
Mixing:
In a medium size glass bowl, Mix and Microwave - 1 Minutes -  1 Cup Oats and 1 Stick Butter first.
Stir to make sure that Oatmeal is somewhat cooked in the melted butter.
Take out and stir--becareful, it is hot.  Stir to COOL--about 2 minutes.
*Remember, you will be adding baking soda and powder, so the mixture should be cool.
Shift Flour, Baking Soda, and Baking Powder, Kosher Salt toghther.
Add them to the Oatmeal mixture.  Sprinkle in Chili Pepper Flakes - give a three shakes.
*Depending on the size of the holes of the chili pepper shaker or the amount you and your family or the loved ones can handle, sprinkle with care.
Use your hand to mush them together into a coarse meal.

Panning:
Prepare the cookie sheet with parchment paper or line it with Silipat.
Use a Tablespoon and scoop a tablespoon size dough onto the baking sheeting.
If you prefer a super large size cookies.   Go ahead.  Do it.
The dough will feel dry and crumbly.  So, form into the best shape that will hold together.  Round? Square? be creative.

Baking:
Bake for 7 to 10 minutes, depending on your oven's personality.
Take it out.

Cooling:
Do not transfer cookies off the cookie sheet.
Cool the sheet on top of the cooling rack -- so you won't burn your kitchen counter.

Serving:
Wrap them in foil or pack them in a sandwich bag to take along to your favorite hiking trip.
Enjoy!   oh, and don't forget to warn your friends about the surprise in it, the chili pepper flakes or don't forget to ask them if they are allergic to chili pepper, etc.

Fresh Homemade Salsa - for Chips and Dips and for Linguini


Here is a nice homemade salsa that works for two.  One for the chips and dips or serve with linguini.

Yield: Qty - 2 Cups
Tools:  Blender or food processor; measuring cups, cutting board, sharp chef knife; teaspoon, 1 Pint Size Mason Jar, Medium size Glass Bowl, small glass bowl (for lemon and lime juice); option - juicer.  Strainer for pasta, large cooking pot, 10" frying pan, salad spinner, wooden spatula or stir-fry spatula.  Pasta serving plate.

Ingredients:
1 large Ripe Tomato
2 Romano Tomatoes
Lime Juice from 3 Large Limes
Lemon Juice from 1 Large Lemon from home tree
1/2 of Medium Onion - Chopped finely
1/3 C Cilantro leaves
Dash of Kosher Salt
1/2 C Vinegar

Procedures:
Cut and deseed tomatoes.  Chop tomatoes into small chunks.
Chop up Onions as small as you can, but not minced.
Wash Cilantro well and if you have salad spinner, spin to remove excess water.
Tear off all the leaves.
Juice Limes and Lemons into a glass bowl.  --Cut lemons and limes into halves.  Hold the halved lemon in the palm of one hand and Insert a teaspoon to the center.  Wiggle the teaspoon back and forth to squeeze the juice out.  But, if you have a juicer or any other means to get juice out, that will work, too.
Put all in the Blender.  Process for 5 to 6 seconds at Pulse Speed.
Transfer to the Clean, very clean Mason Jar.
Serve or Keep in refrigerator.

Lemon Lime Shrimp and Mushroom Pesto Sauce over Linguini
Ingredients:
1 pkg Linguini - Boiled and strained
1 pkg Mushroom - washed, strained/dried, sliced or chopped
1 lb Precooked frozen shrimp or raw is okay, too.
1/4 Cup Pesto Sauce
3 TBsp Butter
Kosher Salt
Lemon juice - from 3 Lemons
Lime juice - from 2 Limes      *squeeze both juice into the same glass bowl
Dash of Red Chili Peppers

Procedures:

Boil Linguini to the softness your family like.  If you are carb conscience, buy the pasta with "protein" in it, which maybe better than the regular pasta for your diet.  & you can use Linguini or any other pasta of your choice for this dish. 

WASH, STRAIN/DRY, OR CUT:
I like to wash Mushrooms.  Wash them quickly and remove all the dirt and rinse thoroughly and quickly dry them.  If you have a salad spinner, spin dry them.
Slice them or Chop them up into small pieces.

If you have raw shrimps, wash them in salt water and rinse them well or use precooked shrimps - whichever, wash them with salt water and then with clear water.

STIR-FRY:
Stir fry - medium heat - mushrooms first in 10" frying pan with 3 TBsp of Butter.
Stir fry until you start to hear sizzling sound and juice from the mushrooms are drying up - approx. 10 minutes.
Add 1/4 CUP of Pesto Sauce.  Stir quickly and Add shrimps.
Stir fry - medium heat - until raw shrimps turn white and orangish - approx 3 min. Or if stir-frying precooked shrimps, then cook till they are heated through.
Add Lemon and Lime juice.
Add a dash of Red Chili Pepper, if you like to give a bit of kick.
Turn heat to high to sizzle everything.
Remove from heat.

SERVE:
Serve the sauce over the prepared pasta.


Serving Idea:  Serve Lemon Lime Salsa on top of Linquini, or the Lemon Lime Shrimp and Mushroom Pesto sauce over the Linguini.
Enjoy!