Wednesday, June 16, 2010

HIYASHI SOBA

Traditionally in summer, instead of UDON (hot style Japanese noodle soup), we enjoy HIYASHI SOBA, the cold noodle.  I sometimes use SOBA, sometimes SOMEN, and sometimes, Angel Hair PASTA.

Serves 4
Ingredients:
1 package of SOMEN or SOBA (3 rolls)
2 eggs
1 tsp sugar
pinch of salt
1 Tb water
1/2 Tb vegetable oil
1 large cucumber or English cucumber
1/4 lb Ham

Sauce:
3 Tb Soysauce (Low sodium)
6 Tb Rice Vinegar
2 tsp+ Sugar to taste
2 Tb Sesame Oil

Prepare the SOMEN or SOBA as directed.   Rinse with \cool water.  Set Aside.
Beat 2 eggs with sugar and salt and water.   Visually divide the beaten eggs into 2 or 3 egg 'pancake' - 8" to 10" round (frying pan size).
Over medium low heat, fry the beaten egg to make thin egg 'pancake'.  If you have rectanglur frying pan, that is okay, too.  Flip the whole egg sheet over to brown the other side.
Transfer to a plate to cool completely.  Repeat with the rest of the beaten eggs.
Julian cut all cucumbers and ham.
Cut egg sheets into thin strips.

The sauce is suppose to taste sweet and tart salad dressing like.  Mix all sauce ingredients together, except sesame oil.  Add more or less sugar to taste. 
Arrange noodle in a plate.  Top cucumbers, ham strips, and egg strips.
Drizzle with Sesame Oil - no more than 1 to 1-1/2 tsp per plate (or it will taste bitter and greasy - what we want is the 'aroma' of sesame oil.)
Spoon the sauce over the noodle.  Enjoy.

Variation:  Slice bell peppers, add blanced bean sprouts, if you like.
I like to eat mine 60% cucumbers 35% noodle, 2.5% ham, 2.5% egg strips.  I also like to add a bit of NANAMITOGARASHI - Japanese ground 7 (seven) flavor Chili Pepper with the sauce.

Tuesday, June 15, 2010

Polly's MITARASHI YAKI DANGO #3

6/16/2010 Update - Status of the YAKI DANGO after 24 hours made with "glutinous rice flour" --"Bot Nep."  At 8th hours on 6/15, it still felt soft, but with a sign of rigid center. Tonight, 6/16, it is showing the solid rubber ball firmness all around.  To revive its freshness, reheat the YAKI DANGO in the microwave with loose microwaveable cover for 20 seconds & wait for 5 minutes to cool down.  At this point, you should refrigerate or just enjoy it.    *Never bite into glutinous rice cake or ball when it is steaming or hot to the touch.

So, the MITARASHI YAKI DANGO #2 had a very good result.  Now, it's the question of whether other "glutinous rice flour" could do the same.  Since I've purchase a several different brands and types of rice flour.  I thought I will give it a try.  As it is explained in other food blog websites, how the rice flour is processed and made make the difference.  As I do not have information on how this particular brand's glutinous rice flour is manufactured, the result would be unpredictable.  But, it has a picture of wonderful looking delicious Chinese pastry - "YUAN", equivalent to Japanese DANGO, why not give it a try. 
The same recipe from MITARASHI YAKI DANGO #2 from my food blog is used.
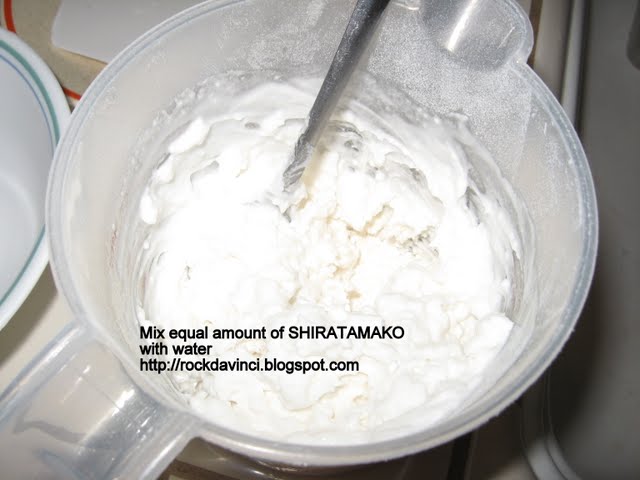
250 g + 60 g = Total 310 g of glutinous rice flour
250 ml of hot water
(Click on each image to view other Notations.)

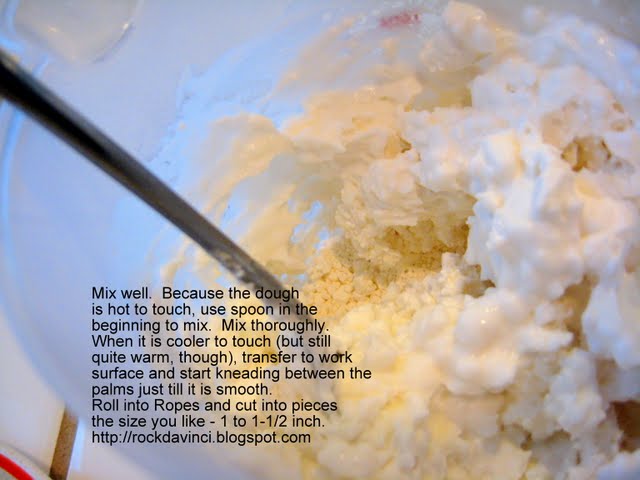
I can already see the difference of this glutinous rice flour and SHIRATAMAKO.  While DANGO#2 recipe for flour to water ratio formed a firm rice ball, this one is rather soft.  So, I added 20 g more of rice flour at a time.  Total of 60 g more of glutinous rice flour. 
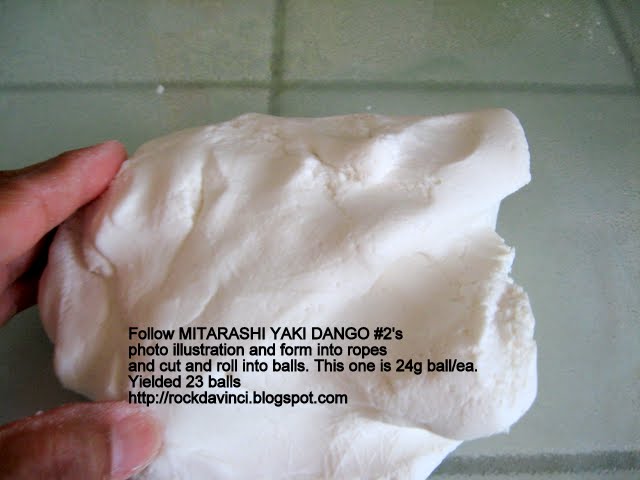
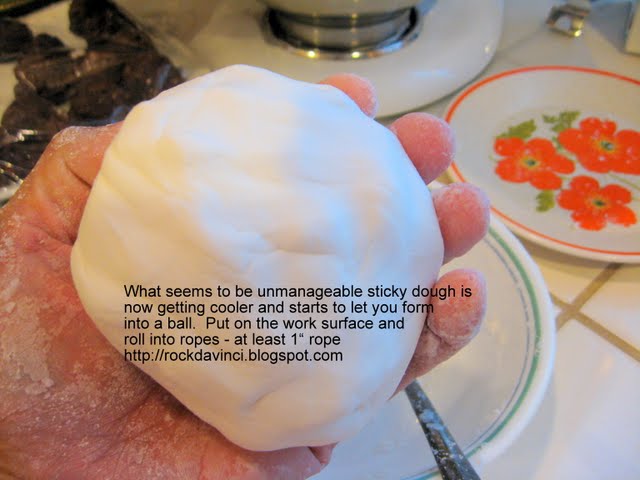
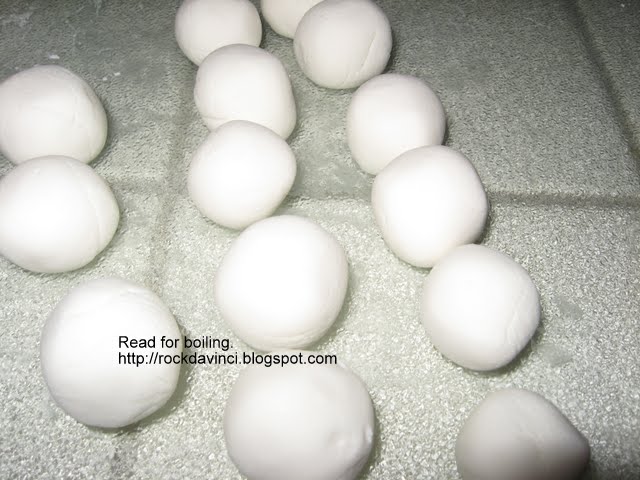
Knead, cut and roll into ropes and cut into 24 g pieces per DANGO ball or any other size that you prefer.  For children, I would cut it into smaller size.  24 g size is really quite large, but very satisfying size.
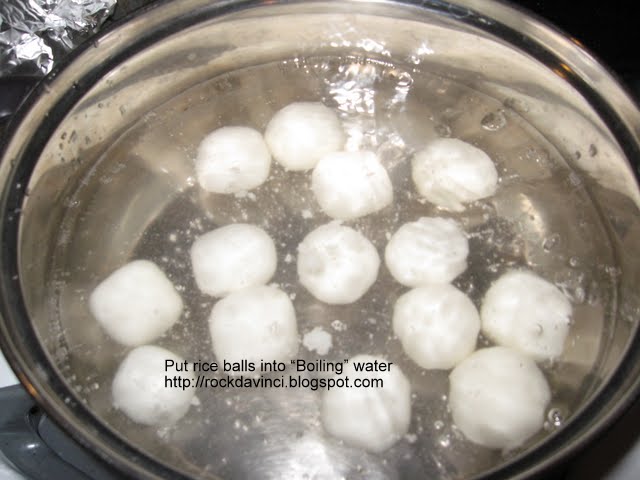
Because I boil them all at once in the same medium size pot with boiling water -- cook 5 minutes longer after they all float.  Stirring occasionally. (Remember to stir to release them off the bottom of the pot the first time you put them into the pot.)  The DANGO should be about time and half size larger than the original.

I sacrificed one of them and cut it open to make sure that it is cooked all the way through - translucent. 
Transfer them into a large bowl with water.
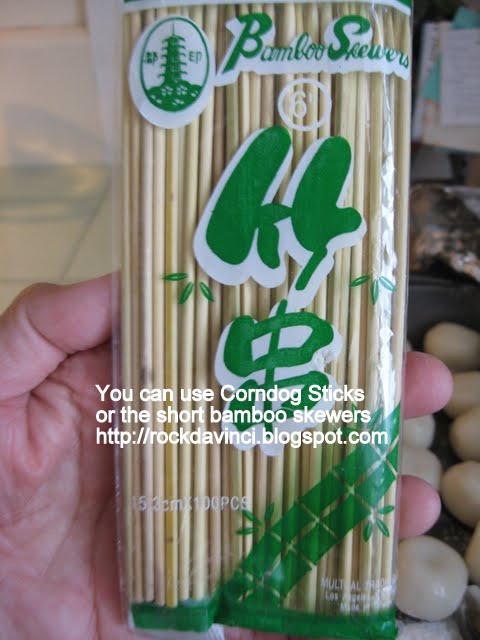
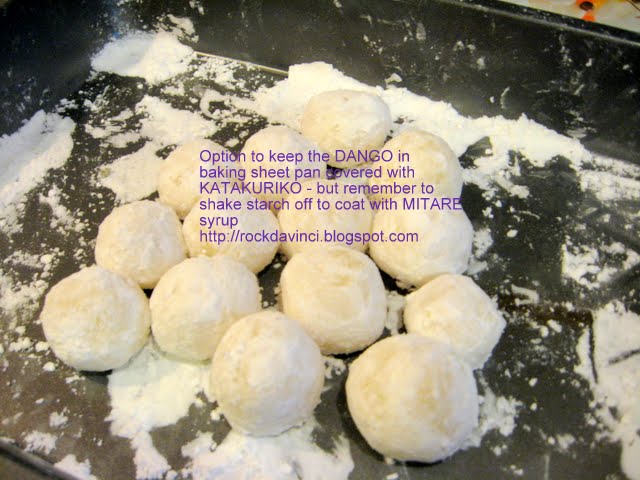
Stir a few times.  Strain.  Set them aside on a non-sticking baking pan.  Separate each one from each other.  Strand them on skewers.
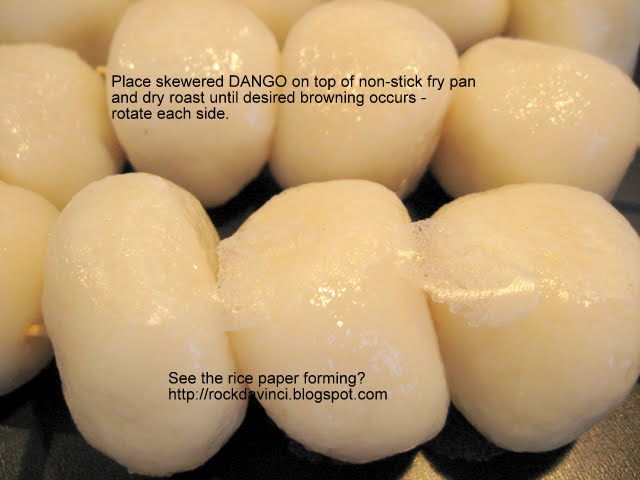
Heat non-stick frying pan over medium low heat on 'small' burner head.
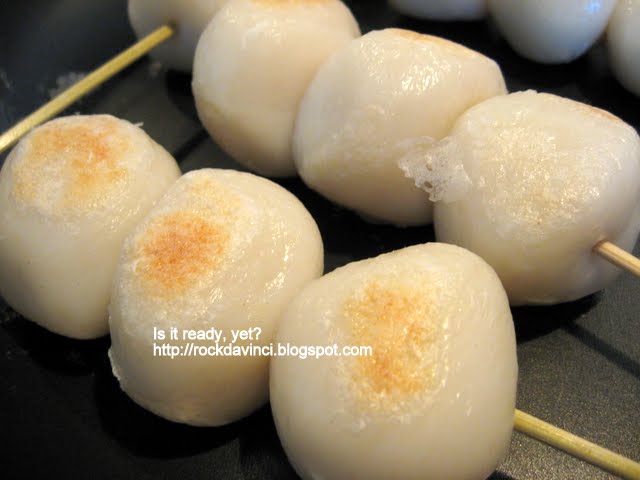
Place the skewered DANGO on the pan to cause browning.
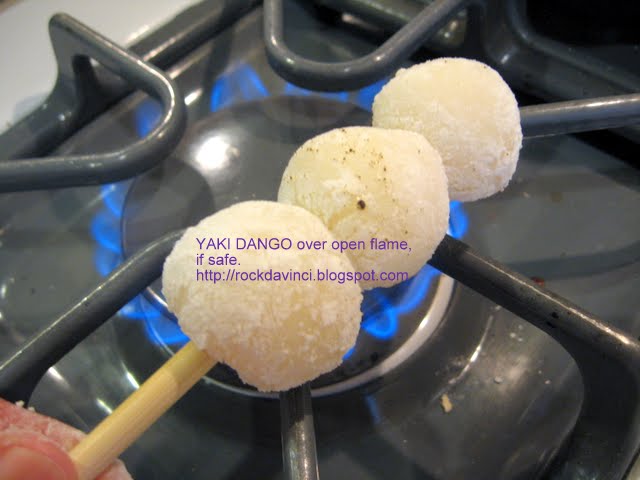
In the previous blog, I pointed out roasting the DANGO over the open heat or using one of the handy Japanese over the stove BBQ grill like gadget, but non-stick pan would work just as well.  The down side is, you need to be careful not to use high heat with non-stick pan. 

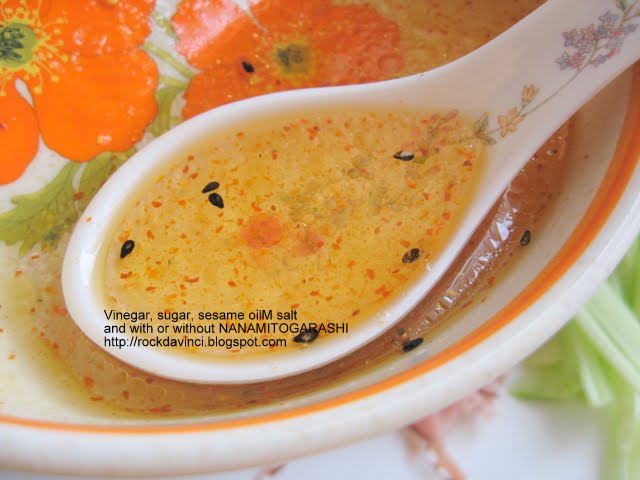
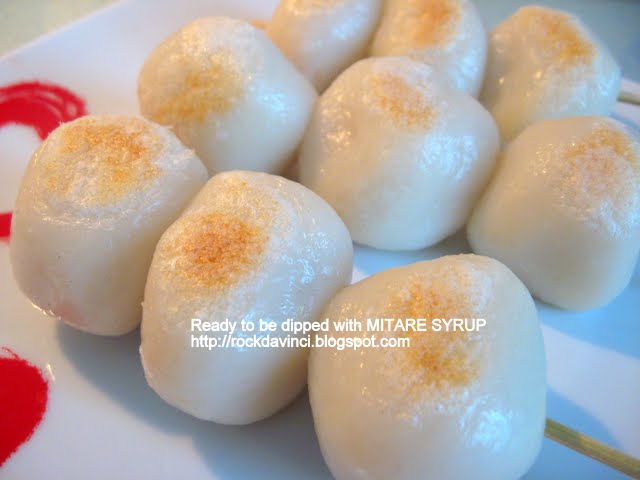
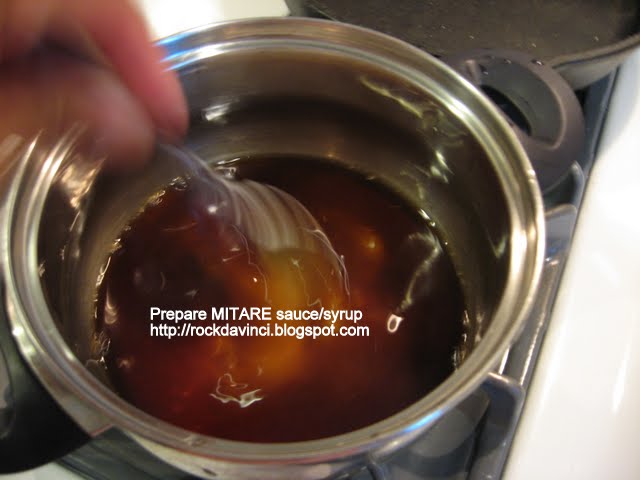
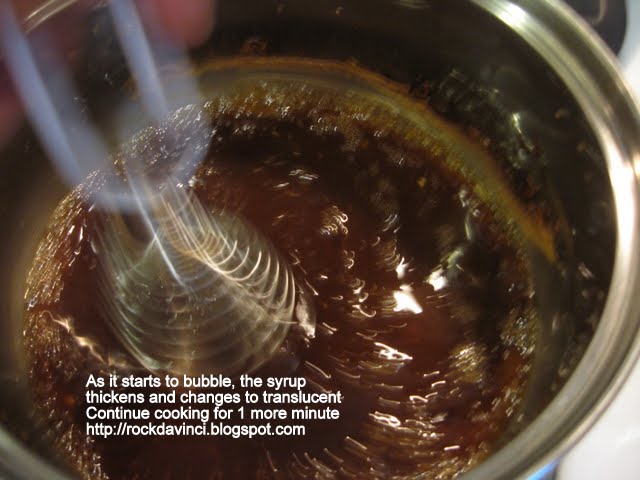
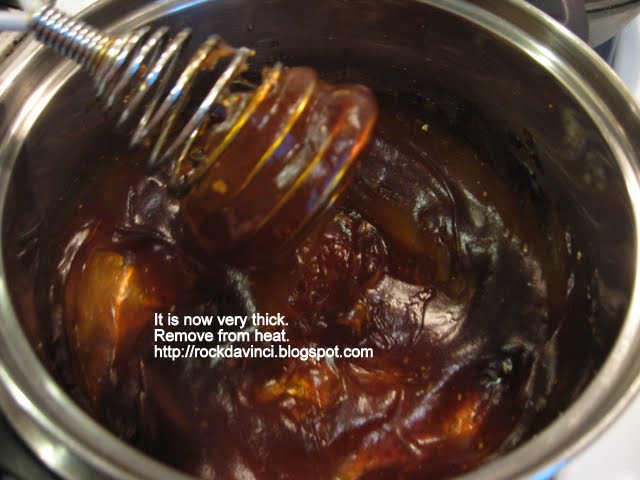
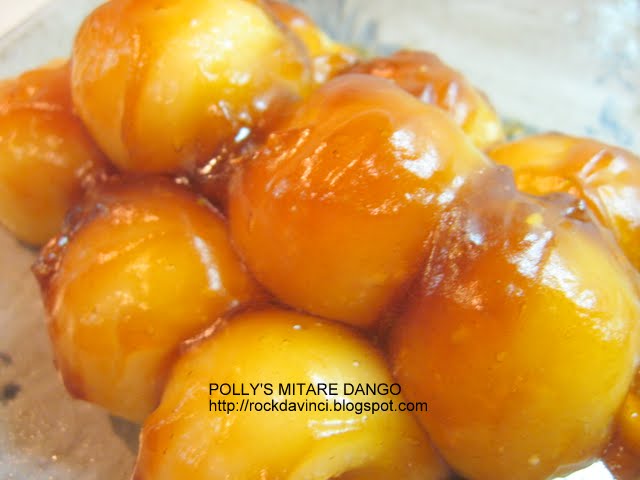
Prepare the MITARE syrup per MITARASHI DANGO #2.  I decided to call it syrup because this is more like snack / pastry category... not like teriyaki sauce for meat group.... anyways.
Use a large spoon and pour, dip, roll the MITARE syrup over the beautifully browned YAKI DANGO.
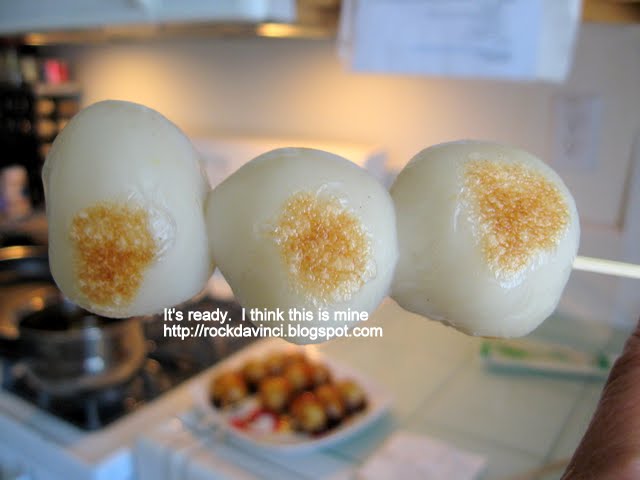
How's the taste of this glutinous rice flour compared to the Japanese SHIRATAMAKO?  it's bit acidy.  I am not sure what it is, but glutinous rice flour from other brands from different parts of Asia seem to smell and taste acidy to me.  It's not a strong taste, but I know it's there.  Overall, if you cannot get hold of SHIRATAMAKO, I say go for it with this glutinous rice flour.  I ate 3 sticks before writing this blog.  :-)
Total yield:  23 balls - 3 DANGO in each stick; Total 7 MITARE YAKI DANGO; 24 g each DANGO;
2 extras for tester.
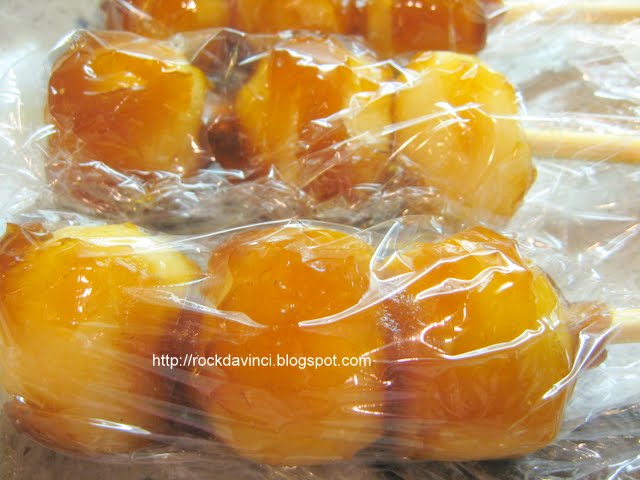
Still soft?  Yep!  It's been 3 hours since I made it.  & if it behaves the same as DANGO made with SHIRATAMAKO, it should remain soft even the next day.  Wrap individually in plastic wrap to store.
Visit this blog on YAKI DANGO #2 for the better retention and taste.  http://rockdavinci.blogspot.com/2010/06/pollys-mitarashi-yaki-dango.html

Friday, June 11, 2010

Polly's MITARASHI YAKI DANGO #2


I used the other half of the SHIRATAMAKO (glutinous rice flour) left from making DAIFUKU MOCHI to make my favorite childhood treat - MITARASHI DANGO  I found this recipe at
http://www.daiwafood.com.au/shop/index.php?main_page=recipes&recipe=20

Since I only had 1 Cup of SHIRATAMAKO left, it weighed 129 grams.  But I noticed the quantity of water is the same as the flour's, so I added 129 ml of hot water as well.


MITARASHI DANGO
Serves 4
TIME: 20 MINUTES
Tools:  1 small saucepan; 1 medium saucepan; measuring cups and scale. Large spoon; ladle;

a Bowl with water (room temp); plastic wrap; 4 short bamboo skewers, if you have any; Whisk; special Japanese style over the stove burner to brown the DANGO.

INGREDIENTS:
DANGO DOUGH
SHIRATAMKO 250 g   ("glutinous rice flour", but use Japanese "SHIRATAMAKO")
Hot water 250 ml

MITARE (sweet sauce for the DANGO)
Sugar 100 g
Soy sauce 50 ml
MIRIN   30 ml   (Japanese cooking wine)
Water 180 ml
Potato starch 20 g

You will be Kneading the dough, so make sure the water is not heated too hot to handle.

Heat water to medium hot.  Mix SHIRATAMAKO together with hot water (Not too hot)
Mix thoroughly.  (Double click on photos to read some particular notations.)
Transfer the dough mixture to a work surface.  Very sticky at the beginning, but keep mixing.  As the temperature cools and well mixed, it forms into a smooth ball.  
Roll into 1" diam rope.  Cut the rope into equal pieces.  For 1 Cup of SHIRATAMAKO, depending on the size of the rounds, it should yield 15, 1 inch rounds.
Roll the dough between your palms and form into balls.  In the meantime, boil a pot of water in a medium saucepan.  When ready, put rice balls in to cook - 2 to 3 min. 
Stir once to release the balls from the bottom of the pan. 
Then rice balls would float to the top.
Cook one more minute.
Transfer to bowl of water or right on top of sheet pan covered with KATAKURIKO - potato starch.  Or just let it cool in a bowl of water.
The ball should look translucent all around and in center.

Prepare the MITARE.
In a small saucepan, Mix sugar, soy sauce, MIRIN, water, potato starch together.
Cook over medium heat.  In the beginning the mixture would look pasty, but soon as it heats up, it starts to thicken and look translucent.  Continue to stir to keep from burning the sauce at the bottom.  Cook for one more minute.  It should look very sticky.
Remove from heat.
Arrange the DANGO balls on a short skewer stick.  Roll it in the MITARE to coat or spoon the MITARE over and around the DANGO, if the sauce has cooled and thickened.  

Serve.

Variation:  MITARE YAKI DANGO
You can BBQ the DANGO on stick over open gas stove or over the special cooking rack to brown the DANGO.  Be aware that DANGO would seem to start to expand as it heats up.  Do not let it "Puff out".  Keep the stick rolling just to get a bit of browning.  Then, dip the MITARE SAUCE on and serve.


After the DANGO on sticks are cooled, wrap in plastic wrap to store.