It's so easy to get hold of the potstickers / dumplings nowadays at the frozen section of the Asian market. There are only a couple of favorite brands, none that beats my mother's, of course. But nothing is better than homemade Chinese Dumplings/potstickers from scratch. From meat fillings to the potsticker skins. Most of us would refer to the "JIAO-TZE" (Chinese) or "GYOZA" (Japanese) skin as "Wonton" skin, but they are quite different - in thickness and in purpose. However, for the simplicity and modern cooking - nothing is more important than the speed and time at which the dinner is served, so the "wonton" skin would do for most. The following photo journal is to pass on the how to's-especially, to my family of making the Chinese Dumpling the traditional way. I hope it will help all visitors as well. You will appreciate it even more when you learned how much is involved in making a single dumpling skin.
There are two types/methods to make the skin. One method is for dumplings that are to be boiled. The other is for pan fry method that is known as potstickers.
The dough for boiled dumplings should be mixed with room temperature water. The pan fried potstickers' dough should be mixed with hot boiling water.
Pan Fried Potstickers
Yield: 60 pieces
Ingredients:
Dough for Skin
All purpose flour 2-1/2 C
Boiling water 2/3 C
Cold water 1/3 C
AP flour on the side for rolling 1/2 C
Meat Filling - mix together:
2/3 lb ground pork
4 stalks of green onions, chopped finely
1 tsp finely chopped ginger
1 medium Chinese Bok Choi - about 1 lb, chopped in food processor and water extracted
Seasoning:
1 tsp salt
3 Tbsp sesame oil
1/4 t black pepper
1 tsp MIRIN (Japanese cooking wine)
1 tsp soy sauce - Organic TAMARI Wheat free soysauce or Low Sodium KIKOMAN or regular
For Pan Frying:
1/3 C Cooking oil
Serving sauce:
Mix 1 part soysauce to 2 part vinegar and sugar to taste. Add chopped garlic
or your favorite sauce
Tools: Flat bottom Fry pan with 2-inch rim and lid (preferably glass lid); Large surface cooking Spatula; chop sticks; large spoon; 2 medium bowls; straight 8 or 12 inch x 1 in rolling pin (broom stick size dowel); flat work surface; plastic wrap.
Procedures:
In a heat proof bowl, mix flour and hot boiling water; then add water. Knead the dough just enough to form into a "smooth" ball. Cover and set aside.
Chop Chinese Bok Choi with the food processor is the fastest. Otherwise, chop with knife.
Extract Liquid - Place chopped bok choi in cheesecloth and squeeze the liquid out. Squeeze as much liquid as you can. I squeezed it the old-fashion-way between the palms of hands.
Mix together with ground pork mixtures. Add seasonong. Mix very well. Set Aside.
- Cut the dough into halves. Keep the other half in the bowl and covered.
- Pour the 1/2 C AP flour onto work surface on a side.
- Roll the dough into a long rope. Cut a dough piece large enough to roll and form into a 4-inch diam circle. There should be enough to make 60 potstickers.
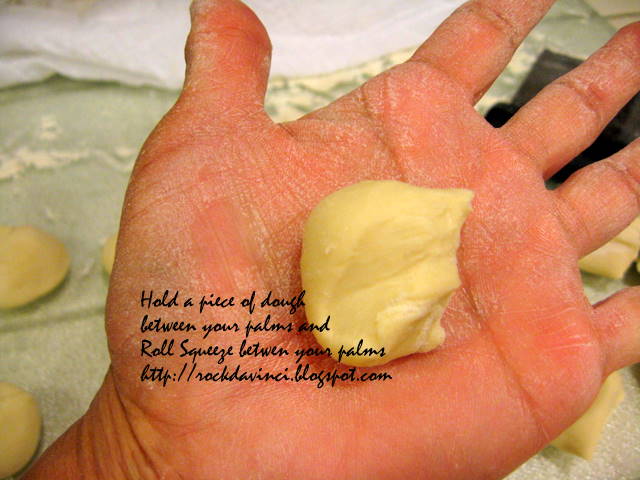
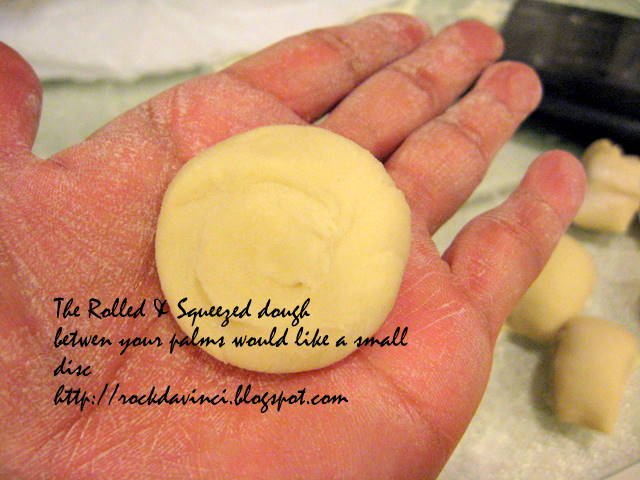
- Quickly, take a piece of dough and place on top of one palm and start squeeze and roll at the same time in a circular motion between two plams, first into a ball form, then, squash into 'disc'.
- Coat each piece of dough 'disc' formed into the flour that is on the work surface to keep it from sticking to others and keep it covered lightly with clean kitchen flour cloth or floured plastic wrap to keep it from drying up as well.
Rolling into 'dough disc' -
- Once the first group of dough has been formed into dough 'disc', take a piece with left fingers - thumb on the top and rest of the fingers supporting underneath slightly.
- Hold the dough 'disc' slightly inward toward your tummy.
- Imagine to pretend that you are going to play a mini-frisbee toss at your floured work surface -- that's the position of hand/fingers and dough 'disc'.
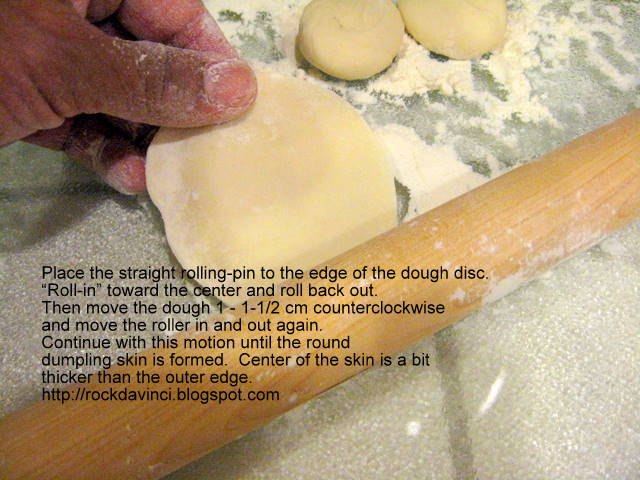
- Take the rolling-pin with right palm and roll into the edge of the dough and move the rolling-pin back out. Then, turn the disc slightly counterclockwise.
- As you turn the dough disc slightly counterclockwise, roll the rolling-pin back in. Then, move out. Turn the disc slightly again. This "roll-in" "roll-out" motion of the rolling-pin is all done by the palm of your hand that is controlling the rolling-pin. The fingers holding the dough is in synch with the rolling-pin and making approximate 1-1/2 cm turn of the disc. The rolling-pin roll-in approximately 1 cm depth onto the dough. Use your thumb as the guide. When the rolling-pin touches the thumb as you roll-in, that's good.
- Keep repeating the motion. Your dough disc should start to flatten out.
- Keep in mind also that as you turn the dough disc, try to "slightly" coat the flour on it's backside simultaneously as you turn the disc counterclockwise before the next roll-in. This is to keep the dough from sticking onto the work surface.
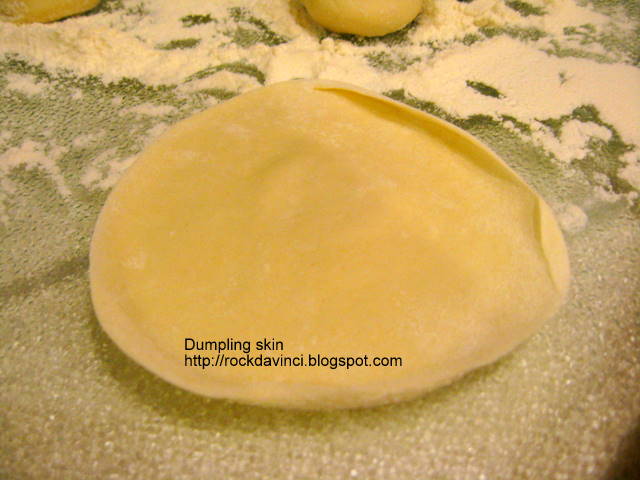
- The disc should form into a circle. The goal is 4-inch disc with center part slightly thicker than the outer part of the disc. You want the center area thick because you will be filling the skin with the meat and frying it. You want the outer area thinner because you will be clasping and enveloping the meat fillings in.
- Once the skin is rolled into shape. Keep it coated 'lightly' with flour, if needed, and keep it covered and set aside until all the skins have been rolled out. However, if you have a helper in the kitchen, the helper can start filling the dumpling.
Now to enclose the meat filling in the dough skin:
There are several ways to do this. You can just place the meat filling in the center of the dough and clasp the dough shut in half. Or use Italian Pasta roller or ravioli maker and enclose the meat filling. Be creative!!! But, if you want to shape it into a traditional shape, then, here is the how to's. I am sure you will find a video clips somewhere on the internet for this. So, I am not too concerned here. But here is my version in words, then, in photos the best I can.
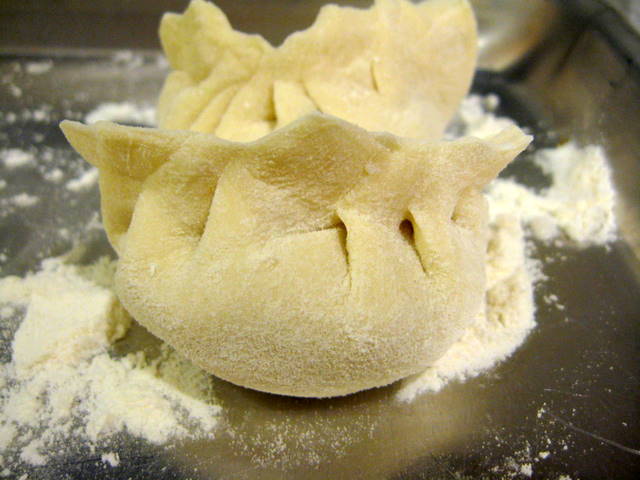
Imagine the large "clam shell" design at the edges of an closed dumpling. I am sure you know what I am talking about. How about the Chinese Dim Sum - "Ha Gao"- the mini-size shrimp dumpling? I am sure, most of you have the experience with Chinese Dim Sum. So, here we go.
- Form a letter U with your left index finger and thumb. Place a piece of dumpling skin on top and hold it there. The dough disc outer edge on index finger is "top" and the side on the thumb is "bottom".
- Use your free hand and take 1 to 2 Tablespoonful of meat filling and place on top and center of the dumpling skin.
- Use your free right hand's thumb and index finger - also forming a U shape, clasp-close the top and bottom (imaginary) edges of the dough about 1 to 1-1/2 cm.
- Without moving your thumb, with the help of the Left index finger that is holding the dough disc (now with meat filling) move the top outer dough edge as to form a 'fold' and pass it to Right Index finger to clasp down with the bottom part of the dough. Eventually, the meat filling is now concealed in the dough disc with clam shell shaped edges.
- Place the completed dumpling on top of floured tray, and keep it covered until ready to cook.
But, if you have a helper, and you have ... & let's say you have12 ready, then you are ready to fry them.
Because of the time involved in frying, I like to wait till I have at least 24 before heating my flat bottom frying pan.
Pan Frying: *1/3 C cooking oil *Have frying pan glass lid ready, 1 Cup of Hot water ready.
- Medium High heat - Heat the frying pan.
- Coat the frying pan with 2 Tb of cooking oil. Heat well. *Do not place dumpling in cold oil.
- *heat test: place a tiny piece of dough scrap into the oil. Is it dancing? then, it's ready.
- Place each dumpling right next to each other in a line or in circle, but place them right next to each other. (Because the final product will look prettier when pan out to be served.)
- Let it sizzle for 1 min in hot oil. *In the meantime, get a cup of hot water
- Pour the hot water into the frying pan quickly, yet gently, without disturbing the dumpling's formation. Cover right away.
- High heat.
- Cook down the liquid with lid on all the way.
- Do not go too far away from the kitchen. Keep your ears open to the "Pitter Patter" sound.
- Visually check and see the status of the liquid through the glass lid. Otherwise, Listen to the sound. It should be a gentle "pitter patter" sound being made by the "cooking oil" repelling the liquid as the liquid evaporated and reached certain level.
- (Prematurely opening the lid will loose this steam power to cook through the filling, and it's considered a taboo in the traditional kitchen. So, listen to the "pitter patter" sound.)
- If the liquid is still there, how much? just some liquid plus ... 1 to 2 Tablespoonful, then, that's good because those are cooking oil.
- As soon as you hear the "Pitter Patter" sound, turn the heat to medium. Remove the lid.
- Let the rest of the residual liquid to evaporate.
- Depending on the size of your stove's range top, shift the frying pan every so often to help brown the bottom evenly.
- Another sign that the dumpling is getting really done is the aroma building up... but not the burn smell. (I remember those days.) The dumpling should look translucent. So, it's time to take a sneak peek of the bottom of the dumpling.
- Using a spatula, without breaking the formation, lift up the dumpling gently.
- If it's golden brown, then, done.
- Carefully, using a spatula with large long surface, actually the spatula used by the grill cook for the hamburger is perfect for this. Try scoop the potstickers out all in one piece and place the bottom side up to show off the beautiful golden pan fried potstickers.
- If they fell out of formation... do what I do. Use a chop sticks or fork and put them back into formation on the serving plate.
Serve with your favorite sauce or Mix 1 part soysauce to 2 part vinegar and sugar to taste. Add chopped garlic.
- If pale - nope, it needs more frying time.
- If this is your first time and the potstickers look a bit darker than the golden brown, still no problem. Try again. You still got 40 some more to practice with.
*To fry the next group of potstickers, a new clean frying pan is required. Or they will become a real "potstickers" and become part of the frying pan. & don't forget to heat up the frying pan and cooking oil before placing the new batch of potstickers.
Enjoy!
Also, you may find it helpful for the visual aid:http://www.youtube.com/watch?v=sOknUXH2BRU
You might have a difficulty in viewing mine because it is not "public", but there are many othere video clip with very good example.
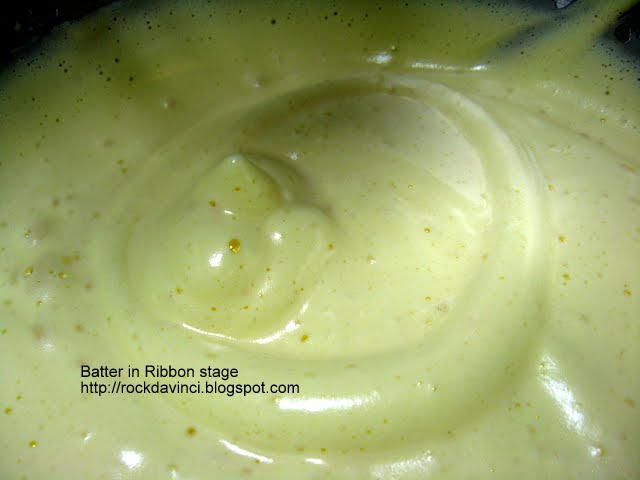
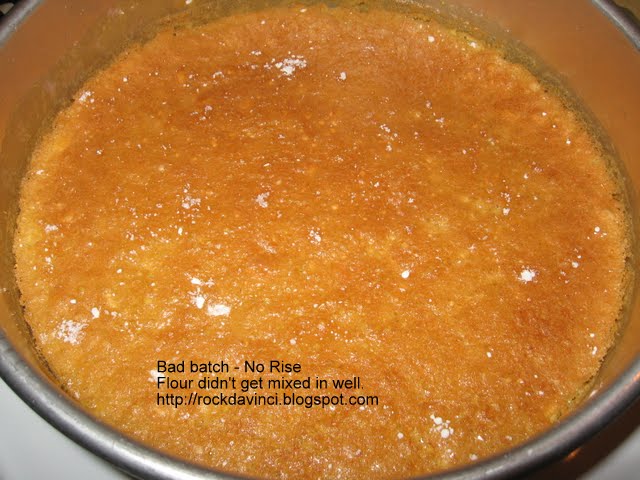
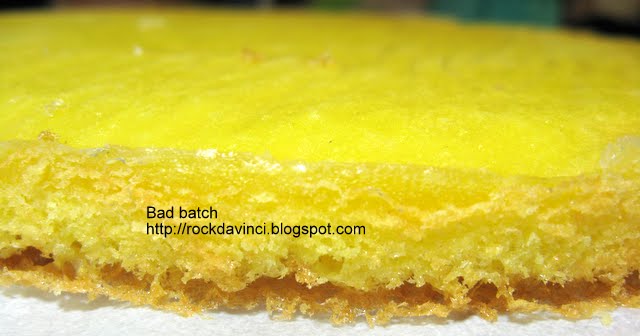
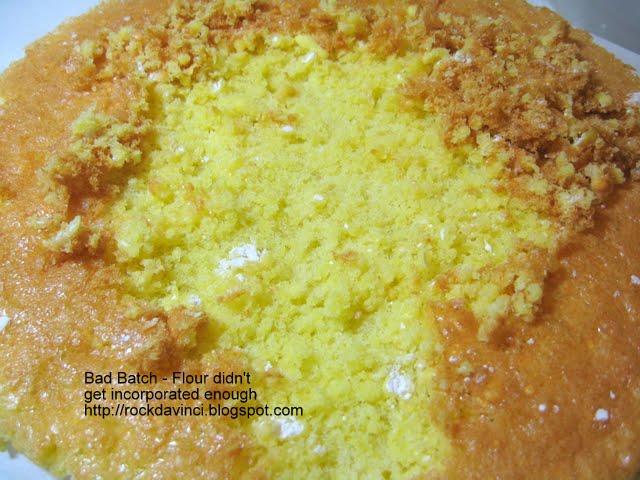
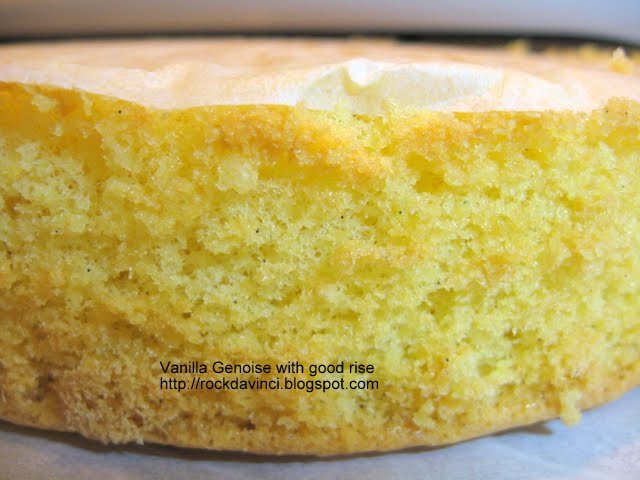
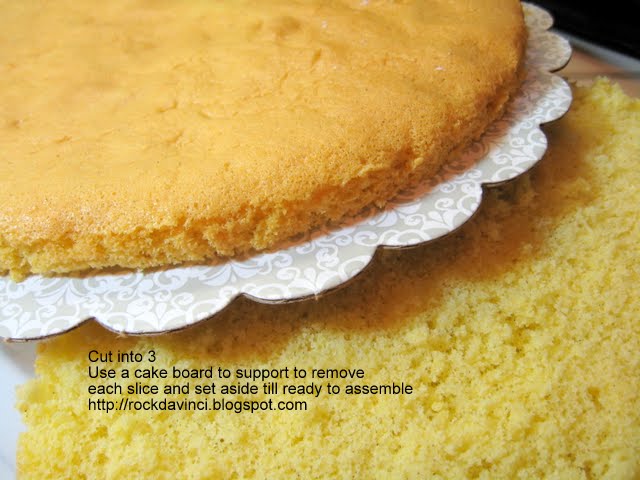
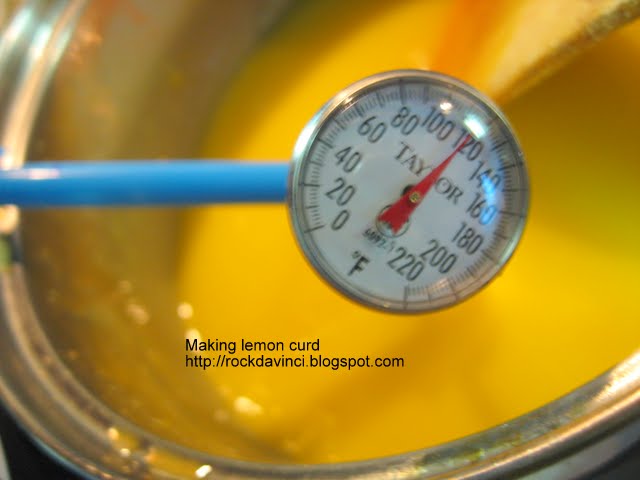
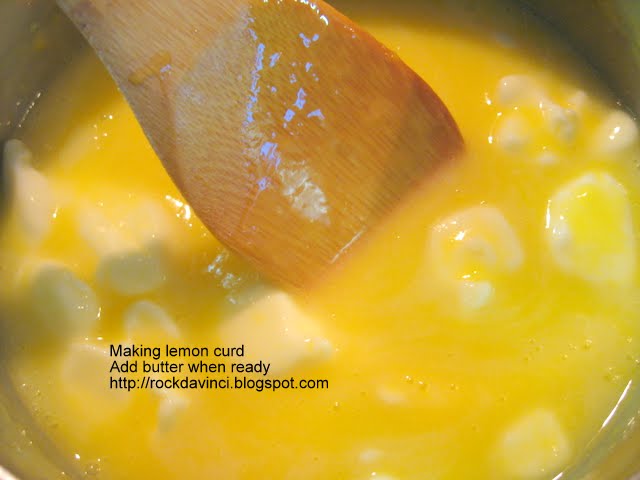
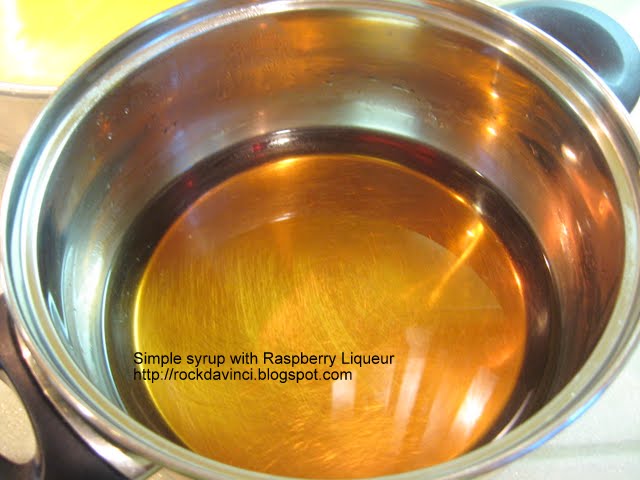
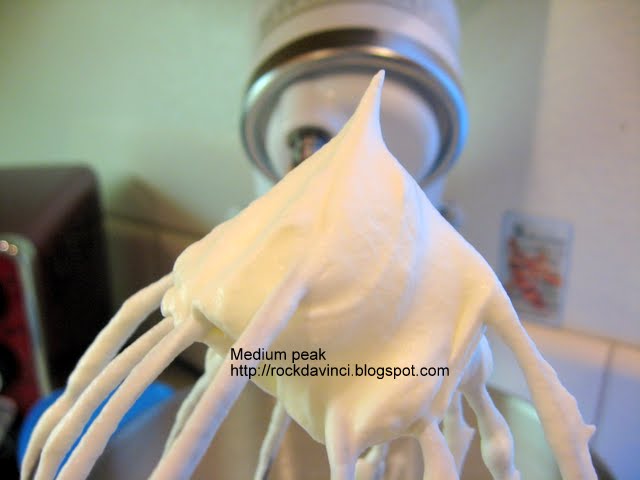
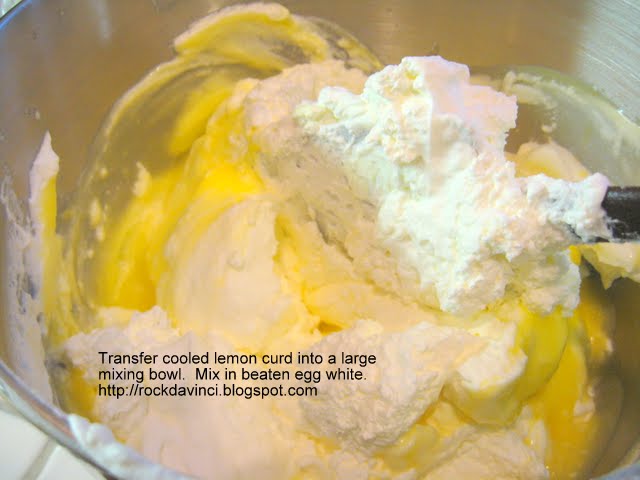
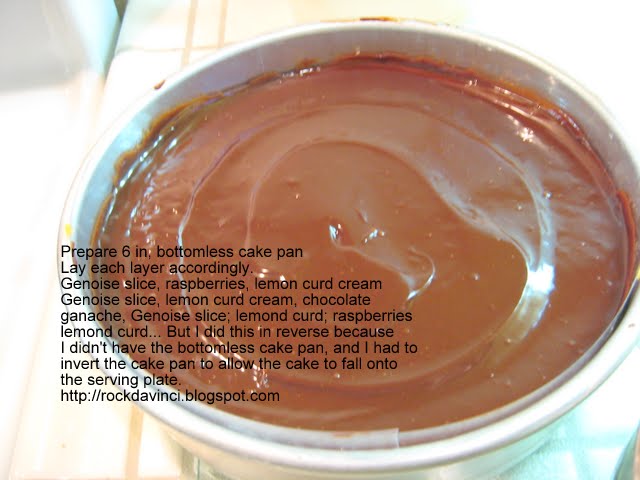
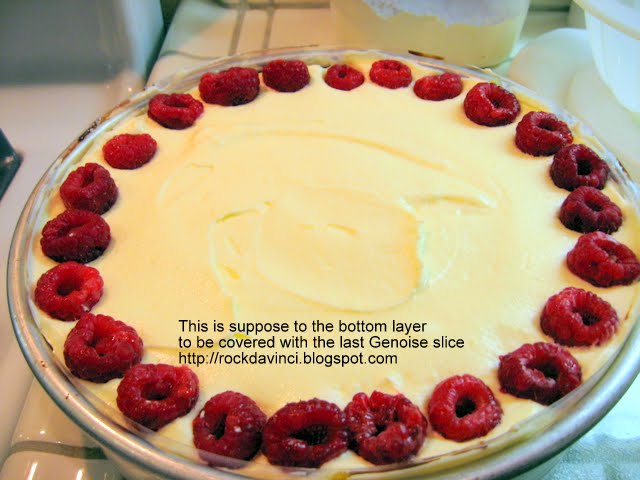
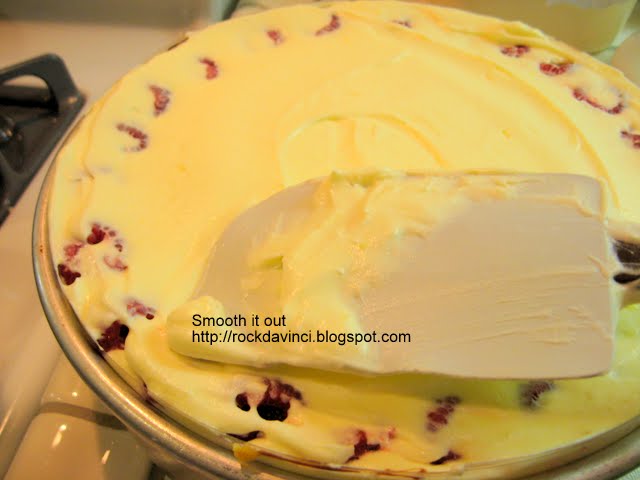
 This my photo journal of homemade raspberry-lemon-jazz torte.