I noticed that many visitors to my blog site are interested in this Japanese Cotton Soft Cream Cheesecake that I thought I would like to try the recipe again. But what is puzzling me is the web link that I provided took me to the website with the recipe titled Japanese Cheesecake; and I also found in the same web site, the Cotton Soft Japanese Cheesecake by Southern Polar Bear, (Sep 19, 2007). I am not sure which one I really used. I thought it will be fun to try the "Japanese Cheesecake" at
http://www.food.com/recipe/japanese-cheesecake-90032.
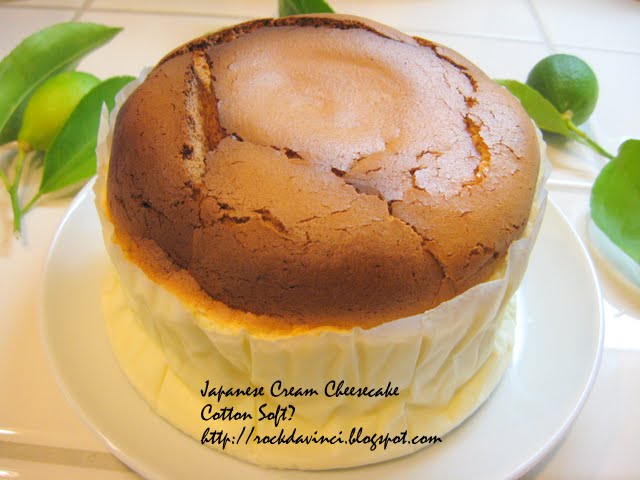
I might have misnamed my previous posting's cheesecake into Cotton Soft. But honestly it was very light, and I thought the name is quite impressive of its texture. I don't want to cause confusion or upset the real recipe owner. Also, amongst all the photos of the cheesecake that other baker enthusiasts posted at that their sites, one of the photo really got my curiosity. It's the cheesecake with double height. And its texture really looks cotton soft. I hope mine would turn out that way.
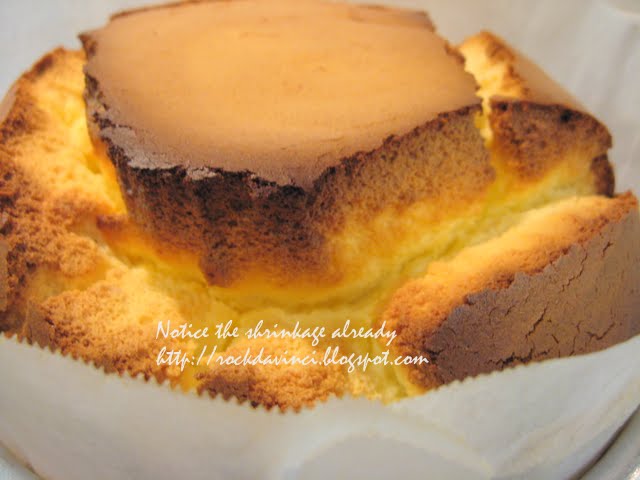
Here is how mine turned out - it looks like a Souffle.
Note - I incorporated my own preparation method as described below.
Method - Bain Marie
Baking time: 1 hr 45 min. Bake at 350'F
Yield: Qty-1, 6 inches x 3 inches cheesecake Serves 6 to 8
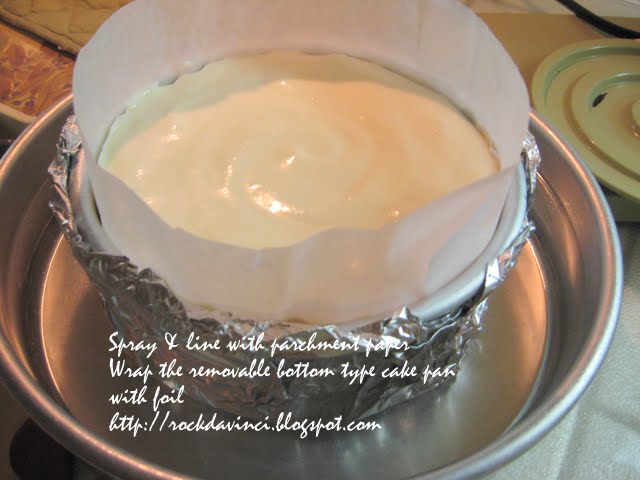
Prepare the cake pan - Lining
Spray 6"x3" cake mold with removable bottom with vegalene and line with parchment paper.
The parchment paper should rise above the rim of the cake pan - 1-1/2" to 2".
I was not thinking about it the first time I trimmed the parchment paper, but I was betting on the rise above the rim, so I inserted another collar.
Wrap the exterior of the cake pan with heavy aluminum foil up to the rim of the cake pan.
This is to keep the water from sipping in during the Bain Marie method baking.
INGREDIENTS -
7 ounces cream cheese, at room temperature
1⁄4 C whole milk
1⁄2 C Fine sugar - separated to 1/4 C for egg yolk mixture and 1/4 C for egg white.
3 eggs, separated (Tip - Egg whites are beaten separately into meringue)
1⁄4 C cornstarch (don't use flour) - try to find Non-GMO Cornstarch
2 Tbsp lemon juice
1⁄2 tsp cream of tartar (You can make meringue without it . . . beconfident)
2 1⁄2 C boiling water
Creaming -
Beat soft cream cheese and milk at low speed.
In another bowl, beat egg yolks till somewhat fluffy; Add 1/4 C sugar; beat till 'slightly' pale in color.
Tip - You are going to beat it again till pale in color when mixed together with cheese mixture in the next step.
Add egg mixture into cheese mixture. Beat at medium speed until pale yellow.
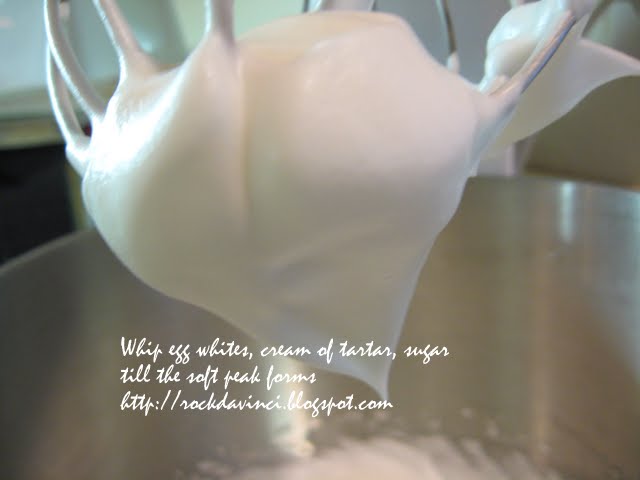
In another bowl, beat egg whites till it starts to fluff. Add cream of tartar and the other 1/4 C of sugar.
Beat until soft peak forms. Set aside.
Adding Cornstarch to the cheese mixture - as the mixer is going at its lowest speed 'Sift' cornstarch in.
Beat until smooth.
Folding - At this time - Preheat the oven to 350'F. The next time, I might test at 375'F
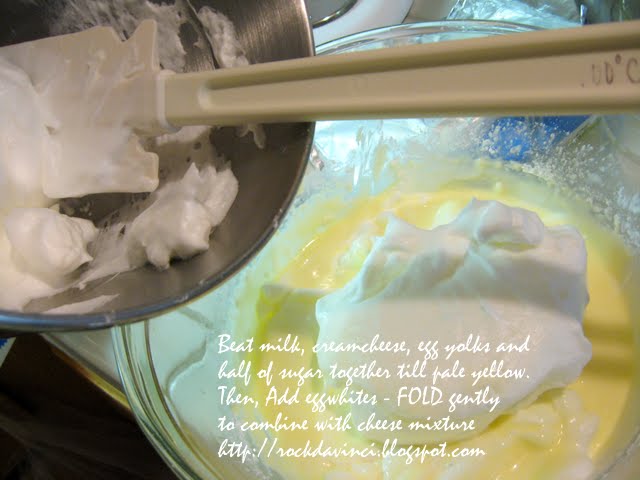
With extra large spatula, Fold in egg whites to the cheese mixture. Fold in Gently.
**This is not the time to use your arm muscle. Fold as gently and quickly as you can.
Method 1 - Cut the spatula into the center of the cheese mixture; move/scrape the spatula down and around to the edge of the bowl and bring up the batter with the motion and Fold mixtures over by turning over the spatula gently. Repeat the motion until egg whites and cheese mixtures are incorporated.
My new Method 2 for mixing in meringue - add a cup of meringue on top of cheese mixture. gently 'smear' the meringue across with just enough cheese mixture at the top and fold your spatula down and come back around to cover the top meringue. Repeat until the meringue is gently incorporated with the cheese mixture. Add the next cup of meringue. Repeat until all meringue is mixed in.
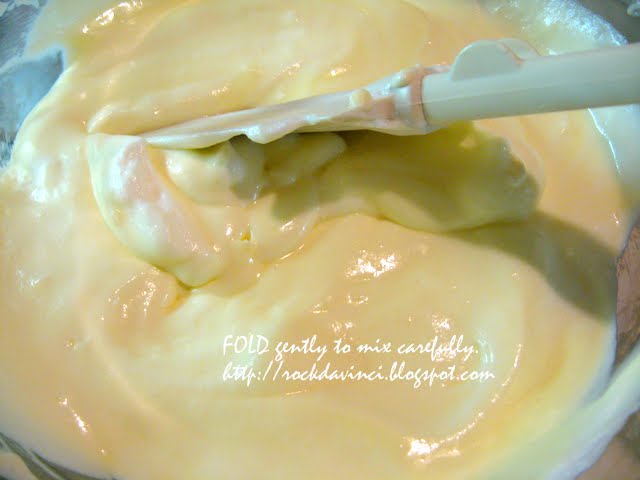
Finally, fold in from top to bottom gently.
I expected my method would cause the cheesecake to rise and even crack at the top. Normally this is not desirable for cheesecake.
Panning -
With extra large spoon, Scoop the batter into the prepared cake pan - gently.
Smooth the top gently. Do not jolt or pound the cake pan.
Baking -
**The baking time differs from the recipe because of the change in my Cake Pan Size and its Height.
Using another larger 9" cake mold - Add 2 C of water for Bain Marie.
Place the cake pan in the center of Bain Marie and Bake for 1 hr 30 min - 1 hr 45 min.
Doneness: **Do not open the oven the first 45 min.
When the top is touched gently, the cheesecake does not jiggle.
The Top is brown.
The interior temperature is about 179 - 180'F (depending on your cake pan size); This is for my cake pan size and may not be the same for yours.
The toothpick (my digital thermometer pin) came out dry.
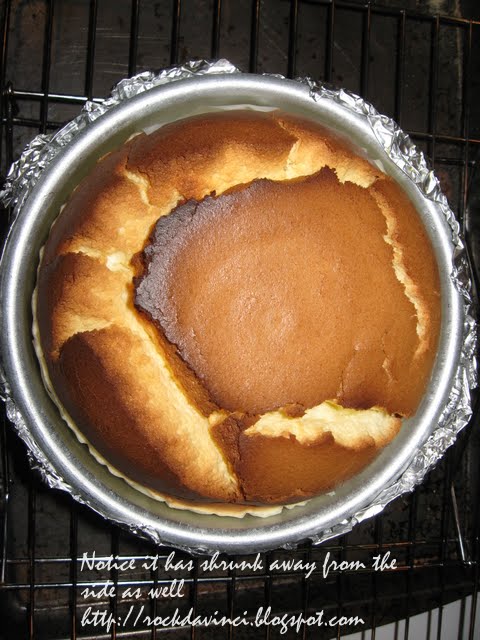
The cheesecake rise up above the rim, as I expected. I am glad of the extra parchment collar I put. Several pictures were taken to see its shrinkage process. The cheesecake was cooled away from the draft. After 30 min. Refrigerate to Chill till ready for serving.
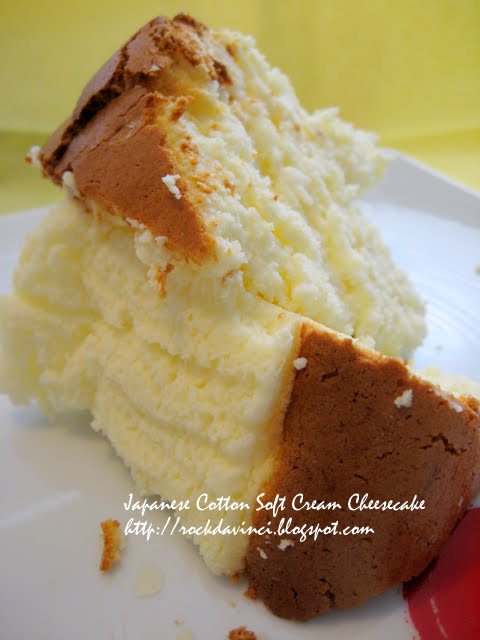
And here it is - the result - It is '
COTTON SOFT'. As you bite in, it has the silky marshmallow like texture. It is sooo different from the traditional American Cheesecake. So, if this is the same recipe I baked and posted previously under " Japanese Cotton Soft Cream Cheesecake", then, I preferred this preparation methods I used for this time and the cake pan - 6" x 3".
I hope this helps.


