Friday, January 08, 2010

Canneles de Bordeaux Version1-2010

This is just a heads up that I will be baking my 1st batch of Canneles de Bordeaux, 2010.  I received my Aluminum Canneles Molds from http://www.fantes.com/stacks.html and want to try them out. As bugetting is on my mind for this year, I bought five 2" Aluminum Canneles Molds (need 18 cannele molds per recipe) and plan to bake the rest in the regular Copper Canneles Molds. 
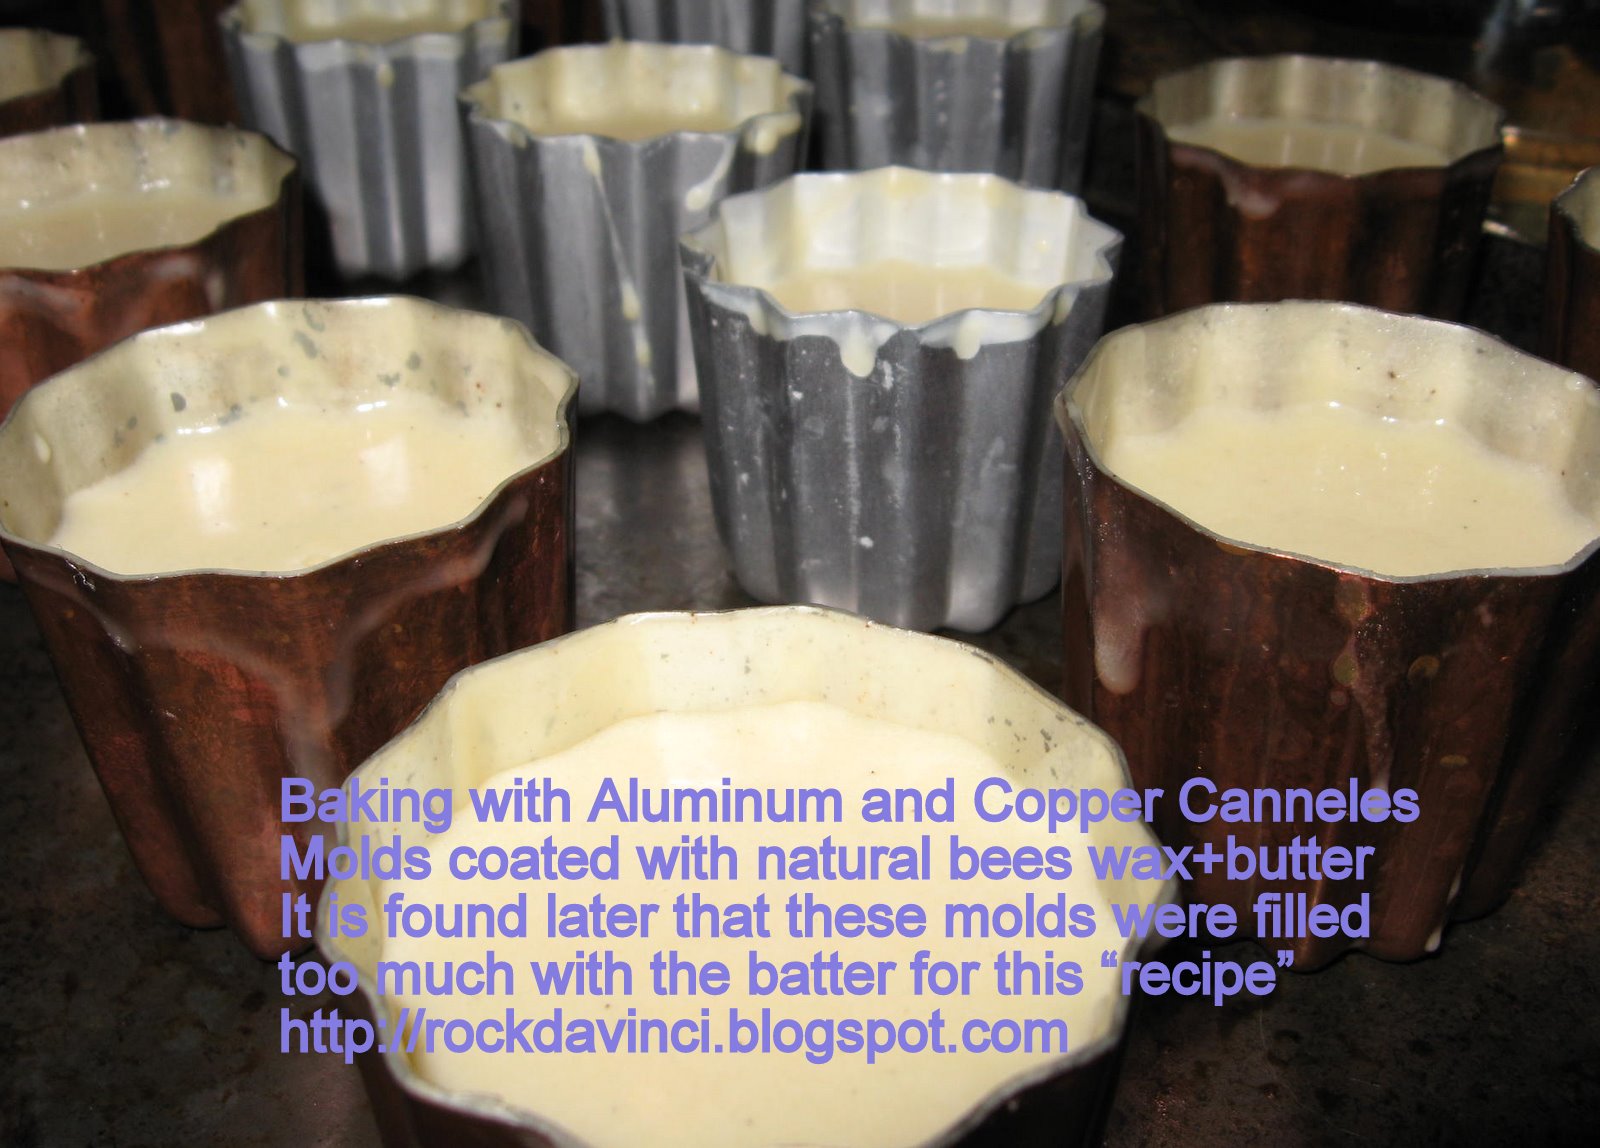
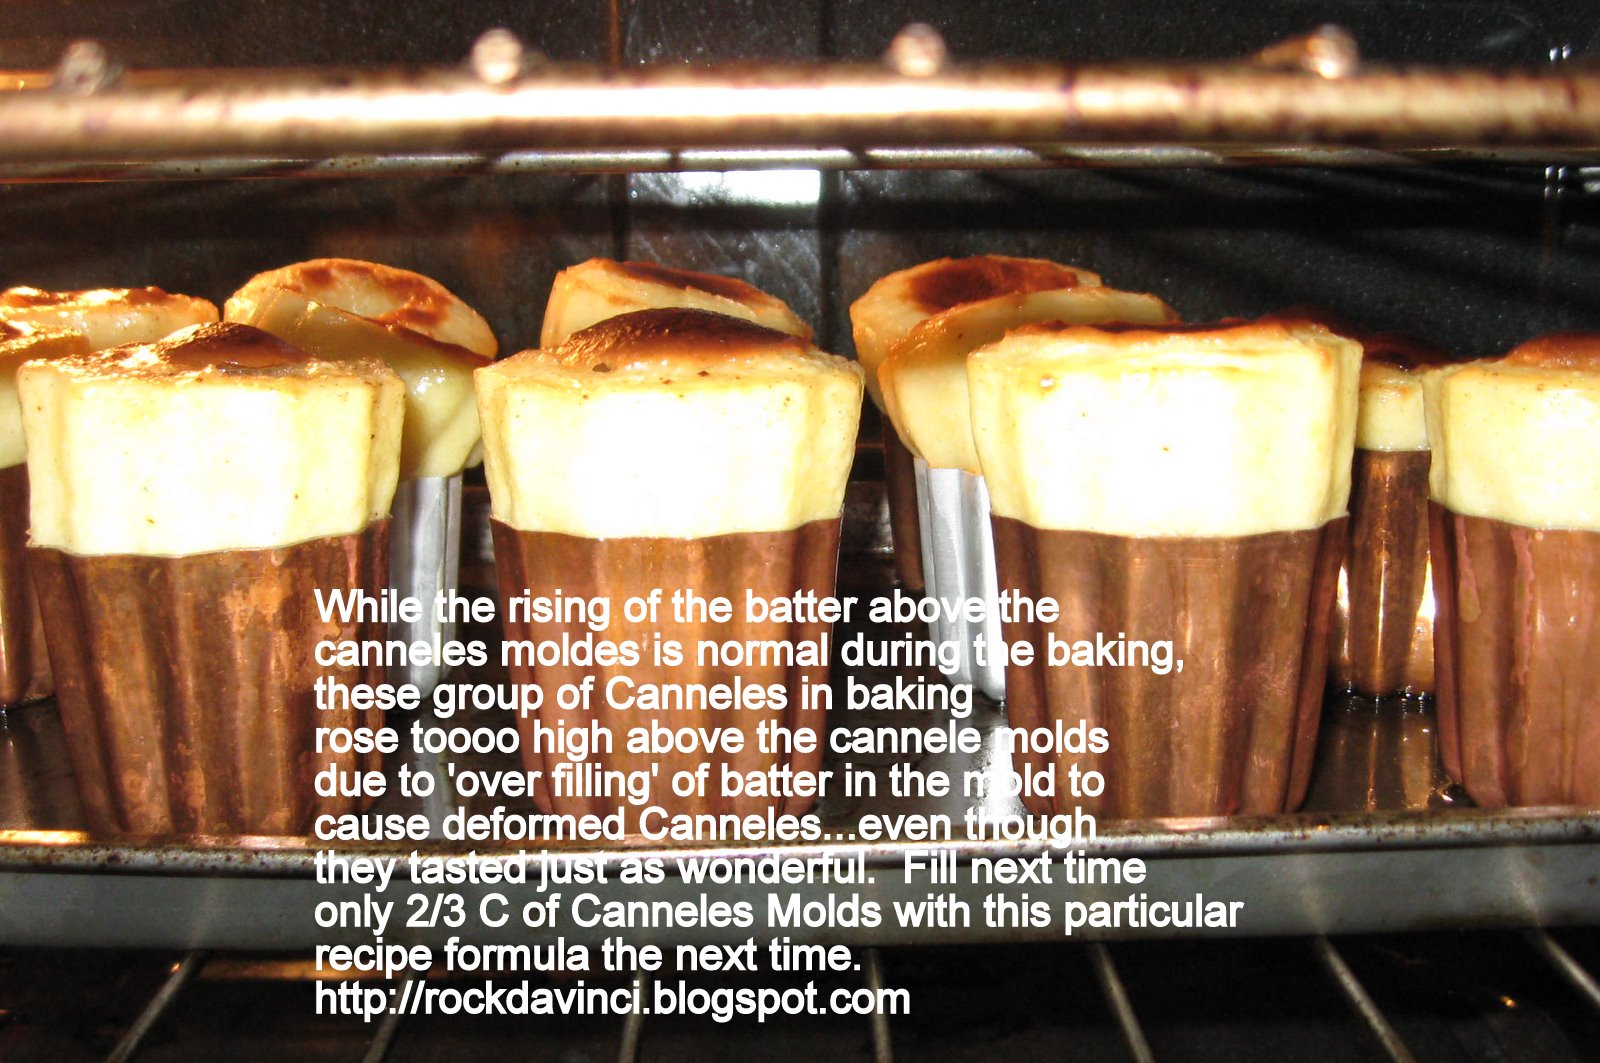
Found out that the new 2" Aluminum Canneles molds are a bit smaller than the copper in capacity.   Also found out that when regular flour is used, as this particular recipe calls for, causes the canneles to rise much above their normal 'rise' above the canneles molds during the baking.  The rise above the molds are normal during the baking.  When the coated bees wax melt and at 440'F, the batter is pushed upward as their exterior somewhat is baked into solid form, but still soft enough to become 'deformed' if they do not 'sits' back into the mold after 20 to 30 minutes.
The recipe I experienced is from La Toque Cuivree - Canneles de Bordeaux.  http://www.la-toque-cuivree.fr/recette-cannele.thm
New Aluminum Canneles Molds purchased from fantes did a good job in baking.
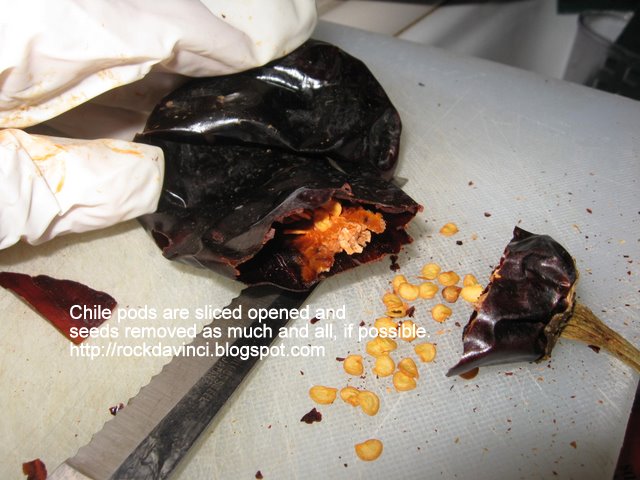
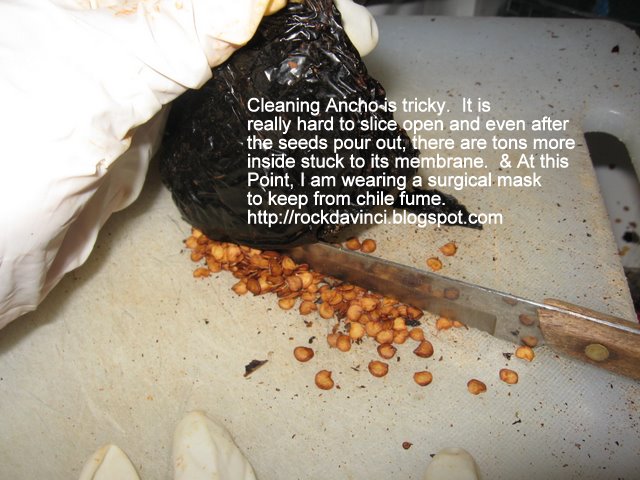
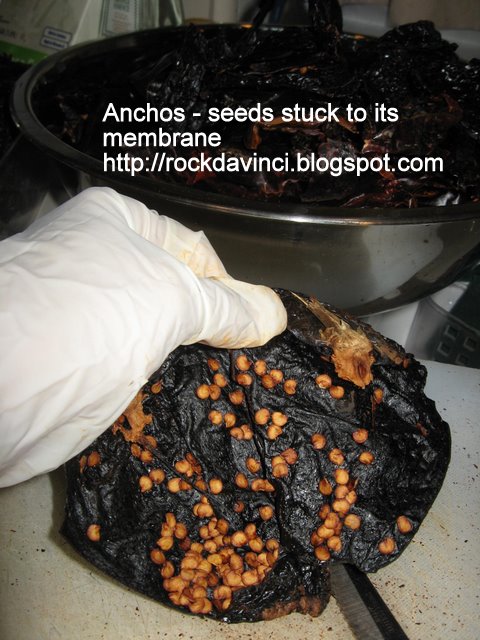
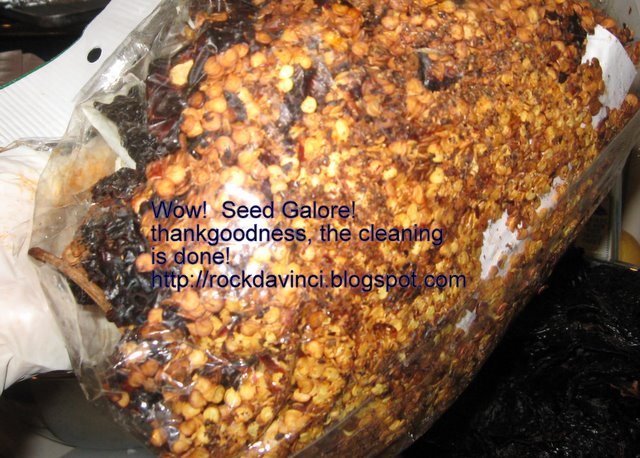
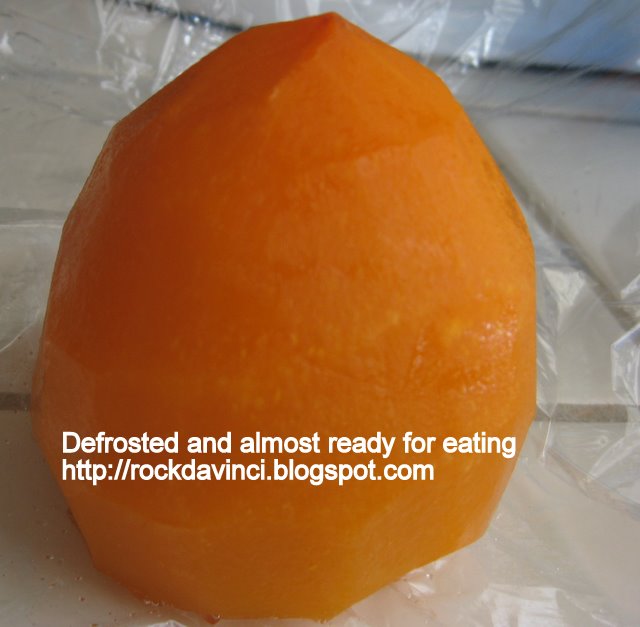
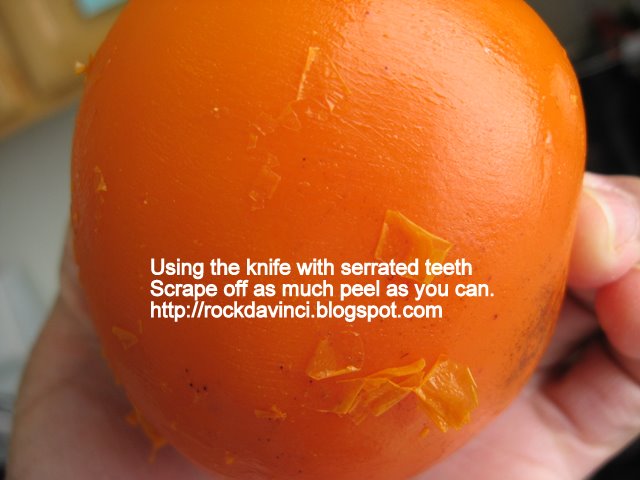
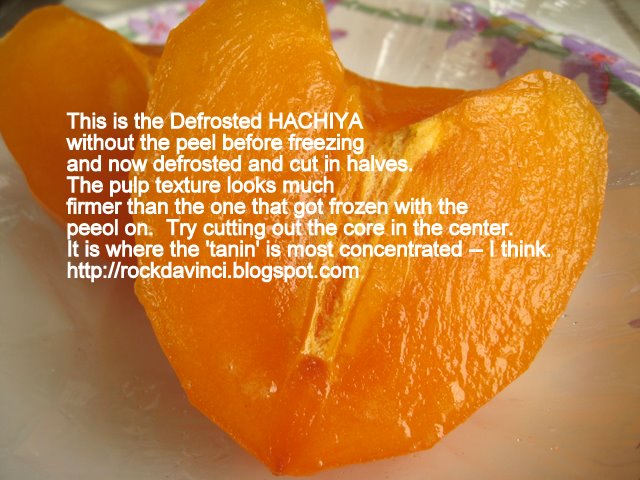
(Double click on each image to enlarge and or to view comment.)


The following preparation method is not written in the manner as presented at La Toque Cuivree.  It is not my intention to change their recipe, but I interjected to help you understand the process, if you have not tried baking Canneles before.  If you added the eggs directly into the flour mixture without beating them together first will cause the batter to be 'lumpy' and difficult to incorporate well, for example.
For other step-by-step photos of preparation, please check  http://rockdavinci.blogspot.com/2006/10/photo-journal-of-canneles-de-polly.html
Tools:  1 small bowl, 2 medium bowls, 1 fine sieve, 18 Canneles Molds, 2 baking sheets (light weight), cooling rack, kitchen tongue, oven mittens, pastry brush; 1 small or medium sauce pan to heat 2 C milk mixture; 1 small saucepan to melt bees wax; Saran Wrap.
Preparation time:  Day 1: 45 min + 12 hours waiting period; Day 2:  1-1/2 hr + 40 - 50 min baking

Ingredients:
50 centiliters of Milk (equiv 2Cups)
50 g of butter
250 g sugar
125 g flour
2 whole eggs + 1 egg yolk
1 Tablespoon dark Rum
Also I added 1 Tbsp of Vanilla Paste


Also - not included in the recipe at La Toque Cuivree is:
1/3 C All Natural Bees Wax  - Make sure it has no Parafin or treated with chemical.
Plus 2 Tbsp of Butter
Melt them and keep them at "Lowest" temperature in a "dedicated" saucepan.  If not, then, any 1-1/2 Cup saucepan.
Dedicated pastry brush for coating molds with bees wax.

Preparation:
DAY 1 - 

"SCALDING" Milk Mixture:
In a small saucepan, heat milk and butter over a medium heat to boil.  In the meantime, mix the dry ingredients & Eggs & Rum as described two lines below this instruction.
Remove from heat.  And cool to "LUKE WARM".

Dry Ingredients & Eggs & Rum:
In a Medium bowl, incorporate flour, sugar together - Whisk well.
Beat eggs in a small separate bowl with Rum.  Just when the Milk mixture is at LUKE WARM temperature, Add the eggs & Rum mixture into the flour mixture in steady stream.
Whisk to blend all well.
Note:  Do not Add liquid faster than your other hand can incorporate the flour and liquid.

SIEVING:
Transfer the batter mixture into another bowl by passing the batter through the sieve to remove any lumps.
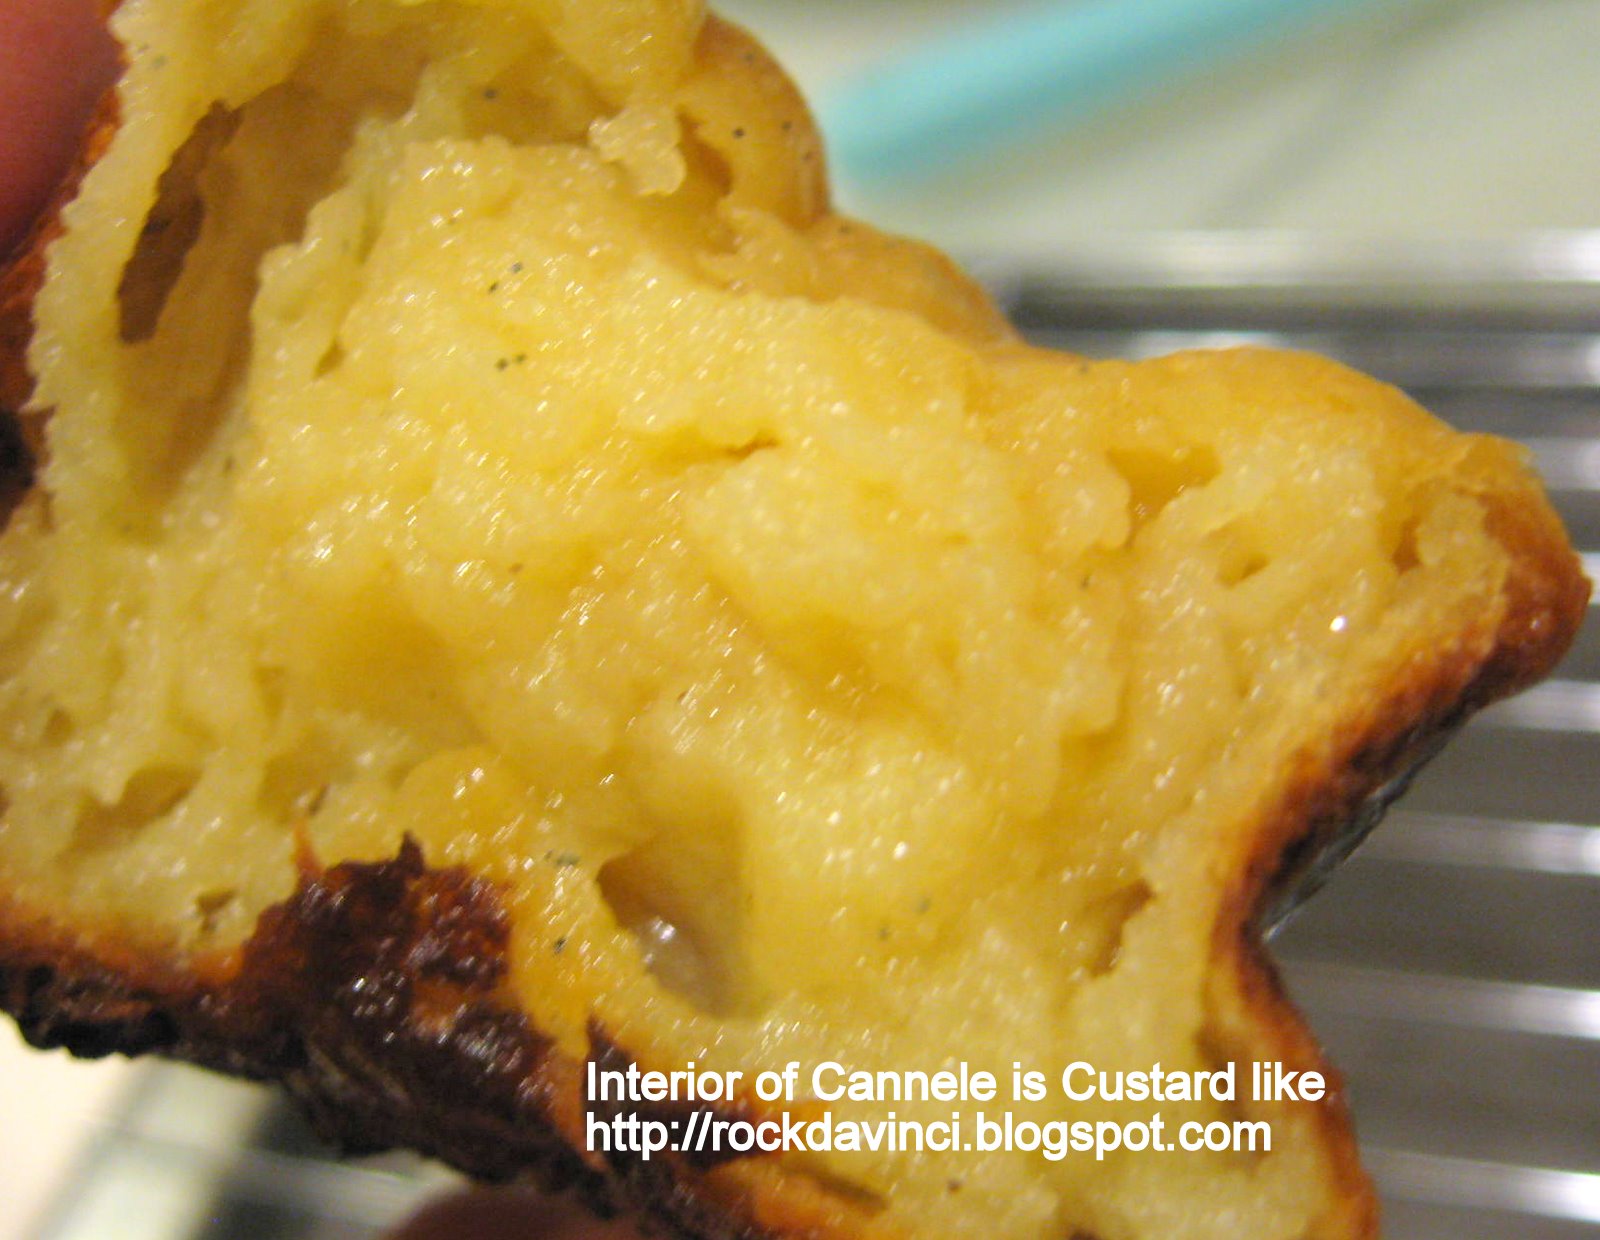
Smell that wonderful aroma!!!
COVER with Saran Wrap and Refrigerate for at least 12 hours.

DAY 2 -  Take out the batter from Refrigerator and bring to room temperature for at least 1 hour.
Preheat oven to 440'F/210'C.  (La Toque Cuivree calls for 240'C, however.)

MELTING:  Melt bees wax and butter and keep warm at the lowest temperature.

COATING:  Using a dedicated pastry brush, coat each cannele mold well the entire interior of the mold.  Do not leave any uncoated spot as this will cause the caramelized batter to stick during unmolding.

FILLING THE MOLDS:  Fill each waxed coated mold with batter.  Be sure to fill only up to two-third (2/3) of the mold.  Do not follow my photo to fill up to the top with only quarter (1/4) space left.  This recipe is a high riser.

Place each mold on top of baking sheet with rim.  The rim will keep the melting wax coming out of the mold during baking (normal symptoms) from overflowing to the bottom of the oven and prevent from starting fire in the oven.

BAKING:  This is the trickiest part of the whole process.  Depending on your oven, place the oven rack where the bottom of the baking ware would brown the most.  I placed mine in the GE extra large Gas Oven, 2nd notch from the bottom.
Bake for 50 minutes or until canneles have 'caramelized' all around.

UNMOLDING: Get your best kitchen tongue with good grip ready.  Remove from the mold immediately onto a wire rack that is placed on another baking sheet with rim.  The baking sheet with rim will keep the remaining hot melted bees wax from coating all over your kitchen counter. 
Serve Warm

Keep the used pastry brush in a ziplock bag in the refrigerator for next time use.
Cleaning Tip:  Let melted bees wax harden a bit and Scrape them off, or return the baking sheets back into the cooling oven (what I mean is - oven is turned off and is cooling) and melt the hardened bees wax a bit and wipe them off with paper towels.  Do not pour melted bees wax mixture into your sink. 


Sunday, December 27, 2009

Christmas Hot Tamales

This Christmas, I decided to follow-up with TAMALES.  I find it very interesting that many families have their famility traditions during Christmas holidays to bake Cuccidatti or make Tamales together.  While living in Cholon /Saigon, S. Viet-Nam our family tradition was to hold a large Christmas Dancing Party.  In-spite of the fact that there is war going on and curfews enforced, we get this "permit" to hold  the party.  But not anymore, after we left Viet-Nam, we have a "Good Eats" party.  While we decided on CIOPPINO for Christmas eve dinner, I got busy and made 60 TAMALES to bring down from Sacramento in my sleigh to San Jose... well, in my mini-van.  We had a good eats of TAMALES for lunch on the Christmas Day.
I will post the detail recipe later, but here is my photo journal of BEEF and PORK TAMALES (Click on the photo to read annotation on the image better):


Monday, December 21, 2009

Drying Persimmons Progress Rpt #4 - Air Circulation with Fan

12/21/09 Monday, Hang Air Drying Persimmons are really lots of fun.  Watching those persimmons getting dried and anticipation of the result is kind of exciting.  The 1st batch I collected are in their 6th weeks now.  They have been sitting quietly in the paper bag for 2-1/2 weeks now.  There are more sugar crystaline covering its body.  The second group is doing quite well, except I had to discard two of them due to mold discovery.  I am glad I spotted them right away.  Three weeks ago, it started to rain heavily in Sacramento area.  My garage felt a bit stuffy. That's when I discovered the mold spots.  I discarded them right away.  While I was talking to other persimmon enthusiasts at the office, one mentioned how his friend got a 'fan' going in the garage to keep air circulation.  That make sense, I thought.  With rain pouring every few days, air circulation definitely make sense.  I just so happened to have a low wattage mini fan that would do the job.  Since I started to use the fan, all persimmons are quite happy with the environment.  My new experiment is to dry the whole peeled persimmons on the tray without hanging.  I hope they will turn out okay.
Since I want to get the rest of the persimmons processed - 100 some left as of yesterday.  I processed 45 last night in the NESCO Dehydrator.  One of the recipe is drying a group of quite soft persimmons, sliced into halves, sprinkled with lemon juice and chili peppers.  After 16 hours, they turned out delicious.
Tonight, as timely as the UPS delivery can be, I got my new NESCO 700 watt FD-75 PR dehyrator.  Wonderful.  It came with two fruit roll trays and fine comb trays for the small items.  So I made my first Persimmon Fruit Rolls with some of these ripened HACHIYA persimmons that is quite challenging to slice and dry.  Hope they will turn out delicious.  As for the FD-75 PR, I am very happy for the price and how quiet it is compared to its counterpart 500 watt without the temp control I got for my mom.  It is so loud that it is confined in one of the room to do its job.
My persimmon drying experience are almost done.  I just have 20 more to go.  I think I am going to let them go ripe all the way and make fruit rolls and or bake with them.

Sunday, December 13, 2009

My Dutch Baby

This is my Dutch Baby breakfast.
Alton Brown is one of my favorite in the FoodNetwork.  I watched him make this Dutch Baby and couldn't resist in trying.  It Puffs up like a hat in the oven.   It tastes like a large combo of pancake and alien pastry brought together by surprisingly refreshing tart taste from the lemon juice.   If you have never had one before, it is well worth the time to enjoy it.   I think the children will enjoy it with whip cream and fresh fruits on top.
Here is the link to Alton Brown's recipe at the FoodNetwork. http://www.foodnetwork.com/recipes/good-eats/dutch-baby-recipe/index.html  However, I maybe wrong, but this recipe looks tidbit different in the amount...can't quite remember.  I wrote down the recipe while watching his telecast recording in my VHS.
So, here is recipe to the best of my knowledge that I jotted correctly - and it turned out deliciously for me..

Preheat oven to 375'F with Cast Iron Skillet with Butter and Bake for 30-35 min.

Place oven rack in the middle rack.
Ingredients:
+2 Tbsp Melted Butter in Cast Iron Skillet - Place the Cast Iron Skillet with Butter to Preheat with the Oven
2 Large Eggs
1/2 C Milk
2-3/8 oz (1/2 C, but weigh it for the best result) All Purpose Flour
1 T Butter Melted
1/2 tsp Salt
3 Tbsp Vanilla Sugar 
Lemon Juice
Blend all Ingredients, EXCEPT for Lemon Juice, in a "Blender" and run for 30 sec
Pour into the Pre-Heated  Cast Iron Skillet with Melted Butter in It.
Bake for 30 - 35 Min.
The Dutch Baby would look like a Puffed Up Hat of some sort.
To Serve:  Slice and sprinkle with Lemon Juice and Sugar - Really Yummy!!


FUYU Cake with Grand Marnier Frosting

In November, we had a Persimmon Party.  We had salad with persimmons and fennel; persimmon salsa, Couscous with Persimmons, cranberries, and hazelnuts; FUYU Cake with Grand Marnier Frosting; pot stickers and roasted pork.  Well, the pot stickers and roasted pork did not have persimmon ingredients, but they were sure good.
FUYU persimmon is the non-astringent type.  It looks like a squashed ball, like a fat saucer(??)
It is edible while it is still crunchy.  You can taste some low level of tannin in some of the FUYU type as you bite close to the core.  The best way to pick and eat the FUYU is when the outer skin is all evenly colored in deep orange, but not translucent.  When peeled, I prefer it peeled, you will see lines of brown all around.  I am not a food scientist, but I think they are concentration of sugar... like when banana starts to brown on the skin.
The original recipe to this cake with Grand Marnier Frosting calls for Cranberries.  I decided to test with the FUYU persimmons.  Chopped two small persimmons were just enough to make 2 cups.  There are about 1/4 Cup of Grand Marnier in the Frosting.  The cake is heavy and dense.  It's almost in the category of pound cake or bread.

Makes 2 regular loaves or 6 mini loaves.  Or use 1 Bundt Cake Pan plus 1 small loaf pan
12 servings per large loaf
Preheat oven to 330'F.   Bake for 1 hr 10 min to 1 hr 15 min for large loaves & 60 min for mini loaves.
Ingredients:
1-1/2 C Unsalted Butter, Softened, plus more for buttering pan
1-1/2 C Sugar
4 Eggs
1 C Orange Juice
1 C Sour Cream
2 Tbsp Freshly Grated Orange Zest
2 tsp Vanilla Extract
4 C All Purpose Flour
1 Tbsp Baking Powder
1/2 tsp Salt
(1-1/2 C Dried Cranberries - Optional)
2 C FUYU Persimmons - Chopped
2 C Powdered Sugar
7 to 8 Tbsp Grand Marnier

Methods:
1.  Butter and dust loaf pans with flour
2.  Creaming Method: Medium speed, cream butter & sugar until fluffy and pale.
3.  Add eggs one at a time, mixing well after each.
4.  Add Orange juice, source cream, orange zest, and Vanilla.  Mix well until blended.
5.  Whisk Dry Ingredients:  In a large bowl, whishk together Flour, Baking Powder, and Salt.
6.  Folding:  Add Flour Mixture, Persimmons, into butter mixtures - Using the largest spatula you have in your kitchen, fold and turn, fold and turn until well blended, but do not overmix.
7.   Pour the batter equally into the loaf pan.
BAKING:
8.  Bake for 1 hr 10 min to 1 hr 15 min at 330'F or until the toothpick inserted in centers come out clean.
GRAND MARNIER GLAZE:
Whisk:  In a small bowl, Whisk together Powdered Sugar and Grand Marnier slowly to watch for the consistency - Glaze should have consistency of thick syrup or corn syrup.  If it is too thick, add additional liqueur.
COOLING & GLAZING:
Cool for 10 min, then remove and transfer to a cooking rack set over a large baking sheet.  (Except that I was taking mine early morning to the office, so I left them in the pan.)
1.  Using a long skewers of some sort, poke deep holes in tops of the cake.  Drizze with Grand Marnier glaze to cover the entire cake & seeps through the holes.
2.  Let the cakes cool completely, then slice and serve. (or wrap and freeze, if you would like.)


(Double click on each image to view comments included.)


Persimmons - Un'tannin' by Frozen Method

Many people probably has already tried this "Freezing" method to "untannin" the astringent persimmons / HACHIYA persimmons.  Here is the result of my testing.
Both persimmons were FIRM unripe HACHIYA persimmons.
1.  One with peel
2.  One without
Both were washed and leaves were taken off but with stem.
Both were placed in the Freezer on the same day for supposed 24 hours freezing period.
Because I was busy, I left them frozen for several days.
According to a couple of sites, the freezing method would cause the "tannin" to disappear.
This is how they looked:  (double click on each image to view comments included.)


So what or how did they taste like?  That is the most important question.
First, it went down smooth, sweet, and yummy, but Alas! the after taste of the tannin showed up right away.  It was too good to be true.  Although the level of tannin were much much lower - let's say by 85% when compared to the raw form of the HACHIYA.  My mouth and throat felt the unpleasant 'drying' effect a bit.  Not enough to make you sick, but it took well over 30 minutes before it all went away.  If you have had a better experience than I did, please let me know.