It's been a white hair project! I should have known better when it's time to call for the professional plumber and being so hard headed. It's been two months now since my garbage disposer died. I should have just replaced the garbage disposer and got it over with. But I wanted to switch to a single bowl large sink. All my baking pans and pots can be quite large. I got tired of turning the pots and baking sheets over and over and spilling water all over the counter. My wonderful thought about having a single bowl sink is becoming a not quite so wishful though. I finally found this 33" x 22"single bowl kitchen sink with 4 holes from Amazon. It's beautiful. I was 100% sure that the measurement matches exactly as my old two bowls sink. The new Ruvati sink came with a model card board in the shipping box. All I had to do is to drop into my sink frame and if it fits, then, supposedly the sink would, too. It placed in perfectly, but when I tried to seat the new sink in, the reality - Oh, No. It doesn't fit. I had to buy dremel tool, attachments - thanks to Holiday sales. Hours of cutting tiles, adjusting, and shaving of plywood frame to the counter top. Who would use concrete or the cement to attach Tiles to the kitchen counter. What a luck. It took HOURS to slice them through to remove tiles. And of course, the reality of how the Lenar builder built my kitchen sink frame / counter is a shocker. "The thing" that we should not see, but expected to had been completed perfectly is now exposed. More shaving, more tools. New battery pack, new garbage disposer. And Oh, Dear. All the returns and more purchases I had to do. But what can you say other than a salute to professional plumbers. But after seeing how my sink is built - "sigh...."
This is my photo diary of the replacement thus far. It is not completed as of today, and I cannot install the garbage disposer I purchased because its rubber disposer guard and neck threading and lower mounting ring are manufactured with defect. It made it impossible for the low mounting ring to slide lock onto upper mounting ring. Arrg!
Every Garbage Disposal Instructions from hardcopy to online and YouTube tells you to just Twist and turn the lower mounting ring around the unit's collar clockwise to dismount the garbage disposal. Really? I tried and tried. WD40 to pounding with hammer. Nothing. After two and half weeks of trying (not every moment, but after work, spare moments...), I used my neighbor's 5 lb sledge hammer. Pound on it about 10 times as hard as I could. Nope. Not a budge. In despair, as my neighbor asked if I want him to take a look at it. He said, he has no experience with plumbing at all or with the garbage disposer. I was already frustrated for the day, so I said, "Sure." He arrived at my messy kitchen with tools everywhere. He looked at the unit. In a moment of him twisting the unit, out he came under the sink cabinet holding the garbage disposer unit. I was happy at the same time felt so dismayed. I think I screamed in fright that it happened. But it's out. He didn't even do anything. Arrg!
This is the new garbage disposer purchased at COSTCO. I was going to replace the broken unit with this one. Sadly, the unit was too large. The design of the new single bowl sink designers did not put it into account for the position of the original wall drain pipe location nor how the pipes clearance are under the sink for two bowls sink. Sadly, I had to return it. But I got to study the mounting ring around the neck of the unit and how it operates. But did my garbage unit dismount as easy as it says? it was a nightmare
My broken unit. Looks the same and as easy to twist slide to dismount. Naaa. It was a nightmare.
Sure. Looks so easy when it's brand new.
No sign of movement.
Won't budge. I used tire jack to hold the unit up.
(From this picture, there is plenty of room between garbage disposer and main wall drain pipe. But after I installed the new sink... the truth sunk in.)
I decided to remove all retaining screws. And sprayed like tons of WD40, then, borrowed neighbor's sledge hammer. Did it move? NO. It's already two and a half weeks. Give me a Break!!
There it is. After my neighbor friend came in just to check and see what I am talking about. He barely tugged and twist on it. Out it came in his hand as he was holding a baby. Arrg!
See all that WD40?
Now to take off the flange. Need to take off that retainer ring. I practiced first on the new unit first before I returned it. (The new unit was too long!! the drain pipes were in the way!! Arrg!)
Pop! the rest came off.
Push up the flange.
The Arrival of Ruvati Single Bowl Kitchen Sink in Triple Pandora Packaging.
Very well packed. No Dents anywhere.
After the reality that the counter top tiles need to be shaved off, time to purchase tools. Luckily they were all on sale. Do I know how to use it? I know how to use a drill. ... and thank goodness to the YouTube and Instruction sheets, etc.
It's a bit challenging to squeeze those two side bars in to disconnect the spinner head control. Had to dig my thumb and index fingers in to disconnect. This tool is pretty heavy, but sturdy.
And thank goodness, the tool attachments were on sale, too. Choose the head for Tile work.
To unlock the control head's attachment lock, pull up and pull back down, it says. Yep, that was easy.
Then, attach the right tool head... I think this is incorrect. The tool's locking wheel needs to face down and flash against the tool. Because when you depress the power, it would not spin.
When attached correctly, each pin head would poke through the tool head's wheel spoke.
Then, flip the front head stopper horizontally.
Lift the Lock handle up and push it back down.
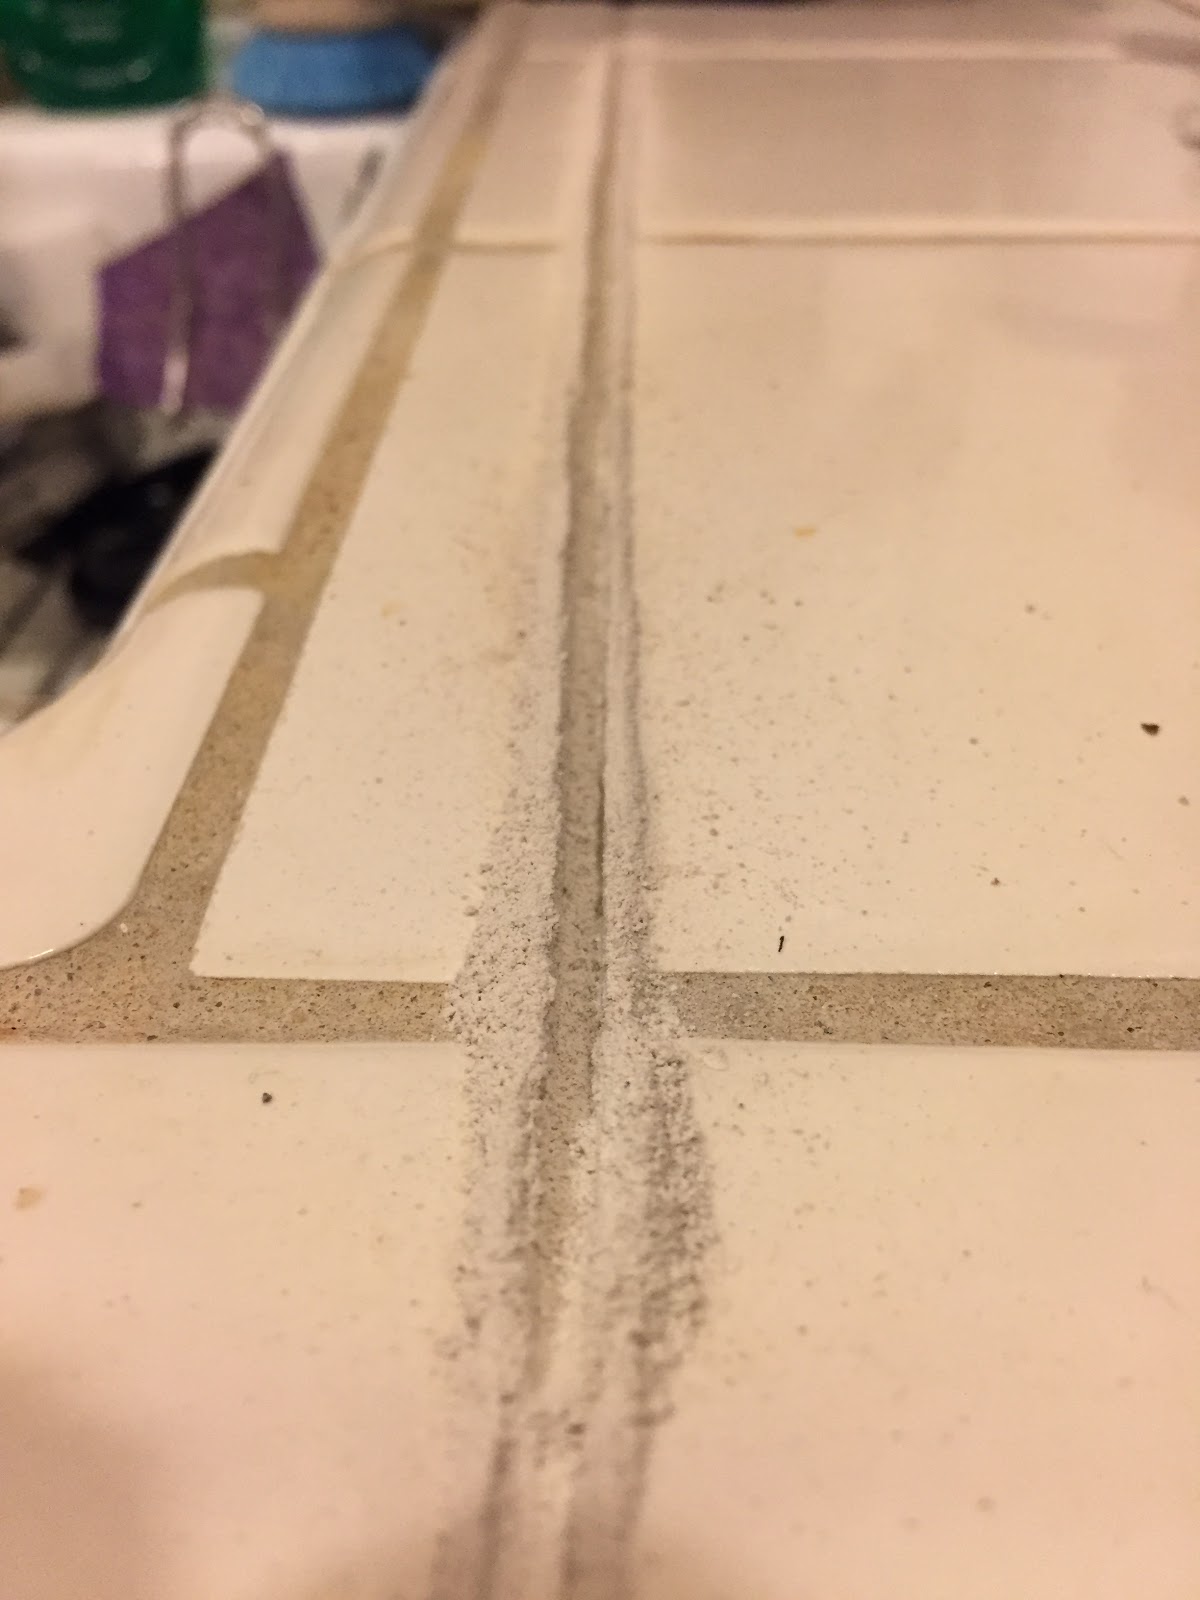
Cover up all kitchen area or remove them from the kitchen. Or, suffer the micro dust from the sawing of caulk and concrete.
Wear a Goggle and Micro Dust Mask - ready to slice down the caulk.
Thank goodness I have Rainbow vacuum cleaner. I used the regular bagless vacuum cleaner to vacuum up all this micro dust. I did not see any caulk or cement dust accumulate in the container. Later, I found out that they are all in the air filter. And I am glad that I use it first anyways before I used my Rainbow.
After a good while of cutting, I used a Mason Chisel and gave some gentle tapping with sledge hammer to remove the tile.
I thought I needed them after the new sink is installed. So, I marked each tile.
I thought these initial cut is sufficient clearance for the new sink.
Learning how to remove all the sink parts. Taking photos as a record.
Now that all pipes are detached underneath, it's time to remove the sink. I bought a crow bar to help me give a lift. I guess you could just lift it up by holding the holes of the sink. Oh, well. I need one for the home, anyways.... I don't know for what, but....I got one now.
Ta, daaa.... Oh, My Gosh. A hideous surprise. How in the world the workmen passed their supervisor's okay to put in this jagged plywood as counter top for sink's frame - that I don't know. I was so disappointed. So, after a few days of air dry, I used a wood glue and visor to glue them together as much as I can. Then, I saw them down as straight as possible.
By-the-way, be sure to have 1-1/2 inch pipe caps ready. These white caps you see below are placed to keep sewage gas from entering your kitchen.
REALLY? and what are those? They are not MASTIC adhesive. They are cement/concrete. Really?
Ticked me off.
Thank goodness to this RIDGID tool, I manages to shape and shave the concrete clean as much as possible... later, eventually.
If I were you - call the Professional Plumber.
So, here we go . . . Installing the new sink's flange that came with the new garbage disposer. . . Really?
The original pipes are in the way to install garbage disposer. Arrg!
After all the possible trimmings of the tiles and frame, I finally managed to drop in the sink, then, it's time to install the new faucet. Even though I managed to clean up the old faucet after soaking them in vinegar water outdoor for 4 days, and they were spic and span shiny, the old faucet came with copper pipes underneath and would not fit in the new sink's hole. Arrg! But the new faucet came with flexible smaller hardware and tubes.
I used clear silicon around the faucet's washer and taped it down while I work underneath to connect to the water line.
A
camera shot from under the sink to install faucet unit. Yep, the hole
is large enough for the screw nut to through and for my hand to tighten
it.
Attaching faucet sprayer unit.
Snap in the end. There is only one way
to go in. Follow the faucet installation guide's instruction.
Installing garbage disposer unit. After placing the new garbage disposer's flange unit in, the reality - it won't fit. Even though I measured the area and checked the Badger 1 garbage disposer's product specification - over all dimension - 11-3/8 inch, it hits the main drain pipe unit. In this picture, I am barely holding it. It is not connected to the upper mounting ring, so, I thought, just maybe, it would clear it by 2 mm.
Decided to do it another way. Loosen the screws and push up the flange to give clearance for garbage disposer unit to sit in place. Then, see if it would fit.
holding the garbage disposer up with tire jack, I tried to mount the garbage disposer.
Looking
good, but No Cigar. The garbage disposer - Badger 1 - supposed overall height is
11-3/8" long is too long. The main wall drain pipe is
in the way!!
It barely got any clearance. But the lower mounting ring refuse to slide up the upper mounting ring to lock in. It seems that the rubber splash guard around the unit's neck is uneven? It's preventing the mounting ring to go up evenly. Arrg!
more pics of bottom of garbage disposer touching the drain pipe.
Because the garbage disposer did not have enough clearance between flange and drain pipe to go directly underneath, my trick is to push up the flange just to have enough clearance below for garbage disposer to lock in. But the garbage disposer's defect itself did not allow the lower mounting ring to slide up the upper mounting ring. And looks like it still would not have clearance to install the garbage disposer. Arrg!
Time to remove the garbage disposer flange and return the unit to install the original Ruvati's sink flange. Go without garbage disposer. Really? a modern kitchen sink without a garbage disposer. Didn't someone in the plumbing business invent a short length garbage disposer for the single bowl deep sink? because I found it, but it's for China and sold only in China. I don't know why we are so slow to adapt here in the State.
Plumber's putting rope around the flange.
Placed it in the sink and trimmed extra off after pressing the flange down.
Installing washer and screw nut from underneath.
Hand tightened at this time. Where is my plumber's wrench!! Arrg!
From this angle, it looks like all I need is a tailpiece to connect both end. Really?
In Pumping motion, pump the handles of pipe cutter to cut. To open the handles, just pull it outward to open.
Not like this pic here below, I only cut 1 inch off the dishwasher's pipe.
Time to install the dishwasher's air pipe back. But I had to cut a bit of frame with my fostner bit so it will go through the sink wood frame.
did it really go like this? time to look for my photo record.
For now, it is like this. But I think this is wrong. I think there were two washers that looked at opposite of each other, then, the screwnut.
Trying all kinds of parts to accommodate the original piping manufactured by Charlotte Piping and Foundry Co's DWV 1-1/2" pipes. The original pipes under my sink is in great condition. So, I hate to replace them, if I don't have to. I even cleaned them out by soaking them in vinegar water solution. But since the pipes are in the way of installing the garbage disposer, maybe an alternative piping is required. But all these plastic or PVC type look like they are going to last only a year.
This grey ones is SnappyTrap. But after some checking under the sink, I would need to cut the flexible part of the pipe to fit to prevent forming double P-Trap.
Tried to put back the original tailpiece to the sink drain flange, then, I took it off and tried SnappyTrap's. But the SnappyTrap is too long, and it require cutting. No problem in cutting, but I have to be 100% sure before I commit to cutting anything.
This one fit onto the sink's flange neck under the sink.
The black pipings are the original. Here in the pics are without the Tee pipe that connected to the two bowls sink. Now I need to modify it to connect the single bowl sink. Seems easy, but I don't want to just do it. I want to make sure that what I do would not violate the code. And I don't know the code, but have read some about it at some websites.
This particular P-Trap has screw nut attached to the 90 degree angle pipe that attaches to the P-Trap. The ordinary 1-1/2 inch P-Trap does not fit either. It needs a P-Trap with ridged connector inside.
This is how it looks without the tailpiece pipes to the two bowls sink drain.
If I want to install the garbage disposer, the solution may be to cut at the wall drain pipe and install new pipes so they are out of the way of the garbage disposer. The question I have is that could a 16 guage single bowl large sink handle garbage disposer hanging? Or does it need a small support built for it to hold it up from underneath?
To be continued. The likely story... because I don't want to cut the wall drain pipe and want to keep the original pipings installed, and want garbage disposer attached, it is likely going to be --- buy a new sink - single bowl sink with offset drain. This is crazy! What? return the other new sink to Ruvati? Nope. It's past the 30 days. I think with the new single bowl sink with offset drain, I can have the garbage disposer and keep the original good pipings and no cutting of the wall drain pipe to fit... but what would I do with the other beautiful single bowl sink? sell it or install it elsewhere and use it as a utility sink. Another Crazy Madness. Arrg!