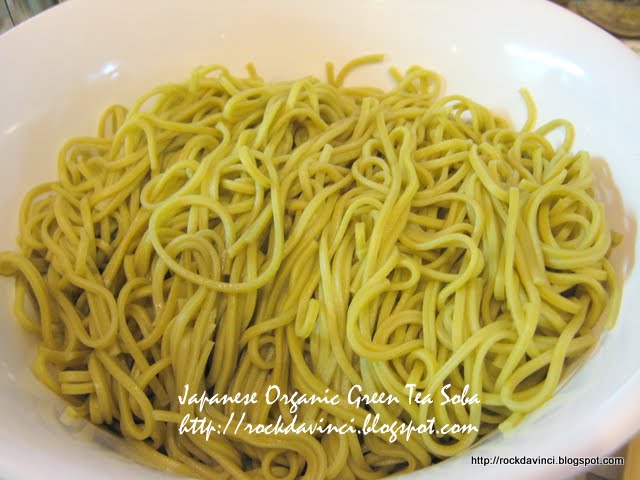
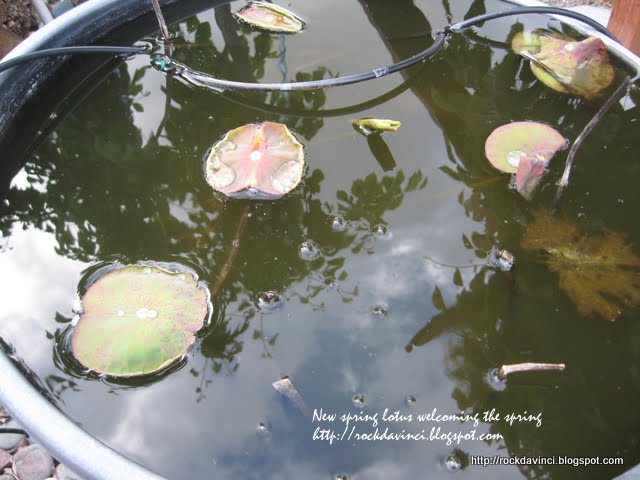
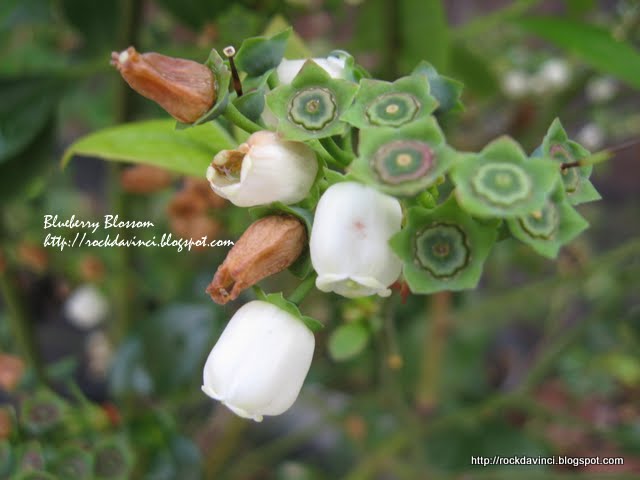
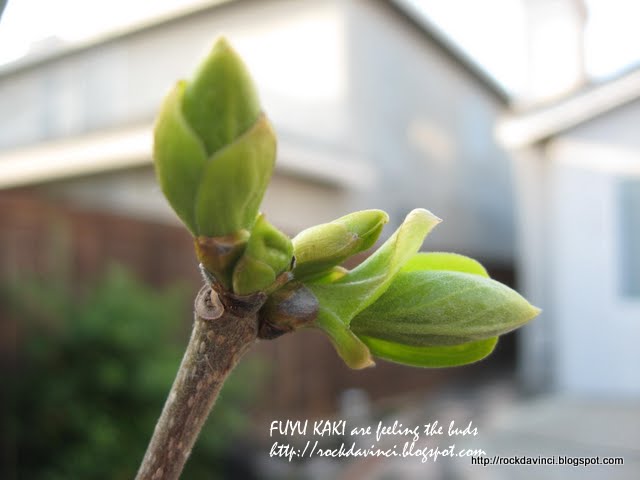
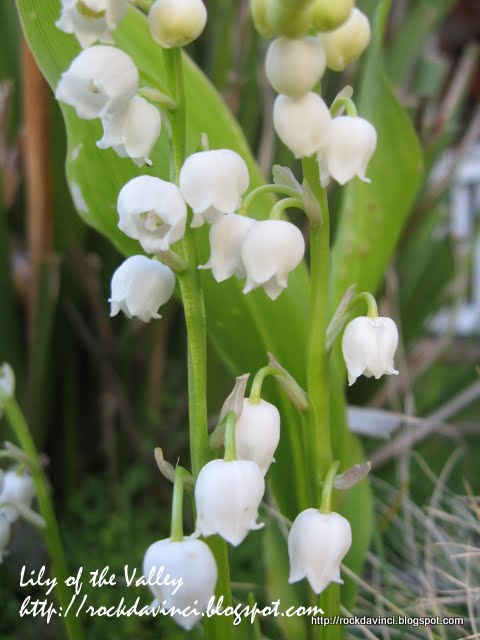
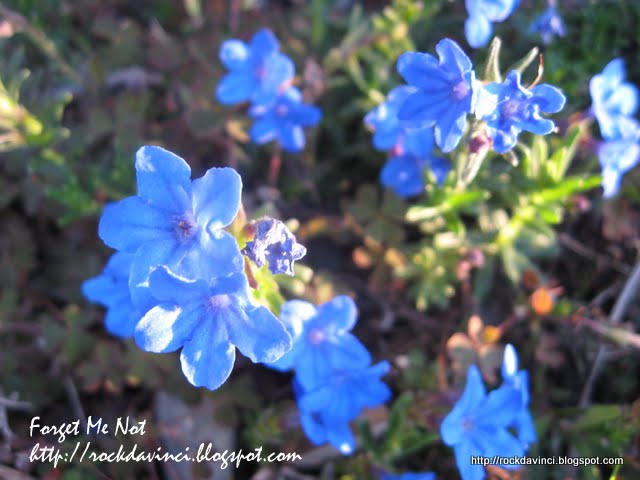
April came and gone as quickly as some of the April's windiest nights that blew across my back yard. It reminded me of the movie The Wizard of Oz. Surely the next morning, I find my garden objects got moved from one end of the garden to the other end. But with those winds and rain, all the new plants arrived and thriving. They really like the extra nutrients the rain brought. There are more blossoms on the pear and Fuji apple trees; dwarf lemon and lime trees this year got more blossoms than any other year. The cherimoya tree looks like it took a hit from some of the cold windy nights in April, and top half of the tree seems dead with new leaves at the bottom trunk. I hope it will survive its 4th year. In April, I also discovered a very curious pastry called PONCHIK. It was being sold at tiny bakery - Europe Deli, inside this Koreana Plaza market on Olsen Drive, Rancho Cordova, California. From the outside appearance of the bakery, only with two glass displays - one for hot and one for cold items, look a bit ... not so attractive. But I thought I would try something new - since our baking class team is now assigned to the BREAD lab. At the first bite, I fell in love with this Russian. . . Armenian PONCHIK, the store owner's husband calls it. And I can say, "I love PONCHIK." It has such a chewy and puffy light dough that I ate every bite with delight. So, as usual, I started to look for some PONCHIK recipe information on the Internet. There weren't much sites with PONCHIK recipe, but I understood it as the "doughnuts" similar to many other countries'. My friend thought it tastes like the Chinese YAU ZSA GUEI (morning fried doughnut in the form of long .... just imagine your pet dog's snack in the shape of the dog bone, then, imagine it as a long fried dough, about 12 inches long-usually eaten as part of the breakfast with soy milk.) But PONCHIK is different. Hope you will have a chance to find a bakery to taste the PONCHIK or make your own. I found a recipe from one of the web site. The instruction is incomplete in the procedures, but I improvised. It turned out great. Need some improvement on how to enclose the cream without making too much ruffled edges, but here is my photo journal of My PONCHIK.
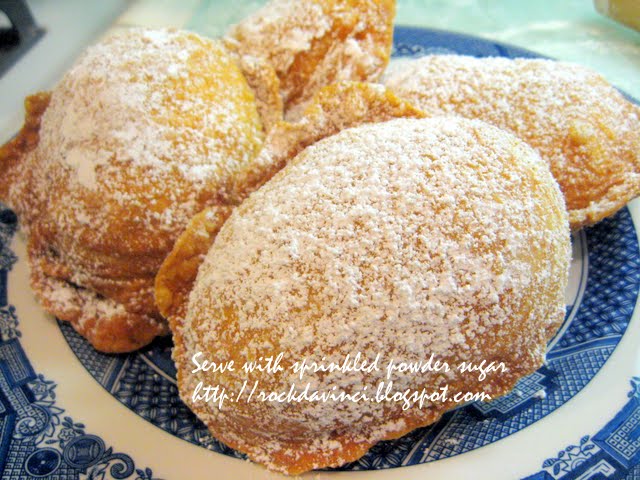
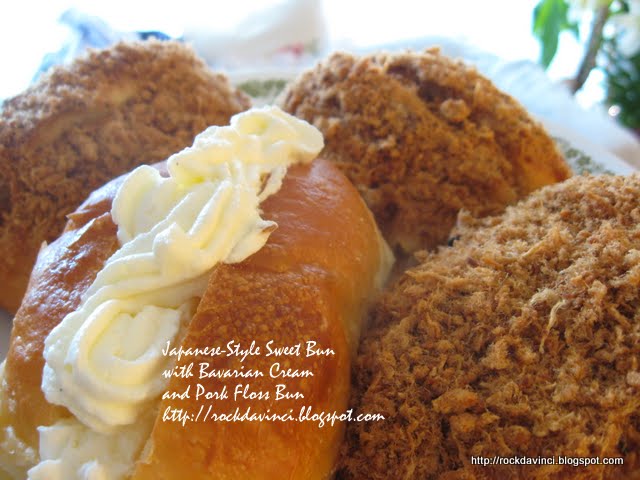
And here is the mine on the left and Bakery's to the right.


For visiting bloggers to my site, for your convenience, here is the copy of the Ponchik recipe that I used. Please visit this bloggers for question you have with her recipe. If you have question with my Ponchik, please feel free to leave me comments. As I have pointed out, the recipe procedure seems to be 'incomplete'.
PONCHIK
Yeast 1pkg,
Warm Water 1 cup,
Sugar 1tbs,
Salt 1/2 tsp,
Oil 3 tbs,
Yogurt 1 cup,
Eggs 2
Flour 2-3 cups
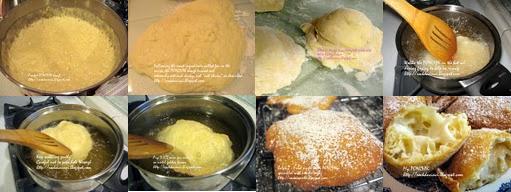
Combine first 3 ingredients and let rest for 5 minutes.
Then add next 4 and combine them well.
Add the flour 1 cup at the time, and mix well, you might need more or less flour. Knead for few minutes (The dough should be smooth and not sticking to your hand) and let rest for an hour.
**My 2 cents: The dough is very wet. Keep working with it. Flour your hands and work surface and knead to elastic smooth dough.
Different technique to work with wet dough that require to form into smooth elastic dough:
1. I have also seen a technique when the dough is very wet to spray the work surface with vegalene, then, flour the top of the dough, then knead. Of course, the demonstrating chef is a master baker, but I think it's worth practicing.
2. Also, the technique of Lift and Slap down from shoulder height quickly in repeated motion in Japanese style sweet buns dough preparation seem to work with wet dough also. The repeated quick motion of the lift and slap down of the dough on the work surface with barely any addition of flour on the work surface will eventually cause the gluten to develop. It will take about 10 min. For every 2 min of lift and slap down, give 1 minute of kneading, then repeat the process again three more times. Try it! you will have fun! You will have a great workout.
Then, Spray a large bowl lightly with vegalene or vegetable oil and the top of the dough and cover with saran wrap. Let rise in warm place till double in size.
Roll out. Shape and fry.
***I am puzzled with the filling. It seems that some baker bloggers are saying that they fill the dough with the mixture, then, fry the PONCHIK. I am going to test it, and see how it would turn out.
***I am puzzled with the filling. It seems that some baker bloggers are saying that they fill the dough with the mixture, then, fry the PONCHIK. I am going to test it, and see how it would turn out.